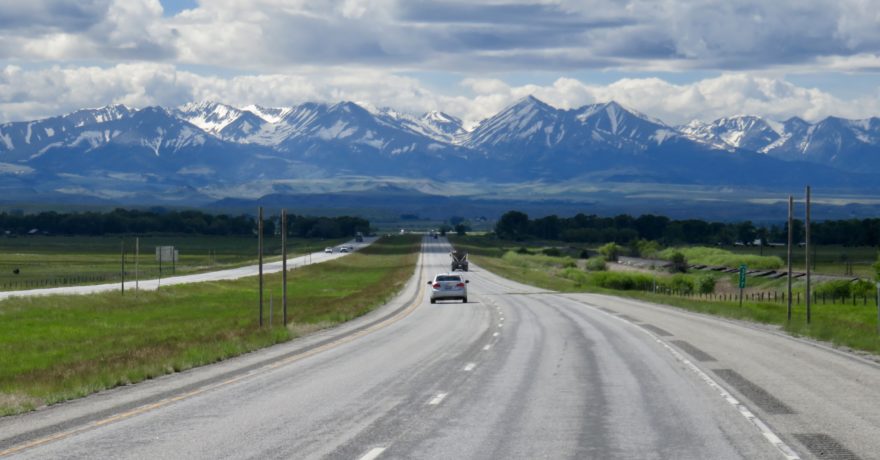
“Which one do you want to try next?” Jim and I glanced over the collection of menus stashed in the passenger door pocket. “Hmm, they’re all pretty good, but I’m thinking about the haddock chowder from Becky’s Diner in Portland, Maine.” The cold and rainy afternoon made the choice for me. I needed something warm and comforting. But, we weren’t deciding where to go for dinner. We were choosing which dish to try and recreate in our small RV kitchen.
Cooking in a small kitchen can be a challenge in an apartment, but “small” takes on new meaning when you cook in an RV kitchen – especially in the popular “mini coaches” based on the Sprinter or Transit chassis. For a determined chef like my husband Jim and an organization freak like me, the size of the kitchen doesn’t matter. It’s all about the food!
We love to travel because it allows us to taste new foods or familiar foods prepared in new ways. We have as much fun going to restaurants or browsing local farmers markets as most people do touring museums or art galleries. We love to stroll on the fishing pier to see what’s “biting” and check out the fishing boats returning with their catch. Local ingredients make for more authentic recipes.
But, getting back to the small RV kitchen… it really can turn out delicious meals that go beyond “heat-and-eat.” What it takes is the right equipment, a measured approach to cooking, and cooperation from your traveling partner! Let’s start with assessing the kitchen itself.
A Small RV Kitchen Set-Up
In a small RV kitchen, the lack of a proper cooking set-up is often the “crease in a chef’s apron!” It helps if everything the chef needs is within easy reach. Digging in drawers and playing hide-and-seek for kitchen utensils and spices make cooking a real chore.
Although RV manufacturers do an admirable job fitting a kitchen into a small space, it’s up to you to make it chef-friendly. To begin, stand in your RV kitchen and think about where to place cooking tools within easy reach. Even though it is a small space and you can easily reach around it, where you locate frequently used items can make a big difference while you’re cooking.

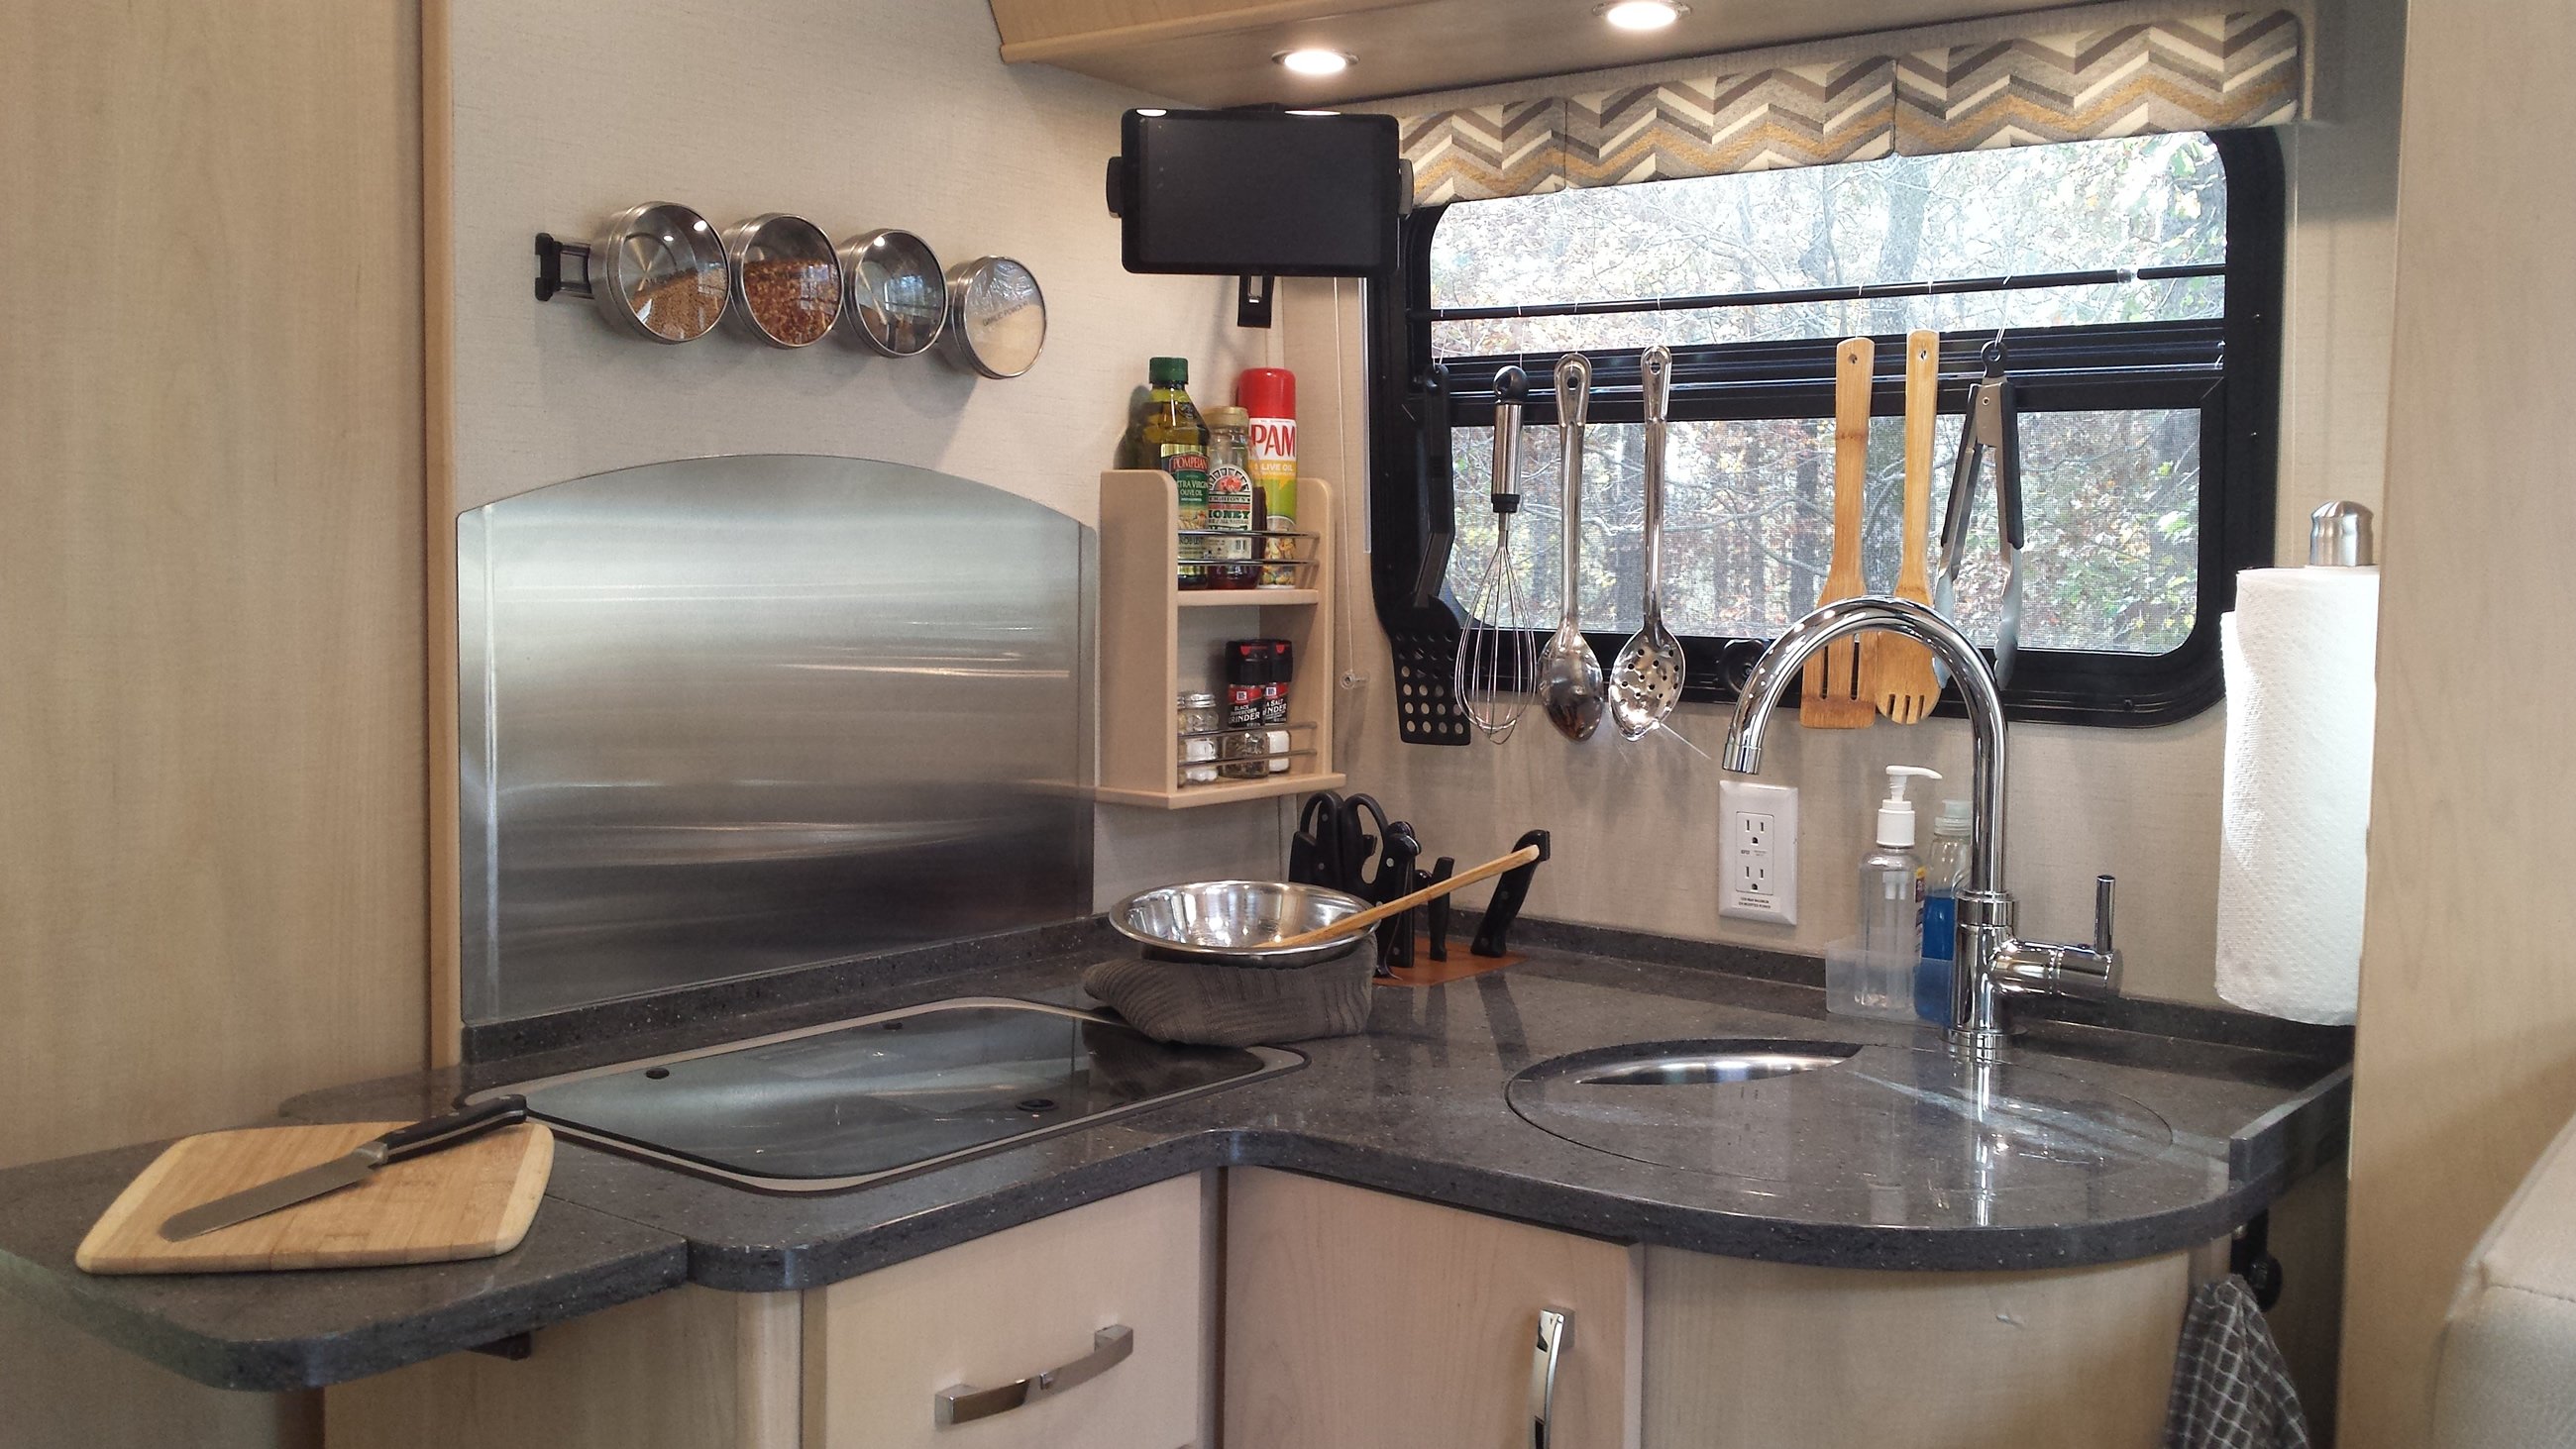
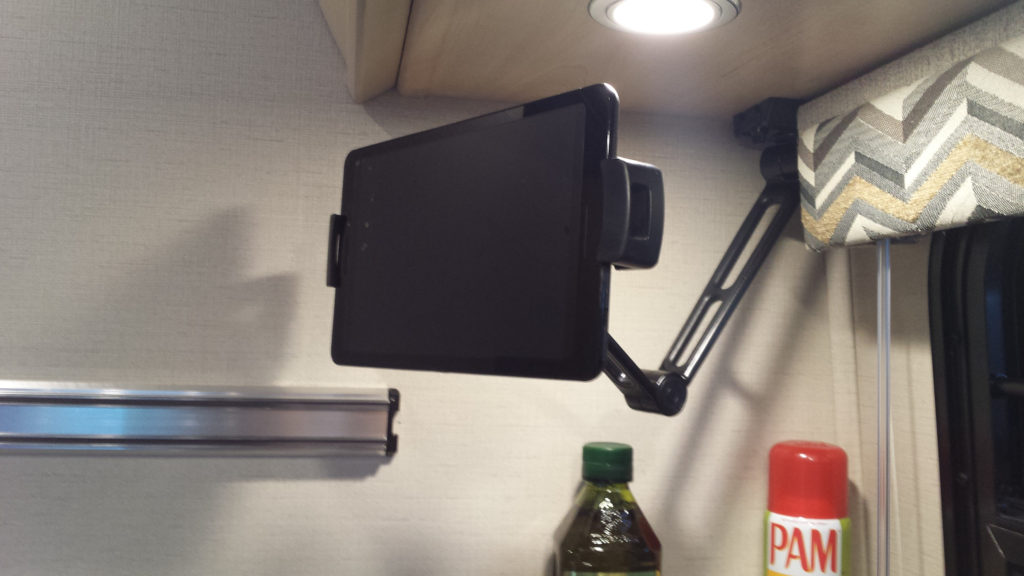
Chef’s Knives can be set-up in a knife block sunk into the counter-top. Utensils can be hung from a tension rod on “s” hooks at the kitchen window or on a wall rack above the cooktop. Keep spices handy using flat, round tins stuck to a magnetic knife strip on the wall. A dish towel can be hung from a hook at the edge of the counter. Paper towel holders can be mounted on the wall or under a cabinet, dish soap and sponge can tuck behind the faucet out of the way. You can even mount a holder for your tablet under an upper cabinet to keep e-recipes close at hand without using precious counter space.
But before you buy groceries or drag out the slow cooker, let’s think through the meal prep process. You need a space to stage ingredients, clean and prep veggies, filet a fish, or whisk up eggs. And, of course, an area to saute, stew, and fry – and maybe a space to bake. That sounds like “big kitchen” prep doesn’t it? No worries, you have all the room you need.
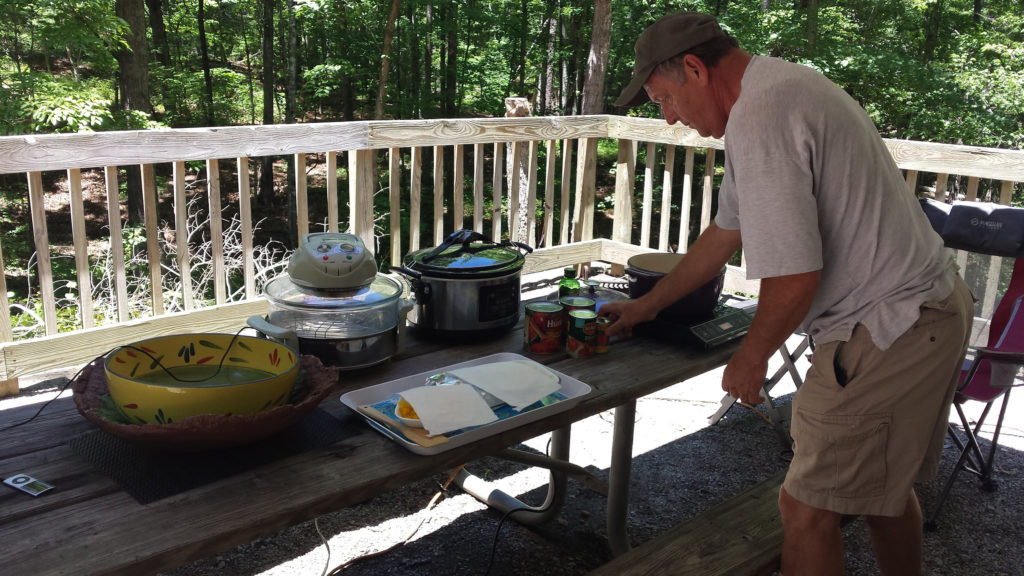
Take a good look around your RV – and think outside the kitchen. Every flat surface could contribute to your “cheffy” endeavors. One space could act as an ingredient staging area – maybe the dinette table or the top of a cooler. One spot could be for chopping – perhaps a cutting board over the sink. Drop the lid on your cooktop and cover it with a dish towel for a handy place to prep meat or fish. Use the countertop or a side table for mixing. Of course, you will use the cooktop to do the actual cooking, but you could take the cooking outside. Every campsite has a picnic table and that’s an excellent spot to fry foods on an induction burner or to use your crockpot plugged into your RV’s exterior outlet.
Storage In An RV Kitchen
I suppose we can’t talk about a proper RV kitchen set-up without talking about storage. There are the basics like pots, pans, dishes, glasses, and utensils – those are relatively easy to store in drawers or cupboards. Cover the shelves with rubberized shelf liner and use a desk file tray in the cupboards to keep glasses and mugs contained. Use the same shelf liner in drawers to keep utensils from rattling. The obligatory plastic wrap, foil, hot pads, and oven gloves can be tucked into a drawer or any nook in a cabinet. But the real space hogs are the small appliances.
In an RV kitchen, storage space is “dear” so you’ll have to give careful consideration to which “kitchen helpers” you take along. Larger appliances like coffee makers, toaster ovens, and stand mixers really eat up space. Think in terms of more simplicity and less convenience – more handcrafted and less mechanical! The most essential cooking equipment is a set of good knives, a cutting board, a few well-chosen pots, pans, mixing bowls, and whisks – anything else is a bonus.
Before you pack up that rice cooker or food processor, ask yourself how much use you’ll get out of it compared to the precious storage space it takes. We like to take along two cooking appliances – a table top oven and an induction burner. This gives us two additional cooking surfaces and can act as an outdoor kitchen. If you’re a slow cooker fan, taking along a crockpot will provide similar use and gives you the option of automated cooking. Part of “glamping” is enjoying the comforts of home, so choose your favorite cooking appliances but try to keep it simple.
And finding a “home” for all your kitchen equipment in your RV is mandatory. The countertop and floor are NOT storage options. Everything should be put away and secured when you’re ready to hit the road. Try stacking pans and pots in a cabinet with lids stood on end next to them. Tuck a small colander into nested mixing bowls and stand up cutting boards to squeeze them into narrow spaces. You may even have room for a coffee maker or toaster if you choose “mini-sized” models.
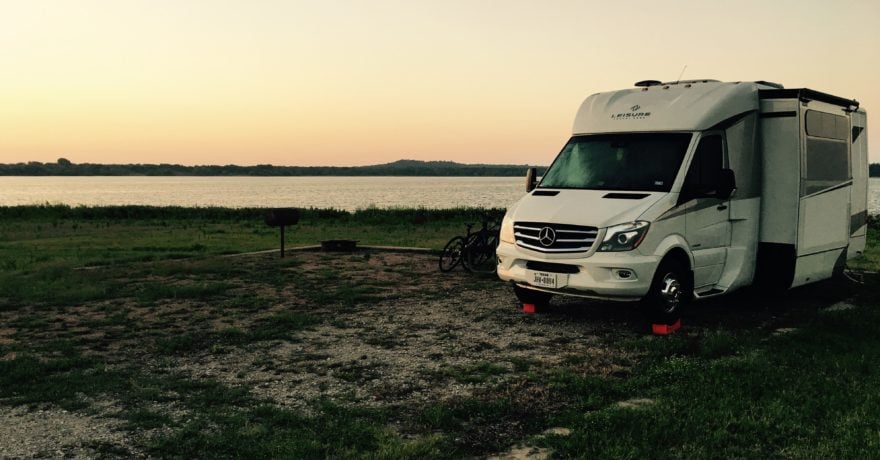
We store our table top oven, induction burner, and a dutch oven in an exterior compartment wrapped in dish towels. Inside the table top oven, we store the racks and baking pans. We opt for a dutch oven instead of a slow cooker. It works great on a propane burner, a campfire, or the induction burner. We forego an electric coffee maker and use a kettle and a french press – delicious coffee and easy to store.
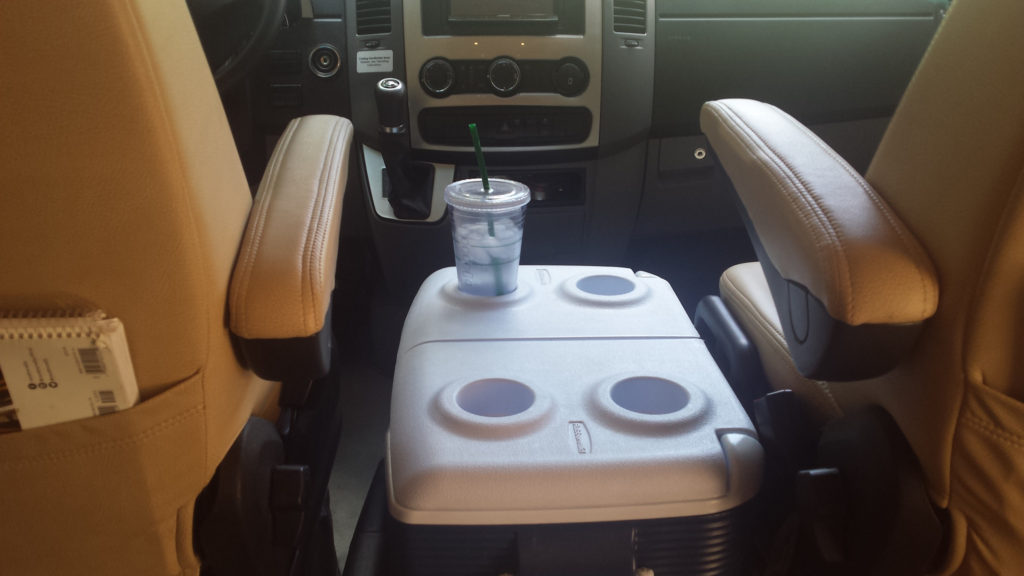
As for groceries, we allocate three cabinets for groceries as well as a pull-out pantry, the fridge and a cooler. The key is to not buy everything at once. Think in terms of shopping at local markets as you travel. Take along any specialty foods that might be hard to find, a few basics like flour, sugar, spices, and canned items you use frequently. Basic fresh foods like eggs, milk, cheese, butter and the like are good candidates to keep on hand too but go light on meats and veggies since you can find them easily at local markets along the way. Of course, fill the cooler with favorite beverages and snacks for the trip. Putting the beverages in a cooler gives you more fridge space and keeps you from opening the fridge too often. It can double as a coffee table, ottoman, or between the front seats as a convenient drink holder.
RV Cooking and Prep
One of the best parts of cooking while on the road is that Jim and I have fun cooking together. I often act as sous chef, preparing and cleaning up while Jim loves to do the actual cooking. The idea is to prepare everything ahead of the cooking: peel and chop the veggies, measure out the ingredients, beat the eggs, etc. Once all the ingredients are staged, Jim can begin the cooking, and I can pour the wine and set the table. It is so much easier to have just one person in the kitchen at a time!
We follow the same idea when cooking outdoors. A vinyl tablecloth on the picnic table becomes our outdoor kitchen counter with the induction burner and tabletop oven set to one side. I usually prep the ingredients inside and then stage all the utensils and ingredients on a tray covered with a dish towel to keep bugs out of the food. As Jim finishes cooking each item, I move the cooked items inside or put them in the tabletop oven to keep them warm.
One of the critical parts to making the small kitchen work is to clean as you go. There’s no room for piles of dirty mixing bowls or pots. So, as each stage of prep or cooking is completed, I clear the counter and get it ready for the next stage. I keep a small pot of soapy water in the sink to clean utensils and bowls. That way the sink and drain are still accessible for washing hands or draining vegetables.
Keep trash out of the way by hanging a trash bag under the “flip-up” counter extension found in many small-RV kitchens and use a scrap bowl on the countertop to minimize the mess. A dish towel can find a handy spot on a hook next to the sink and the paper towels are well situated on a wall mounted holder. At the end of the cleanup, give the kitchen surfaces a quick cleaning with sanitizing wipes.
The great part of clean-as-you-go means there isn’t a huge mess to deal with after the meal. A few plates and utensils to wash up and the kitchen is tidy! To keep your RV smelling good, do the frying outdoors to keep cooking odors out of the living space and take out kitchen trash daily.
Make Time To Cook
If you prefer going out to eat while traveling, make time for a least a little creative culinary adventure. Cooking a new recipe together can transform a meal into an event to remember – either wonderful – or hysterical in retrospect! Your RV kitchen is up to the task, and we’ve found there’s no better souvenir of our travels than a recipe from the areas we’ve visited. Every time we prepare that recipe, we get to re-experience the whole trip!
RV Kitchen Checklist
- Consider all surfaces when looking for prep and staging space – think outside the kitchen.
- Set up your work area with everything you need before you start cooking. Keep utensils, cooking equipment, knives and mixing bowls within easy reach.
- Choose your convenience appliances wisely and make sure you have a secure storage spot for every appliance.
- Think of grocery shopping as part of the travel experience. Buy local and just bring along the basics.
- Work like a sous chef and prepare all the ingredients before you begin the cooking.
- If your recipe calls for frying, set up a burner outside to keep odors and grease out of the RV.
- Clean as you go. It will make the rest of the evening so much more pleasant!
- “Bling” up your small-RV kitchen: add wall-mounted or cabinet mounted items like paper towel holders, magnetic knife strips, and a tablet holder for your e-recipes.
Comments