Editor’s Note: The modification ideas on this page were submitted to Triple E Recreational Vehicles by independent third parties and have not been verified or tested by Triple E Recreational Vehicles. Please do your own research before implementing these, or any other modifications. You must always use a qualified professional to make any modifications to your vehicle, and ensure that any changes you make are safe, and in compliance with all applicable laws. Modifications may void certain aspects of your limited warranty, as well as affect resale values. Consult your warranty for details. Triple E Recreational Vehicles is not responsible or liable for any actions you take after viewing this page, or for any modifications you make to your vehicle.
I write a mostly ‘daily’ travel blog when we are on the road. Internet connectivity is a crucial element to this style of ‘publishing.’ if I can’t upload, my subscribers have nothing to download. It’s like the newspaper (what’s that?) being delivered a week late. Not being able to conduct research or upload a post after working hours to produce a story was, in a word, frustrating. There’s also one other thing. Our elderly parents are going through several ailments and physical challenges; we keep regular tabs on them by phone because we can’t always be with them in person. Making voice-over-internet calls without a cell tower nearby is also a significant benefit.
During last year’s multi-month journey (South Florida to Quebec to Mackinaw Island to Bourbon Trail to Nashville and home), I vowed never to go through a repeat of the many times there was zero internet connection within a mile (or miles) of our campsite. At times, it was so bad it forced me to create a running list of internet black holes; numerous places were included during this trip. It was time to learn more about this technology called Starlink, a satellite-based internet service provider created by SpaceX.
Last fall through spring, I read numerous accounts of RVers connecting to the internet using Starlink while parked 50 miles from the closest town, camping in a remote spot such as a National Forest or a BLM (Bureau of Land Management) location. That put stars in my eyes; I knew I had to add that to my ‘get-it’ list before we left for our next big journey. But before we left, I wanted to make my wife, LisaMarie a nightstand (from scratch) for her side of the bed in our RV. That was a priority project ahead of a Starlink installation upgrade. Fortunately, the project was completed only a few days before our departure. So, I placed a last-minute online order for Starlink a week earlier and was excited.
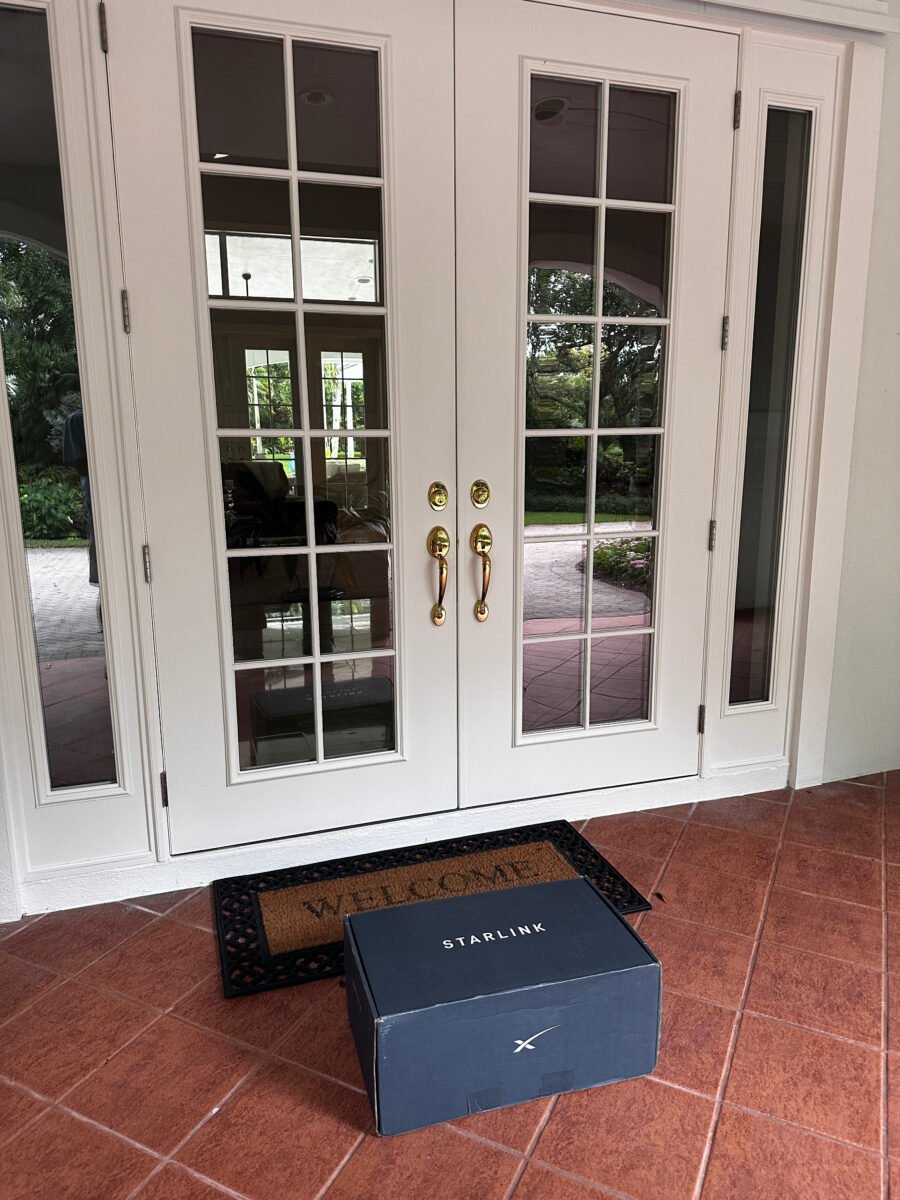
Fortunately, the Starlink was delivered the day before we departed for our two-month, 8,000-mile journey out west. An online order to drop off and delivery at the front door took only seven days. I was impressed.
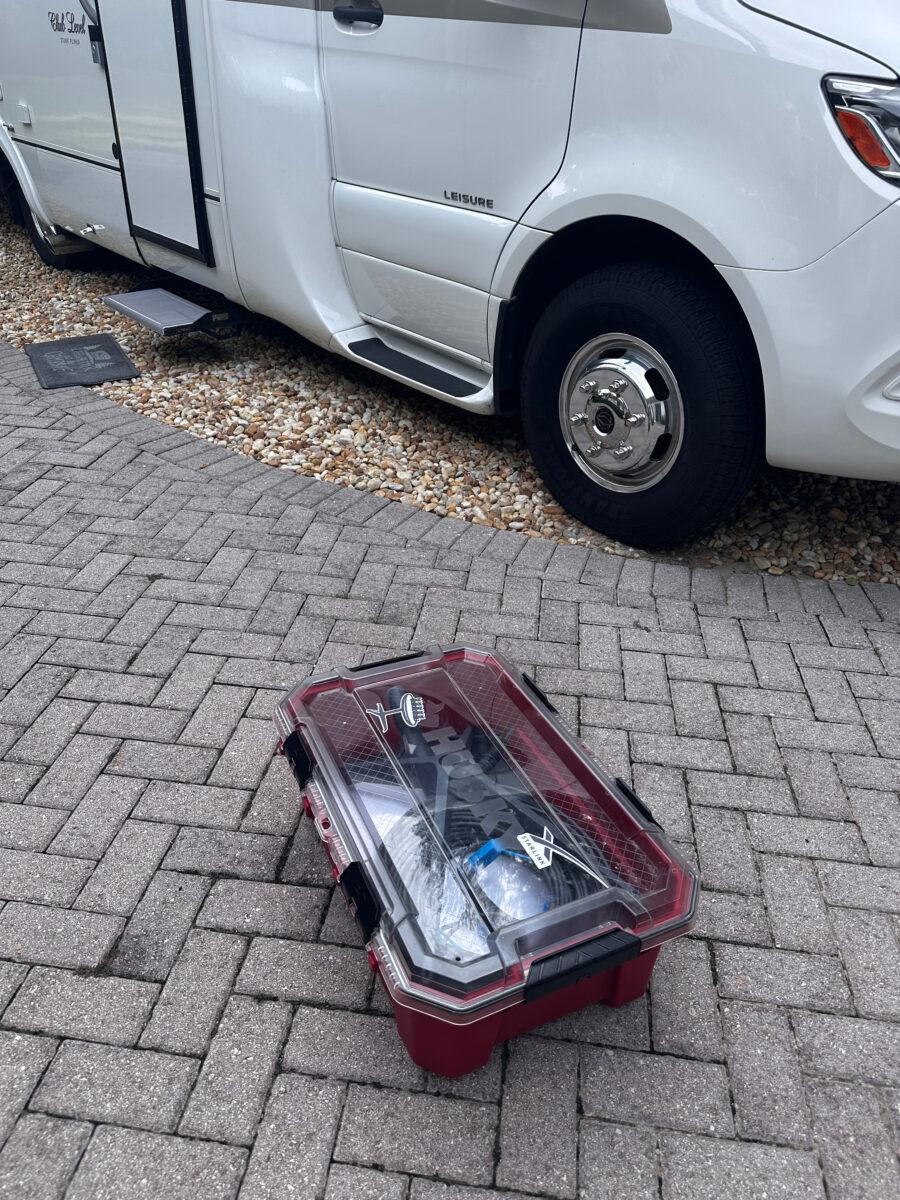
With only twenty-four hours from our planned departure, I barely had enough time to drive to Home Depot to pick up a 12 Gallon Husky storage container, some bolts, washers, and wing nuts to mount it to the top of the lid, and a super comfy Husky kneeling pad that serves as a soft shock absorber for the satellite face, so ‘Dishy’ could travel in comfort when resting below.

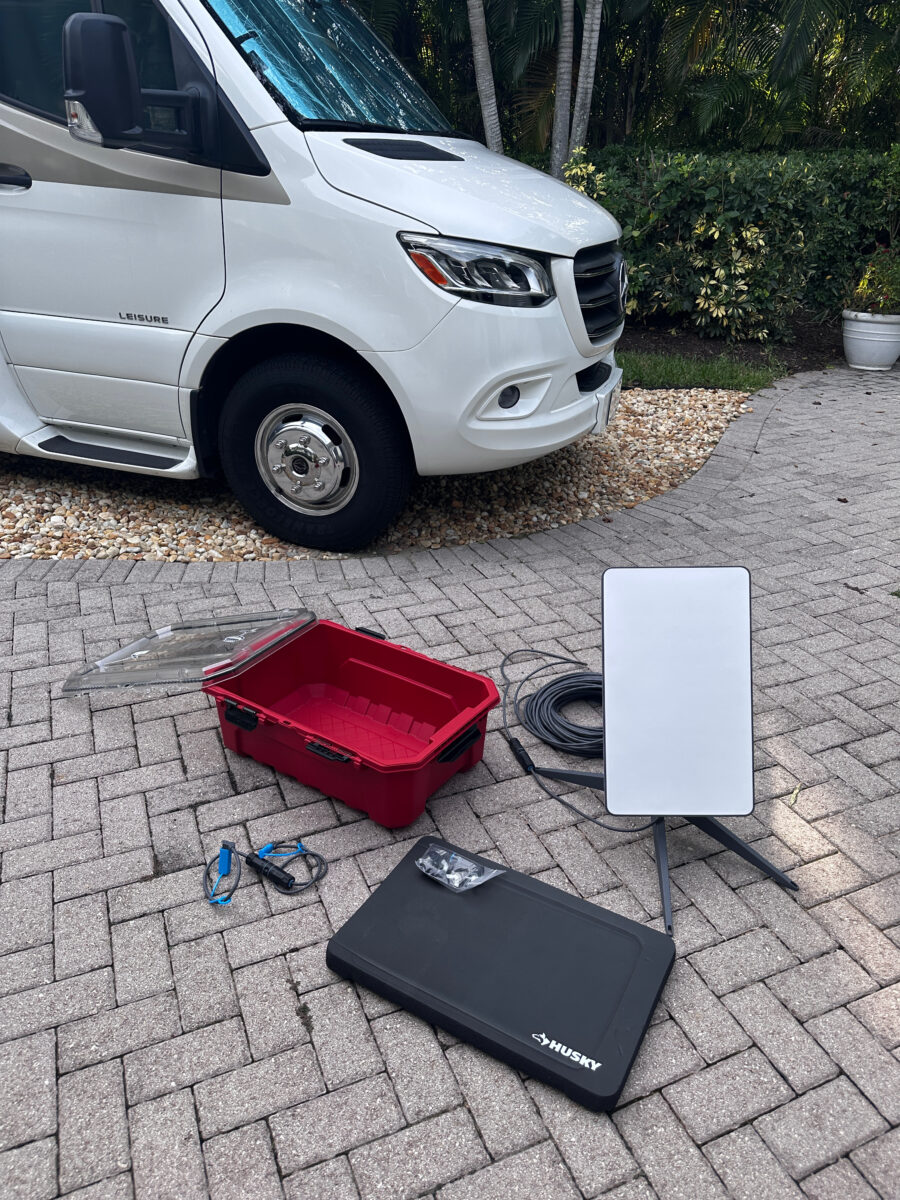
When I set up Starlink at home the first time, I hooked everything up to ensure it worked, could connect, and delivered on the promise of high-speed internet from almost anywhere. The first full setup took about 5 minutes, and navigating the Starlink app took another five minutes. I was very impressed with how easy and quick the entire process was. In no time, I was connected. Dishy was searching for satellites, and shortly after that, I was streaming. Download and upload speeds were even more impressive; they were as fast as my Xfinity hard-wired internet connection at home (sometimes even faster). Shortly after I connected, I took everything apart and put the Starlink stuff in the red Husky container, which I stowed in the exterior mid-starboard cupboard, except the router, which I stored in the rear starboard cupboard (120-volt power is there). We left the following morning.
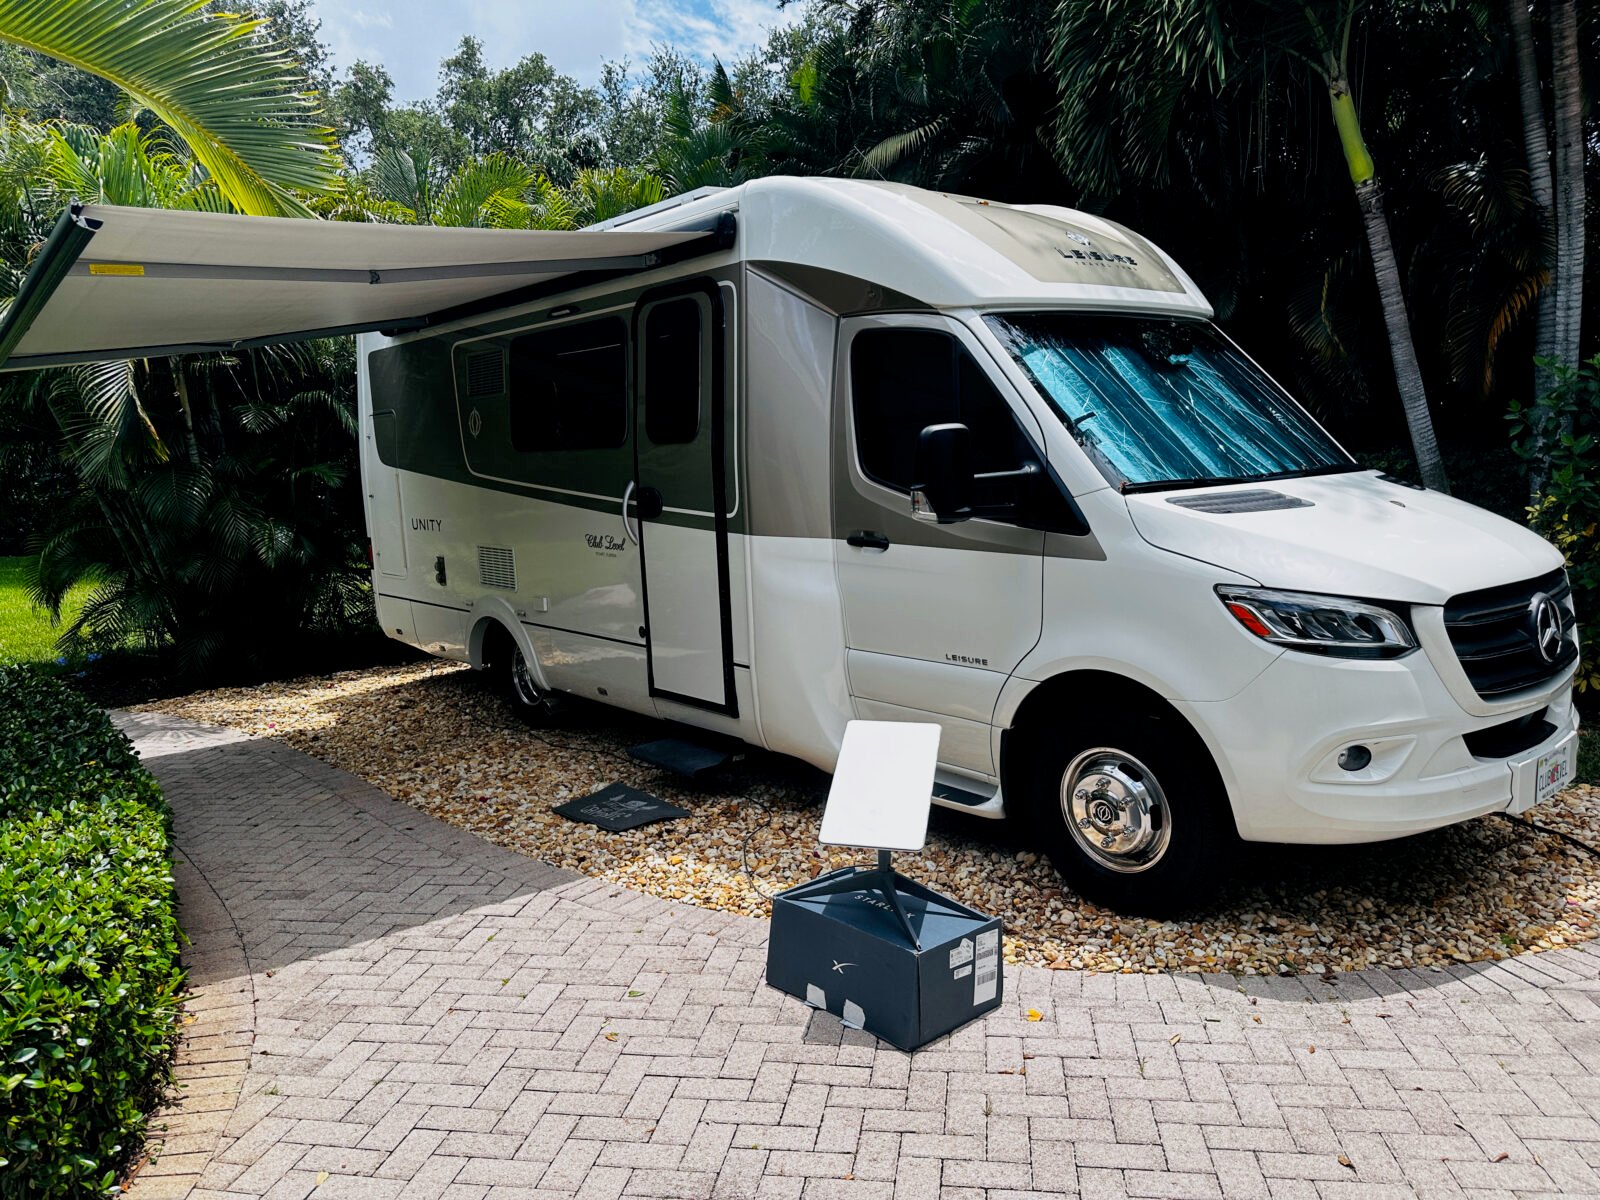
This setup worked great throughout our two-month trip in places like Glacier National Park, Little Big Horn Campground, Custer State Park, Yellowstone National Park, and even in a parking lot in Winkler, Manitoba, Canada. After many campground experiences, I had a few ideas for Starlink’s ‘going forward’ setup and installation. It came down to two simple approaches: roof mount and ground mount.
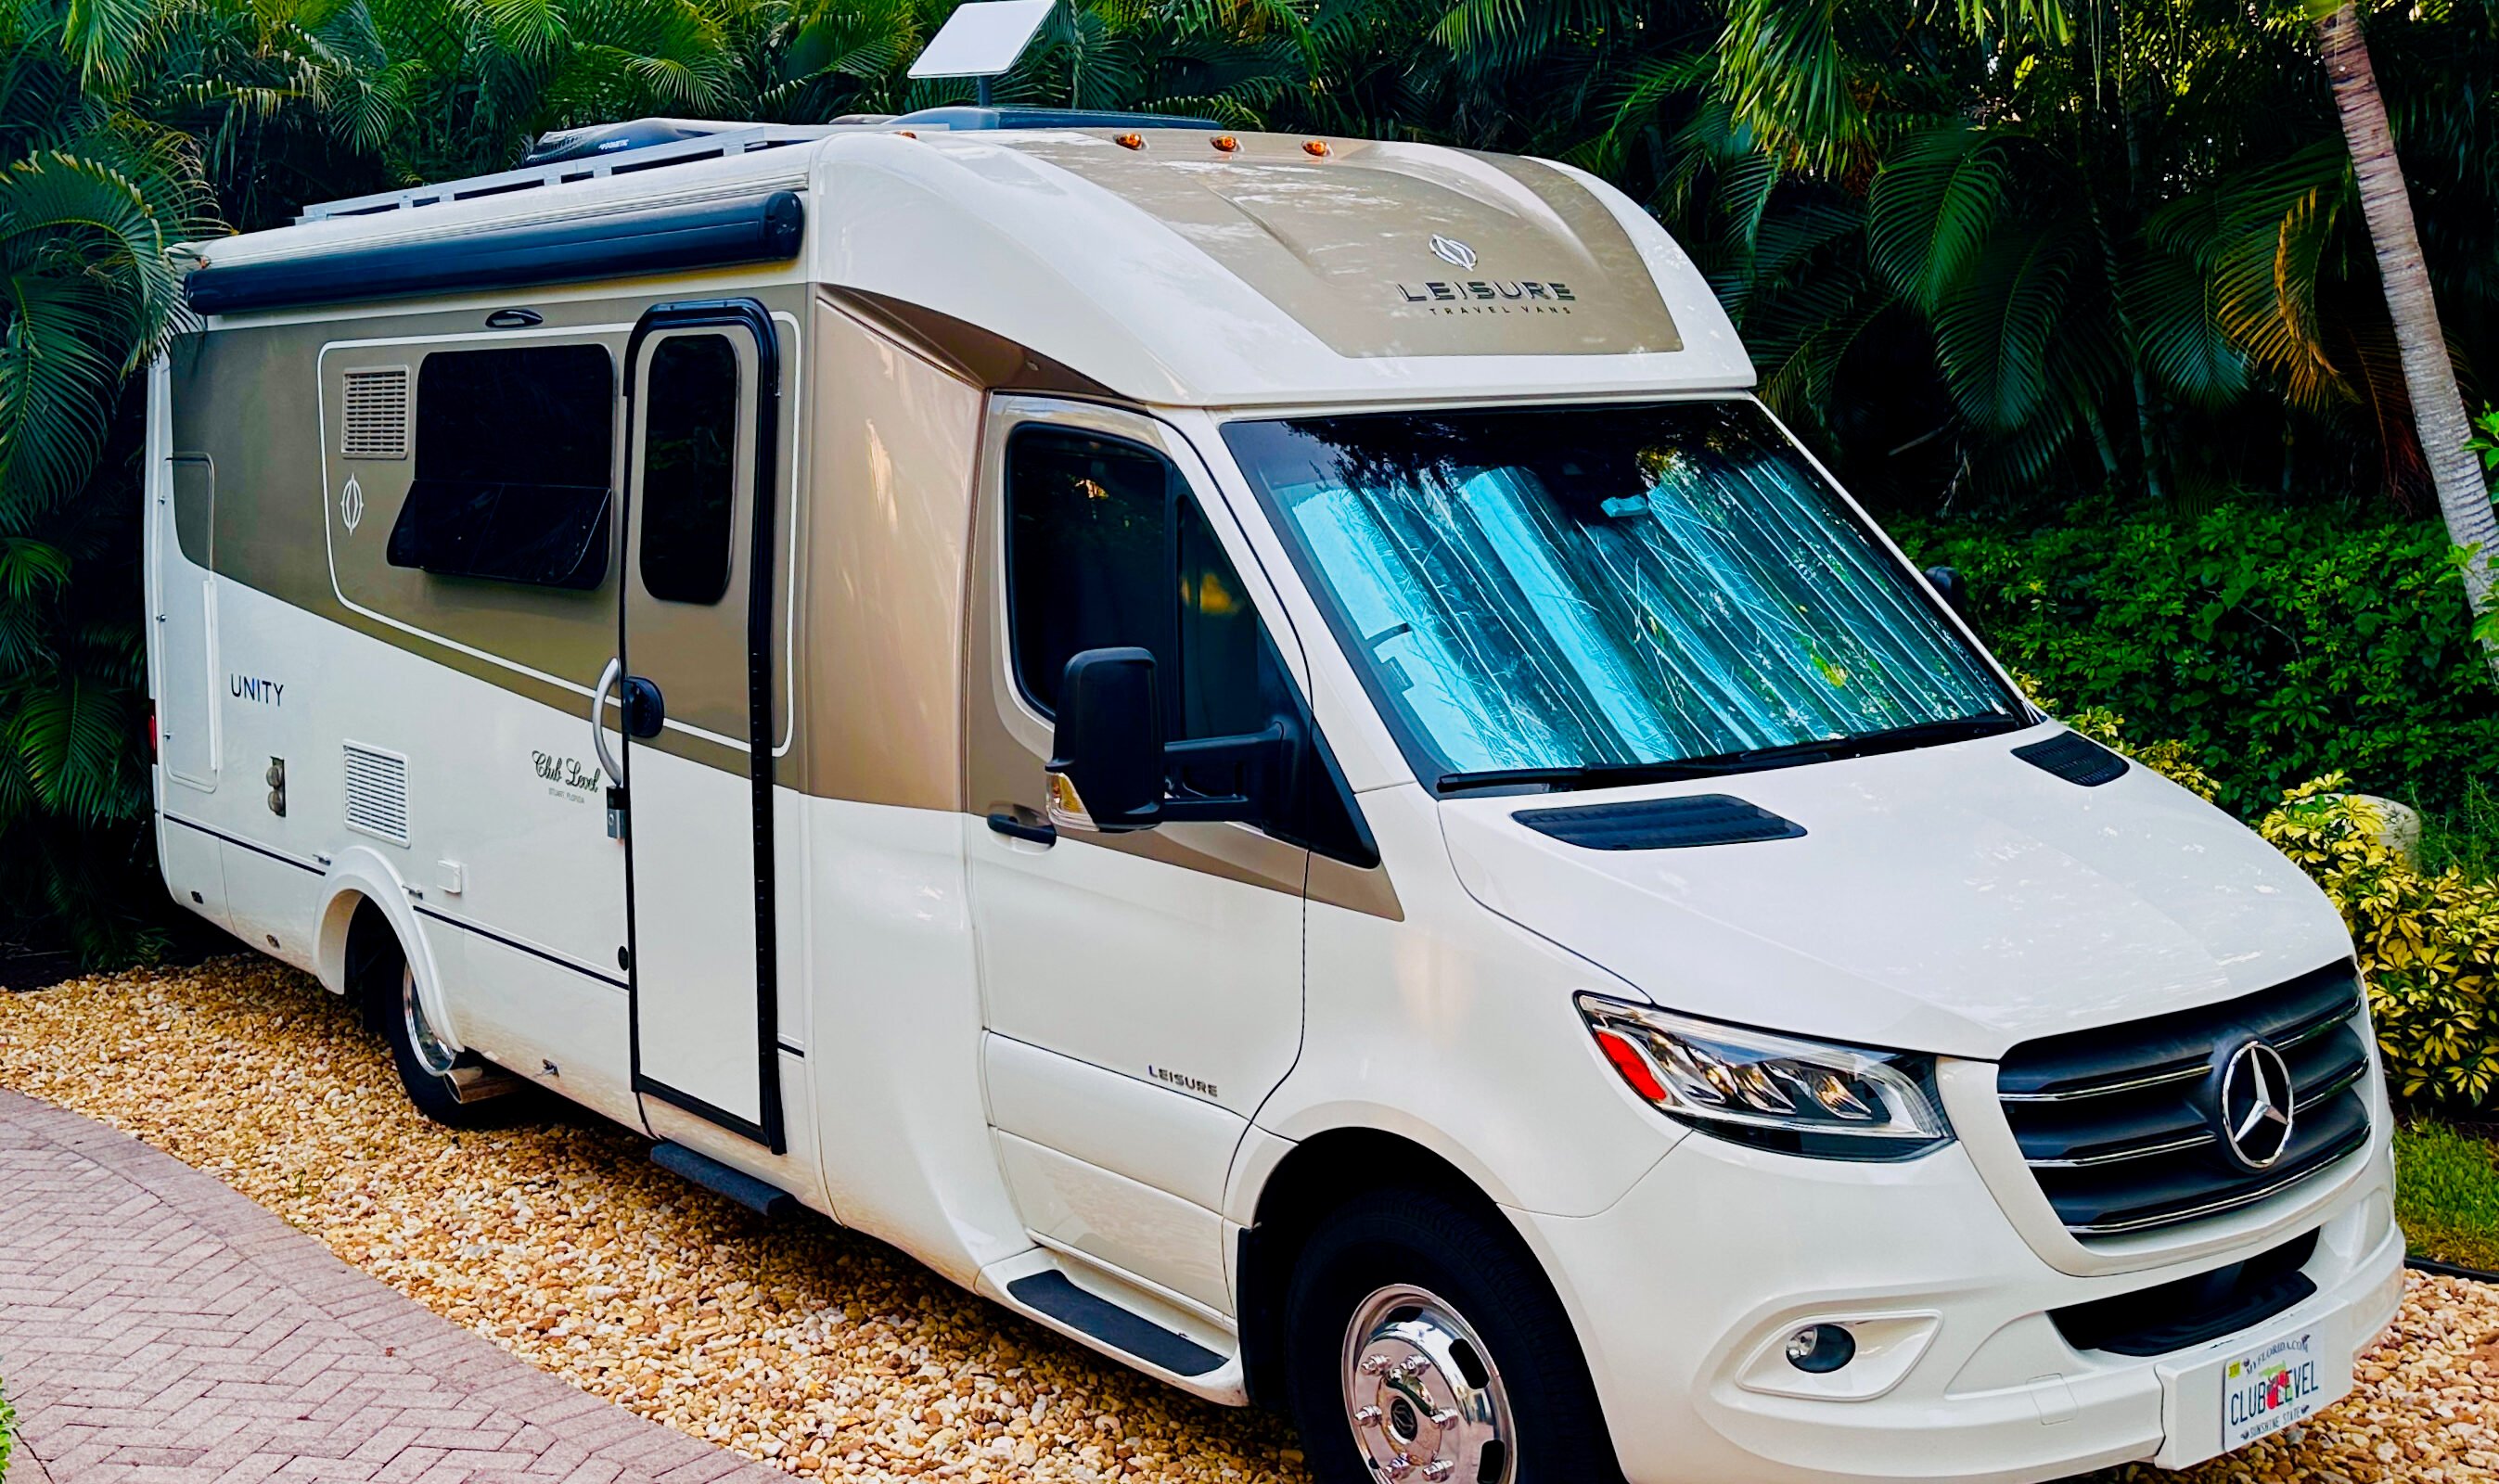
I knew with certainty that a clear line of sight to the sky is an essential element of the success factor of online satellite connectivity/speed—ideally, a campsite without trees blocking the sky, and the higher up, the better. Many LTV folks have external transom-mounted ladders. They use these ladders to strap a 25’ long telescoping pole with the Starlink dish on top. We don’t have a ladder, but I wanted Dishy to be as high as possible without much effort/cost.
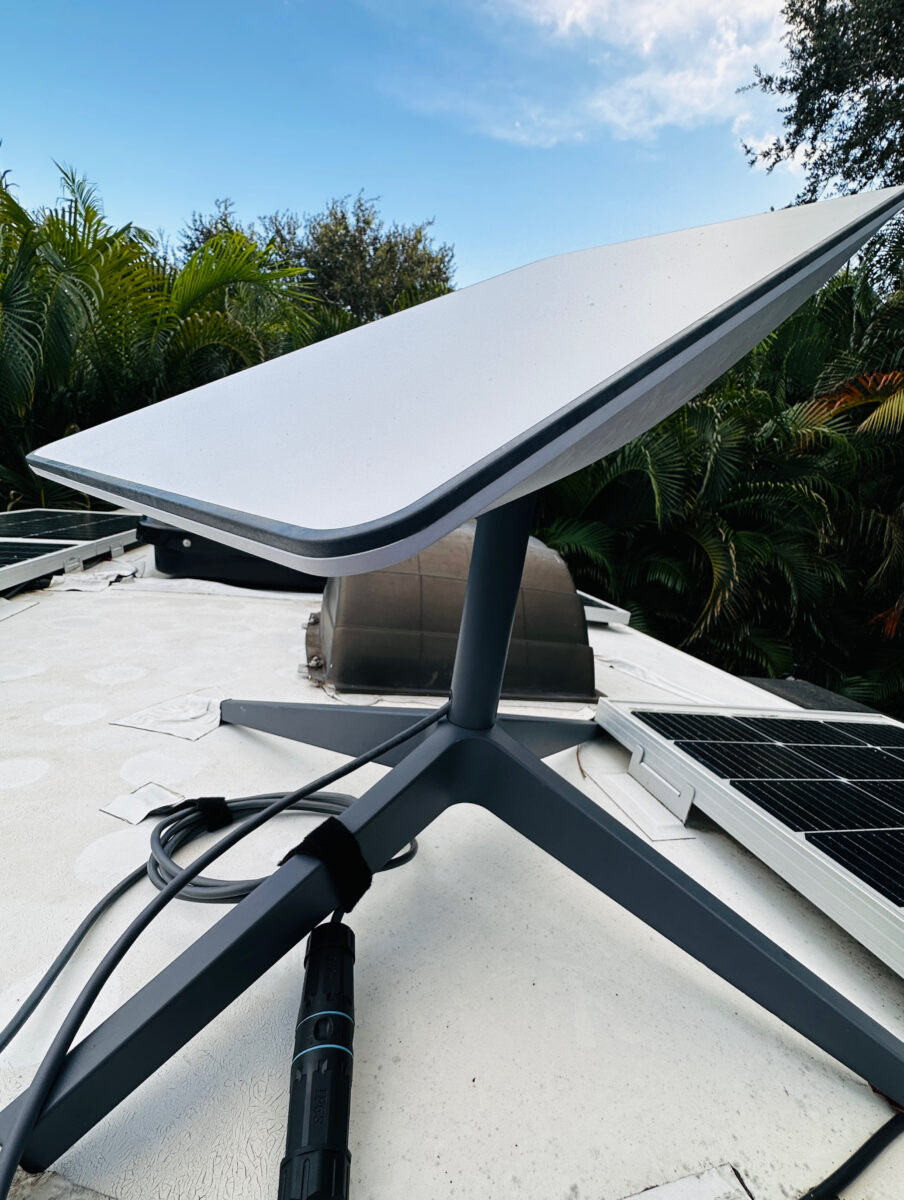
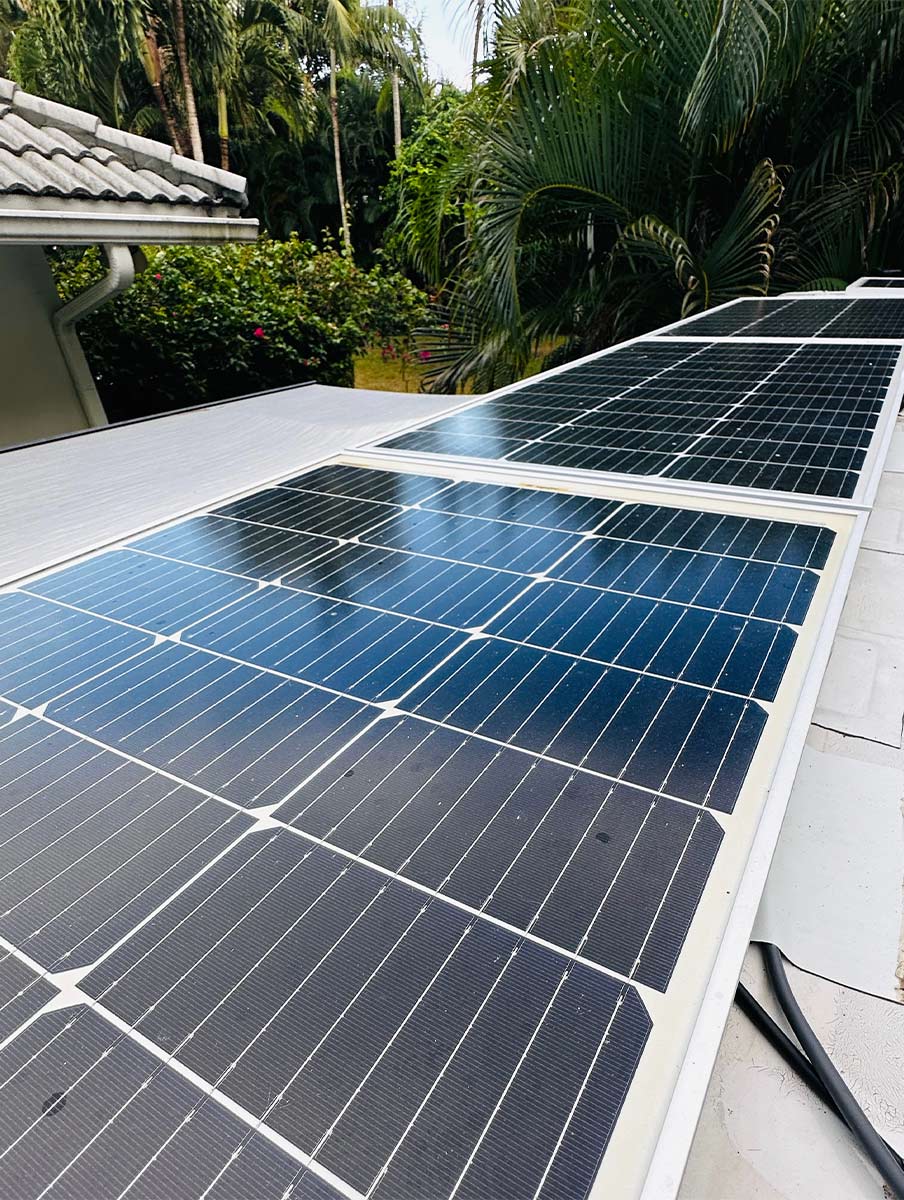
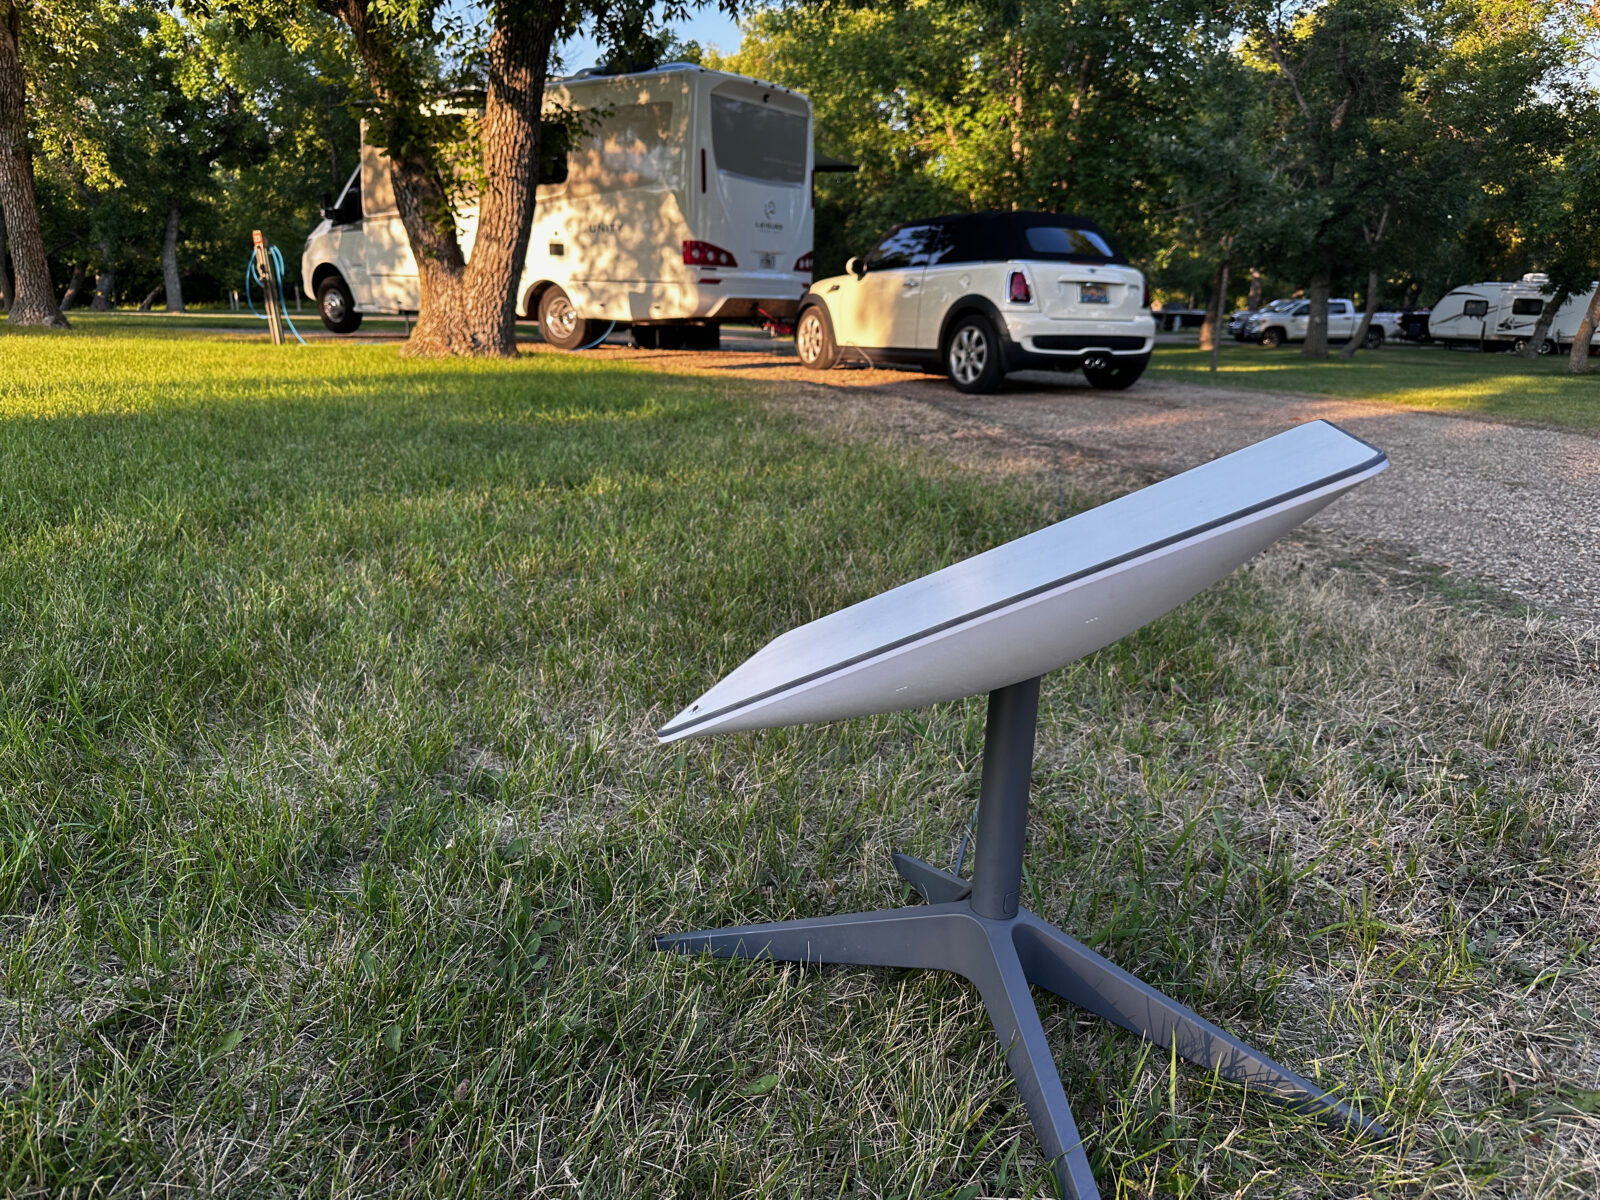
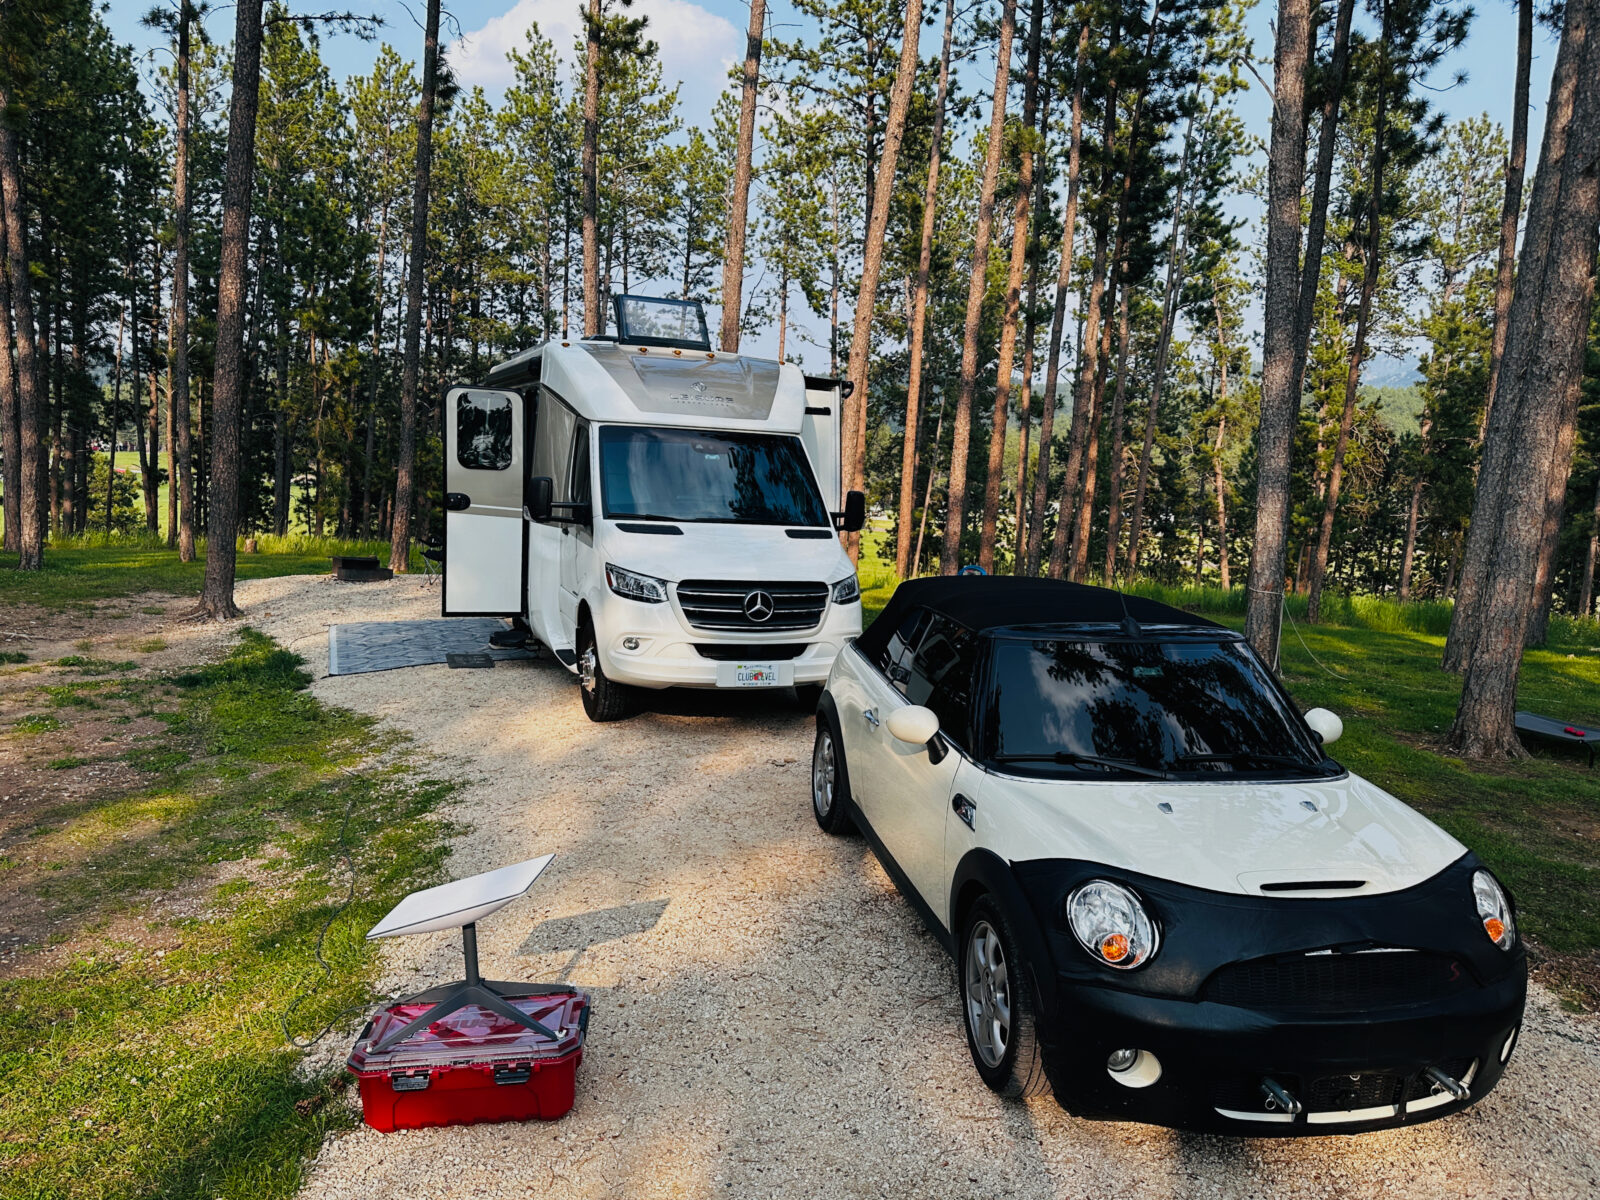
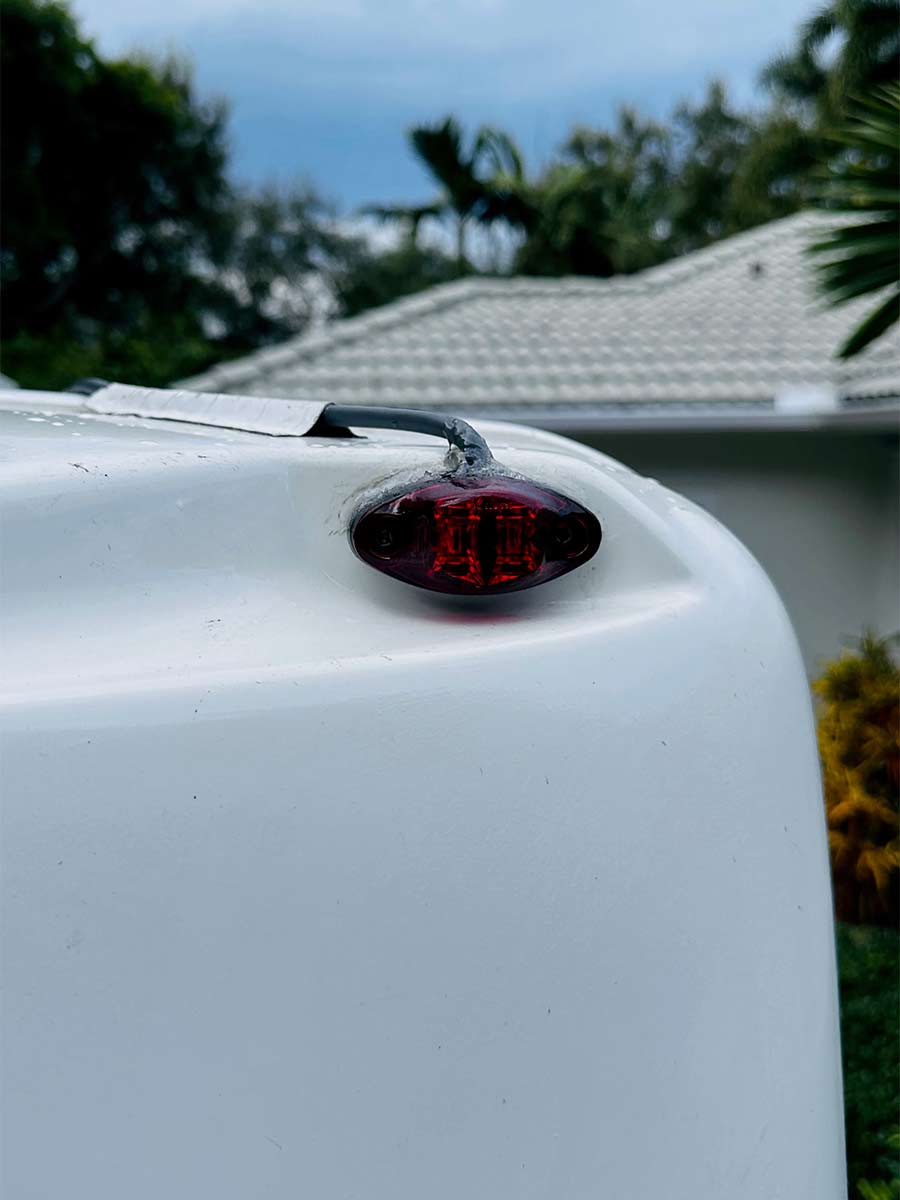
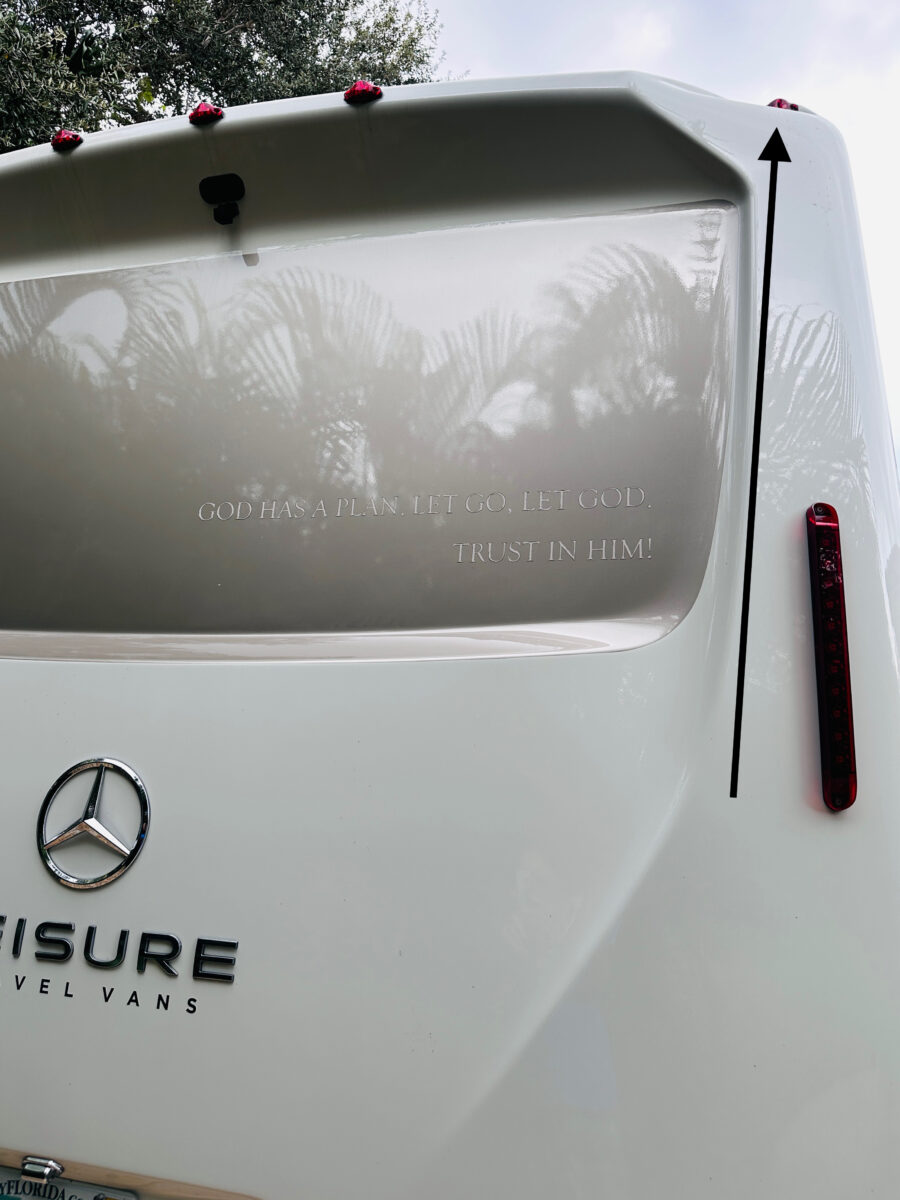
I decided to buy a second stand and mount that base to the roof next to the skylight hatch opening; that way, I can stand on my salon chair, look up through the open skylight, snap the dish into position, connect the waterproof network cable connectors and viola. I have Dishy 10′ above the ground. Securing the four-legged mount was simple. I applied VHB tape to the feet (the same stuff that holds my solar panels in place) and reinforced it with a top layer of Eternabond (this stuff is also excellent). The Starlink shielded cable was snaked under three of our six 100-watt rigid solar panels down to the starboard aft, top-mounted running light.
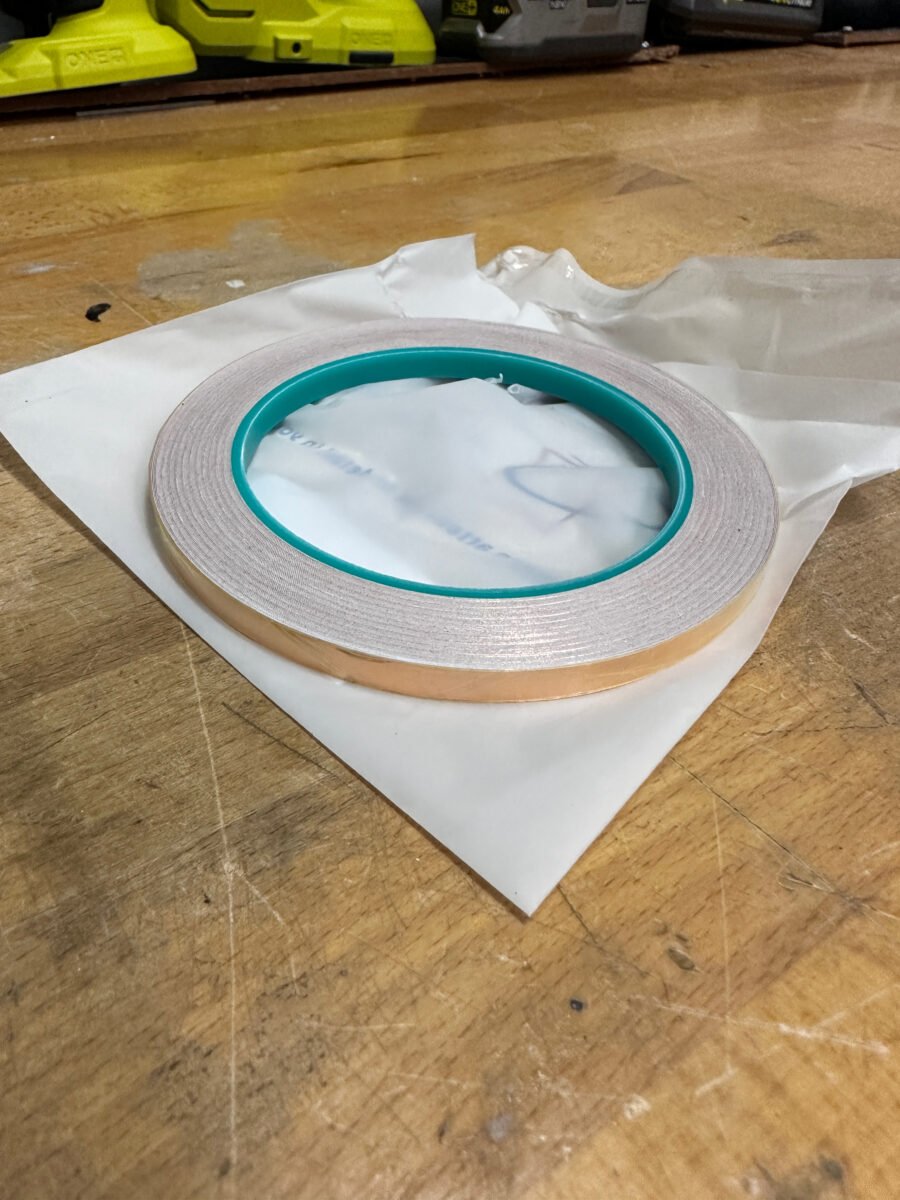
Next, I carved a tiny notch in the base, slid the networking cable down to the ground, and generously silicone the penetration point. None of the Starlink wiring or entry points are viewable from the ground (that’s a good thing), and I didn’t have to drill a hole into the fiberglass roof. Then, I drilled a hole (the only one) in the lower starboard (aft) cupboard wall, installed a double female network connector through the wall, and finally mounted an outlet cover to protect the network cable’s external connection to the cupboard. I used a set of five double-sided, IP67-rated network quick connectors to provide flexibility (rooftop or ground hop mounting), ensuring my connections could withstand wet or rugged conditions. I also bought an extra 150′ long Starlink shielded 150′ cable with proprietary Starlink connectors (it wasn’t cheap) for my ground mount cable. I cut the wire 24″ away from those connectors (they are now spares) and rewired new connectors on both ends of the eight-wire braided/shielded Cat 5e ends. I also copper-wrapped the cable/connector to ensure a secure shielded terminus.
This was a good project. It required me to learn a new skill (network cable connecting) after watching a few YouTube videos on making good conducting and shielded network cables. I am happy to report that Dishy works as well on the ground 150′ from the RV as it does 10′ up into the sky. For those wondering, we don’t travel with Dishy on the roof; she is stowed when we drive down the road. Now, wherever we roam in our LTV, we are no longer cellular hostages; we are free to move unencumbered to work remotely on our computers or watch the latest episode of Yellowstone.
Life is grand!
Comments