Editor’s Note: Robin North is a member of LTV’s sponsored content team, The Leisure Explorers. Do you own a Leisure Travel Van and enjoy writing? Learn more about joining the team.
Congratulations, you finally did it! You ordered your new RV and now you’re eagerly awaiting the arrival of this addition to your family. The anticipation can have you in a tizzy, but what can you do? Actually, just like anticipating a new baby, there are quite a few things to do for your new arrival, and the time between now and its delivery date is the perfect opportunity to do them.
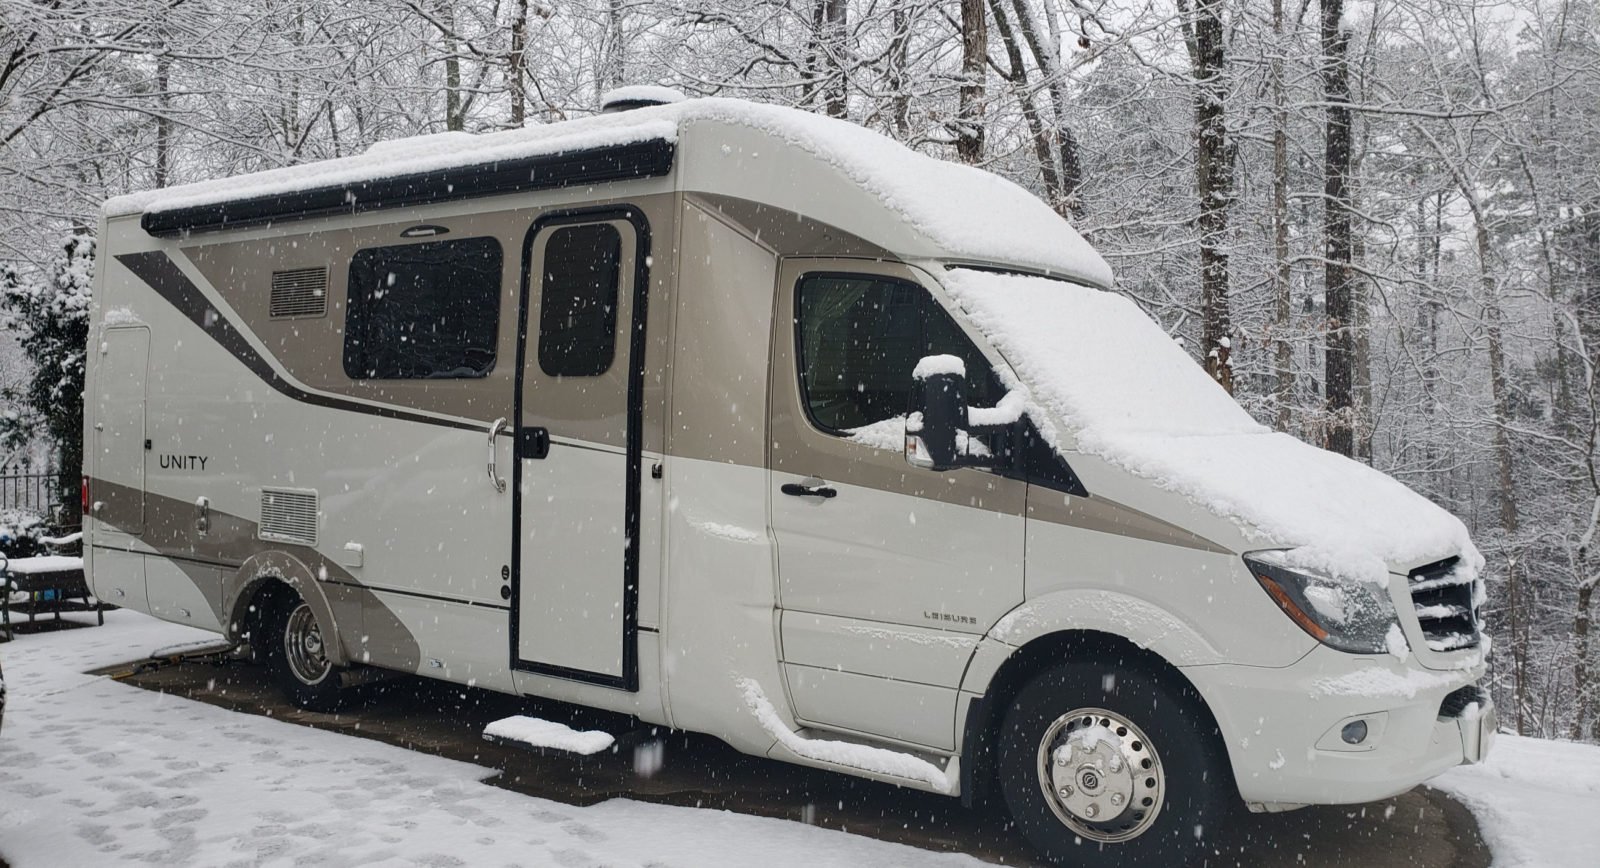
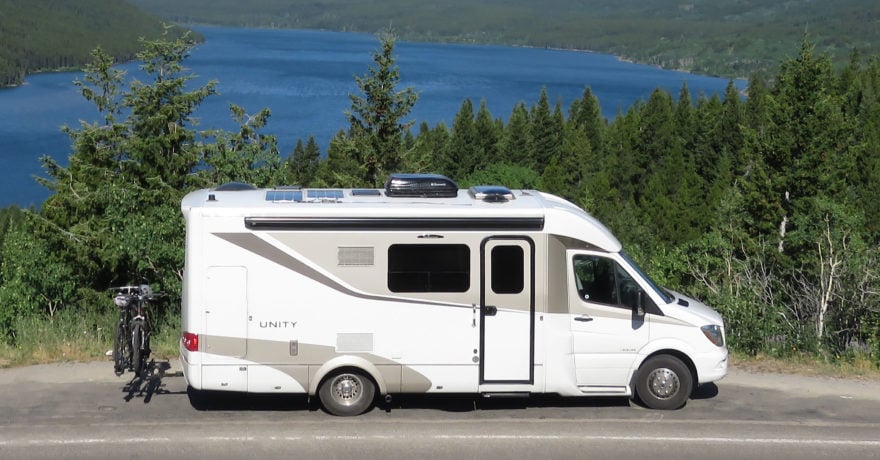
We had to wait 11 months for our LTV Unity Murphy Bed, and we had fun spending that time getting ready for our new lifestyle to begin. From learning about the RV’s specifications to trip planning, we spent many happy weekends sifting through websites for products, reading blogs about RV travel, and dreaming of long trips.
Even if you’ve owned an RV before, this one will be new to you. Different chassis, different options, different floor plans, and different storage. All those differences offer you the chance to learn – and to do a little daydreaming!
So here are our top tips for what to do while you’re waiting for your new RV to arrive.
1. Get comfortable with RV maintenance
Just like your family car, every RV needs regular maintenance. So, set up a maintenance notebook to make sure your new RV gets the best care. Include sections for the chassis, the engine, the appliances, and any part of the coach that moves (think, slide rooms, retracting steps, and awning).
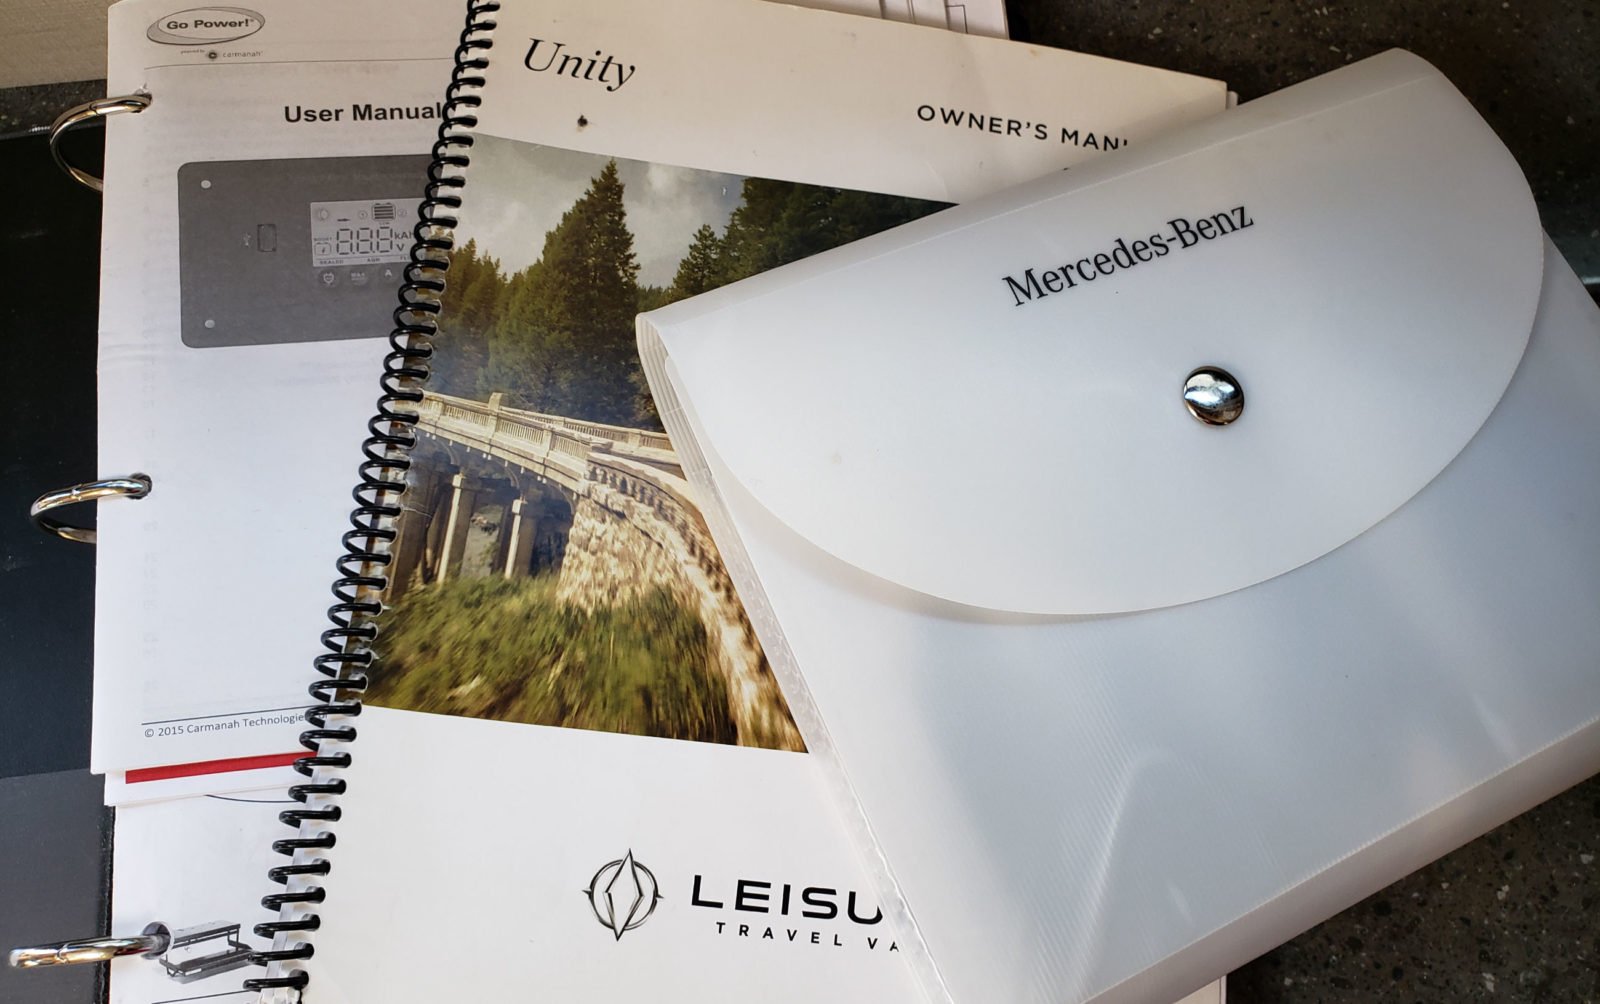
When your RV arrives, LTV provides a wonderful binder filled with all the appliance owner’s manuals as well as a chassis owner’s manual. These will be where you find service interval recommendations as well as the manufacturer’s information. For now, since you don’t yet have your manuals, you can set up your notebooks with maintenance items most vehicles need and fill in the dates for service once you read through your manuals. You can check your models’ specification section on the LTV website to consider what might need regular maintenance.
2. Research RV Products
When Jim and I were waiting for our RV to be delivered we read lots of websites and blogs about RV life. Almost every one of them recommended a long list of products we “had to buy” for our new RV. And, since we didn’t know any better, we started shopping for a lot of those items, only to find that we didn’t need them after all or they didn’t fit our space!
When it came to the inside of the RV, I assumed we would need some household items made with camping in mind. Collapsible bowls, plastic ‘glassware’, unbreakable dishes, and linens designed for RV beds. Over the course of that “waiting period”, there’s no telling how much we spent! Which brings me to the question of, how much do you need to buy for your new RV? Probably not as much as you might think.
The RV itself is pretty self-contained, but there are attachments and products you’ll need in order to use all of the self-contained systems. For instance, to dump the holding tanks you’ll need a dump hose unless you ordered a macerator dump system. Most manufacturers include a dump hose with the unit, but that item shows up on a lot of those blog lists. You’ll also need a freshwater hose (that too is included by the manufacturer or the dealer as well as the power cord).
Our advice is to check with the manufacturer for what is included at delivery, then have a chat with your dealer to see what else they provide that is included in the price of the RV. In other words, wait until you take delivery of your RV before you begin buying products. Since you don’t have dimensions for storage cabinets, you don’t know how wide dishes can be, or how tall the glasses can be, the right size for that new BBQ grill and so on. However, you can do your research!
Note: LTV has created their own helpful Tips & Tools section on their blog here, and all new and potential owners can access a detailed breakdown of interior storage dimensions here.
There are so many products available for the RV, and many bloggers outline the benefits of using one brand or another. If an item seems like a good fit for the way you want to travel, do your research on the products available and read the reviews. Basics like surge protectors, water pressure regulators, and leveling blocks or jack pads all seem reasonable to purchase. Yet, there are so many different brands to choose from, and most items have different options. It is time well spent reading reviews, asking friends who have RVs, and engaging on LTV owners group forums to find out why one model or brand is better than another.
Be honest with yourself about which items are ‘must have’ and just ‘nice to have’. Think about how you want to travel and camp. Which items will be used all the time? Those are your essentials. The other category has all those creature comforts and upgrades that make RV travel just a little more enjoyable. A small RV has some storage area but it is limited. When it comes time to pack up for a trip, make sure you pack the essentials first!
Here are a few examples from our own experience (your choices will probably vary):
- Must-haves for setting up camp: a couple of camp chairs, a small folding end table, and a doormat; Nice extras are a campsite carpet, and maybe a screen room if you are camping in “buggy” zones.
- Must-haves for the RV bedroom: sheets, blankets, and pillows. A nice extra is the fitted RV sheet/comforter combinations.
- Must-haves for the RV kitchen: pots and pans, flatware, dishes, drinkware, and some basic cooking utensils. Nice extras might be a cooler to help with cold drinks, a coffee maker, slow cooker, or other kitchen appliances.
- Must-haves for the RV bathroom: towels, toiletries, dissolving toilet paper. A nice extra could be a small bath rug outside the shower and an over-the-door organizer.
- Must-haves equipment for dumping the tanks: dump hose, latex gloves, hand sanitizer, and paper towels. Almost a ‘must-have’ are holding tank deodorizing tablets.
- Must-haves equipment for water hook-up: a freshwater supply hose and water pressure regulator (yes, you really need this). A nice extra is an in-line water filter.
- Must-have equipment for electrical hook-up: RV electrical cord. Nice extras to have are an outlet adapter to allow you to convert 30-amp or 50-amp service and an external surge protector.
- Must-have equipment for Manual Leveling: leveling bricks and a carpenter’s level. A nice extra is a phone app for leveling RVs.
- Must-have equipment for Automatic Leveling: Jack pads to prevent the leveling legs from sinking into soft ground. A nice extra might be an extension pole with a hook to retrieve jack pads from under the RV.
3. Get familiar with online planning tools
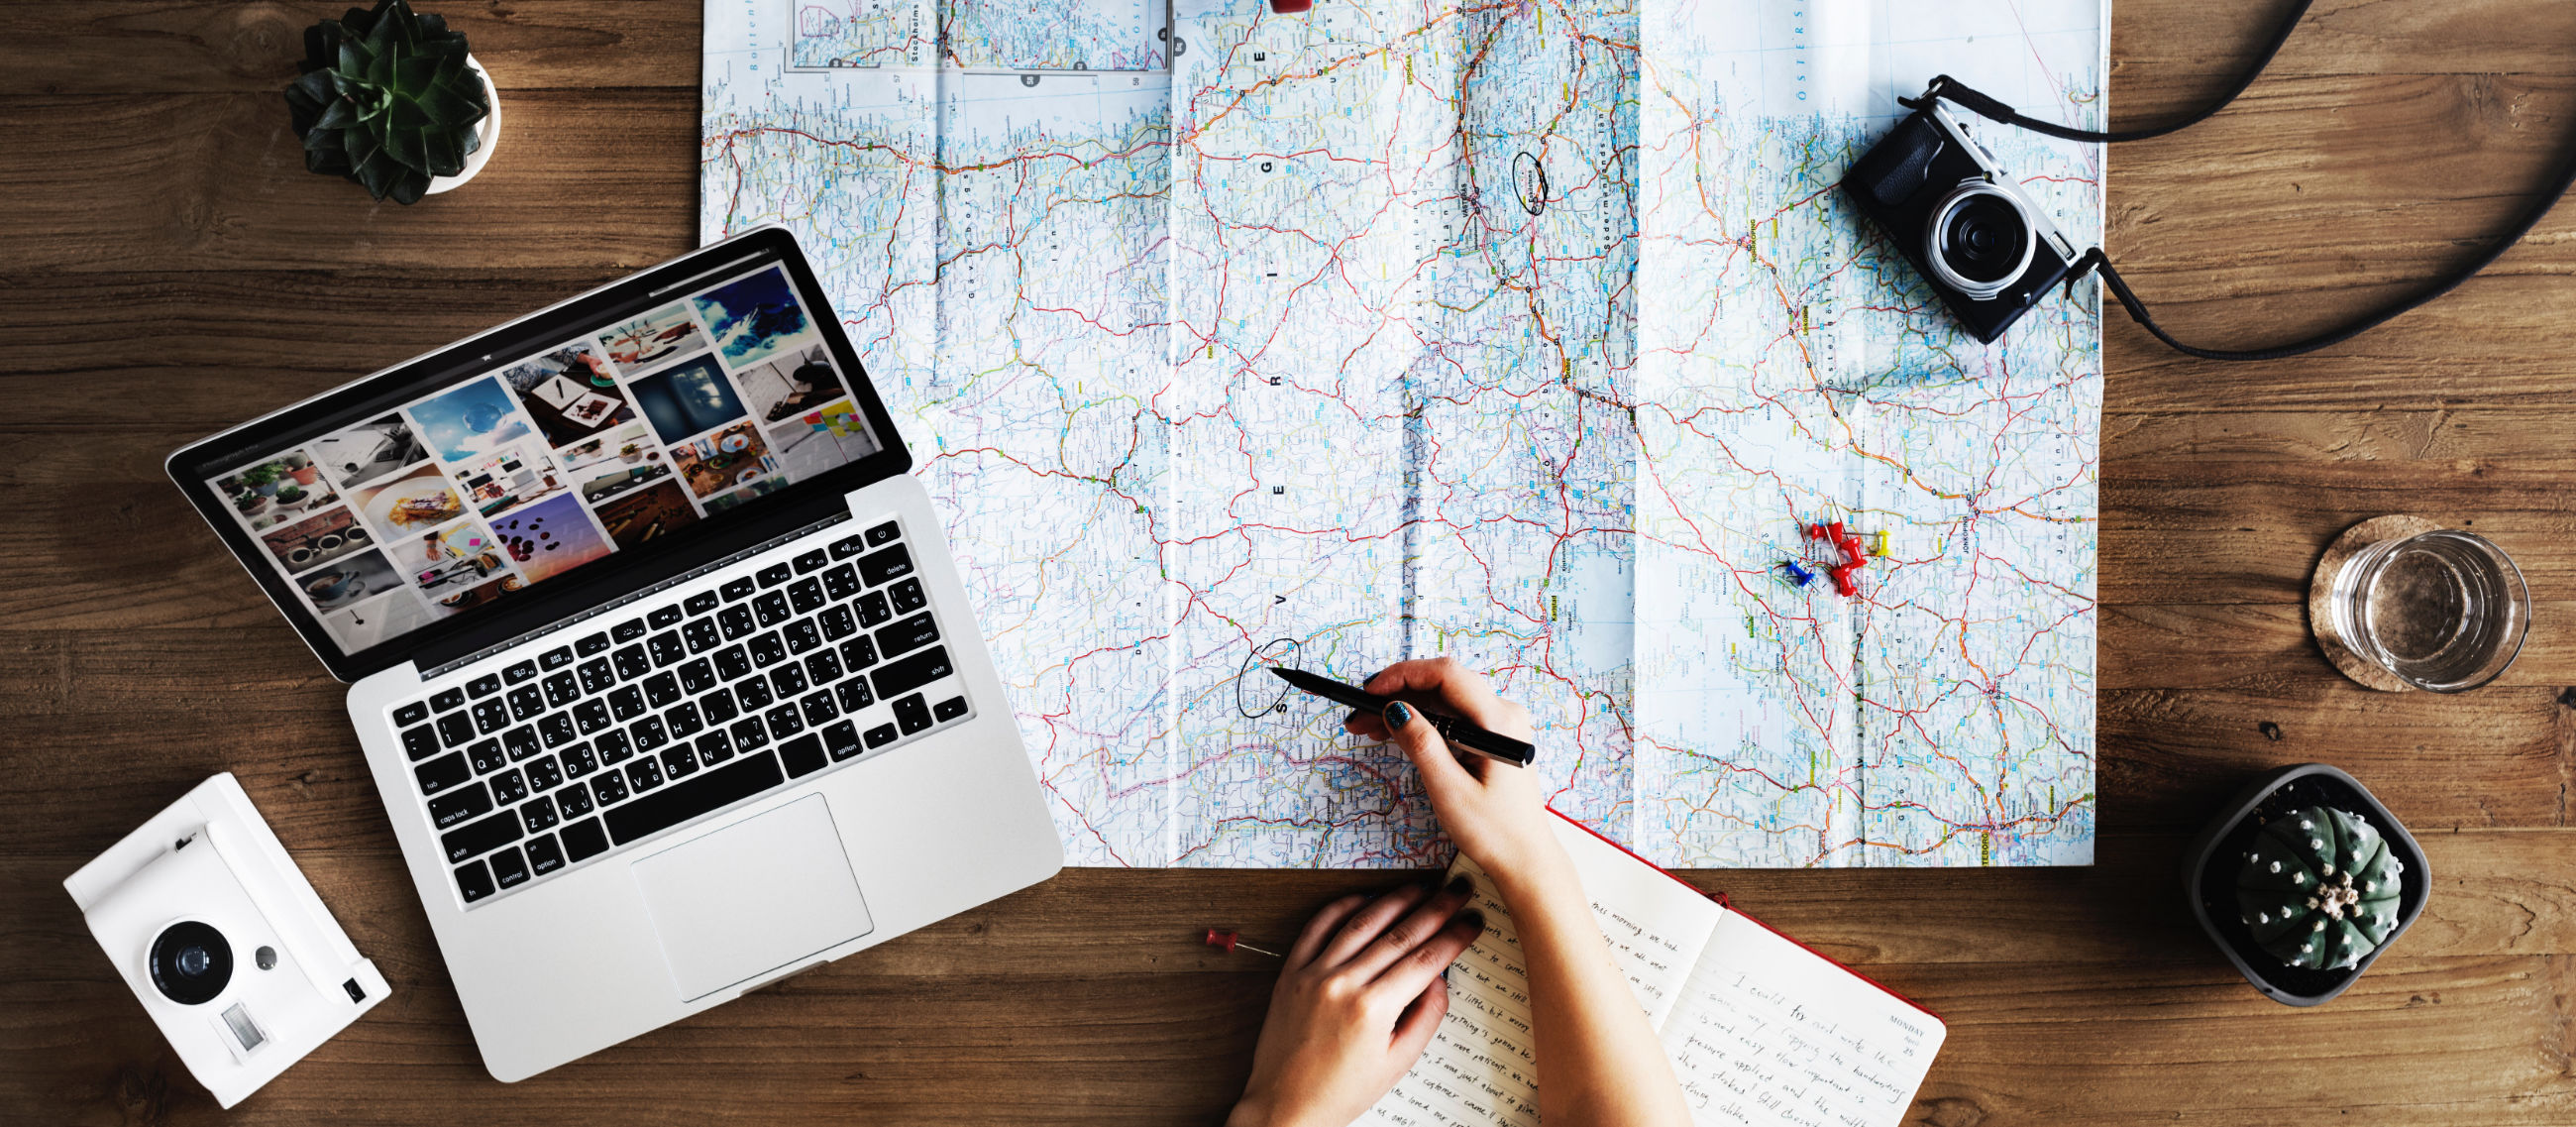
Getting on the road is really what RVing is all about, so spend this “waiting time” planning your first trips. Online trip planners like RV Trip Wizard, Good Sam, AAA Trip Tix are all good tools to help you plan a trip. They can help you evaluate and choose routes for your trips. I have used all three different apps and each has its strengths and weaknesses.
If you are hesitant about planning online, consider how much you can do on your computer! Some online tools offer more than route planning. They can also show you potential fuel stops, restaurants, attractions, and campgrounds along a route. They can even “build-in” rest stops and overnight stops to your route. Some online tools give you multiple options for a trip route. This is helpful when you start planning things to do along the way or to find an alternate route in case of traffic jams.
Note: LTV has curated lists of Top Campgrounds, Scenic Drives and many others helpful for trip-planning in the Leisure List section on their blog here.
With all that electronic fire-power at your disposal, paper maps might seem to be obsolete. But, when a cell signal is weak (or non-existent) it’s nice to have an analog backup. So I keep a road atlas in the RV and often print out the trip route in case I lose my mobile signal. Google Maps will allow you to download a route just for this purpose.
4. Make a list of destinations
Oh, the places you’ll go! But where do you start? I have a go-to list of websites that help me find interesting destinations and special attractions along a route.
-
- State Departments of Tourism – Every state and Canadian Province has a department of tourism, and they all have really helpful websites. You can expect to find general information on the area as well as self-guided itineraries on food, wine, museums, outdoor activities, and all manner of attractions.
- City CVBs and Chambers of Commerce – Tourism is the biggest income generator for so many communities. You can count on the local Chambers of Commerce to have some information for visitors. If the city also has a CVB (Convention and Visitors Bureau) you have a true visitor-friendly community. Inside the CVB you can expect to find brochures, maps, information specialists to help plan a trip, and suggested tours and attractions. Some even offer discount attraction tickets or restaurant coupons and hotel discounts. Just search for the city or town and add “visitor information”, “Chamber of Commerce”, or “CVB”.
- Trip Advisor – If you want to know what other travelers really think about a destination, Trip Advisor is a good place to start. Along with Google Maps and their very active “local guides”, Trip Advisor solicits reviews from visitors to attractions, restaurants, hotels, and destinations.
- Books and magazines – I am a beach-lover, so Coastal Living is always on my coffee table. Inside most lifestyle magazines you’ll find a travel section to help add destinations to your list. Travel guides and travel blogs can also give you an inside track on what to do in any destination.
- Create a travel notebook – I call this my “dream book”! This is where I jot down notes about particular destinations on museums, festivals, seasonal attractions, and foodie spots.
- Adapt your notebook – Once you start traveling with your RV, your notebook might also include information about the trips you have taken, gas mileage, any issues that came up, receipts for service or purchases, and your packing list for that trip.
5. Join an LTV owners club in your area
Let me start this with a clarification: Jim and I are not “joiners”. We bought an RV to escape from work and enjoy a bit of solitude on the weekends. If we traveled with anyone, we figured it would be family or close friends. So, when we bought an RV the farthest thing from my mind was joining an RV club.
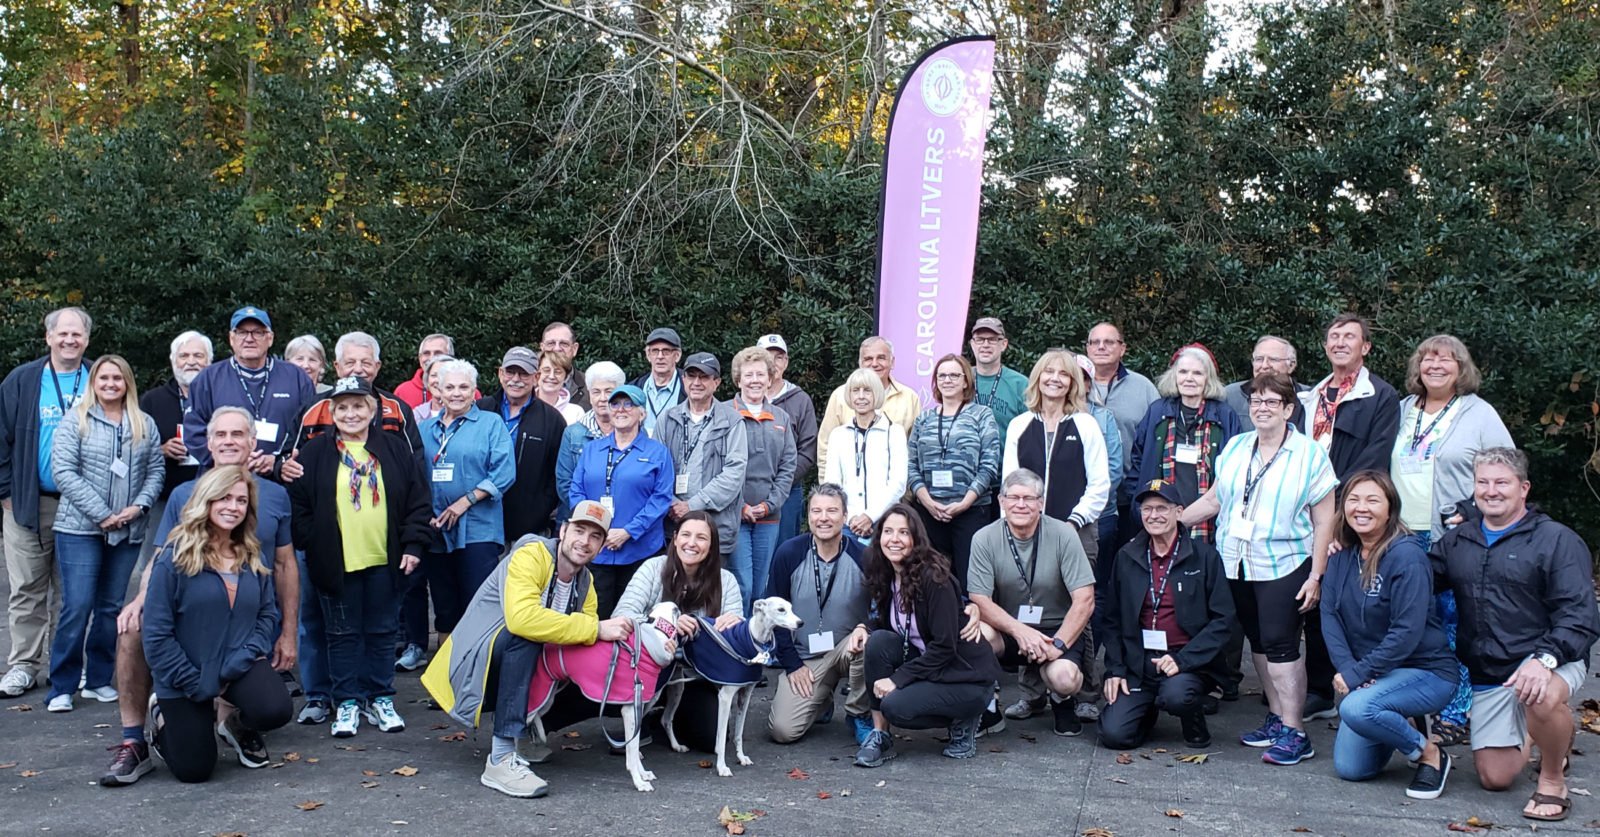
Yet, being new RV owners, we had a lot of questions. Searching the internet for answers is okay, but we agreed it would be nice to talk with others who had the same type of unit. Then I remembered the welcome email from LTV. They mentioned their RV owners clubs and, after browsing their website owners section, it didn’t take long to find a few in our area. Since there weren’t any in our home state of Georgia, I sent inquiries to a couple of groups in nearby states. The Carolina LTVers were most welcoming and we signed up for their first rally to be hosted in Ashville, North Carolina.
We had a great time meeting others with the same brand RV. We traded travel stories, shared troubleshooting tips, learned about clever modifications, and even toured the different models. I think one of the best benefits of the club is meeting people who share a love for RV travel. Even though I had a long career in tourism, there weren’t many colleagues who were RVers! We attended a second rally the following fall and it simply confirmed that our decision to join an RV owners club was a good one! We always return home full of great ideas, good information, and, since the group continues to grow, we also come home with a handful of new friends.
Waiting for your new RV delivery may seem like a drag, but there is so much to do to get ready to enjoy your RV that the time goes by pretty quickly. The time you spend now planning will make your RV journey that much more enjoyable!




Comments