
Spring is just around the corner, and that means it’s time to start thinking about de-winterizing your Leisure Travel Van. If you’re a seasoned LTV owner or a new owner, you know that de-winterizing your Leisure Travel Van is essential in preparing for your travels.
Whether you have a Unity or a Wonder, this de-winterizing guide is meant for both coaches. Both the SOP (standard operating procedure) and step-by-step video are also available to guide you through the de-winterizing process so you can hit the road with confidence and enjoy all of the adventures that lie ahead.
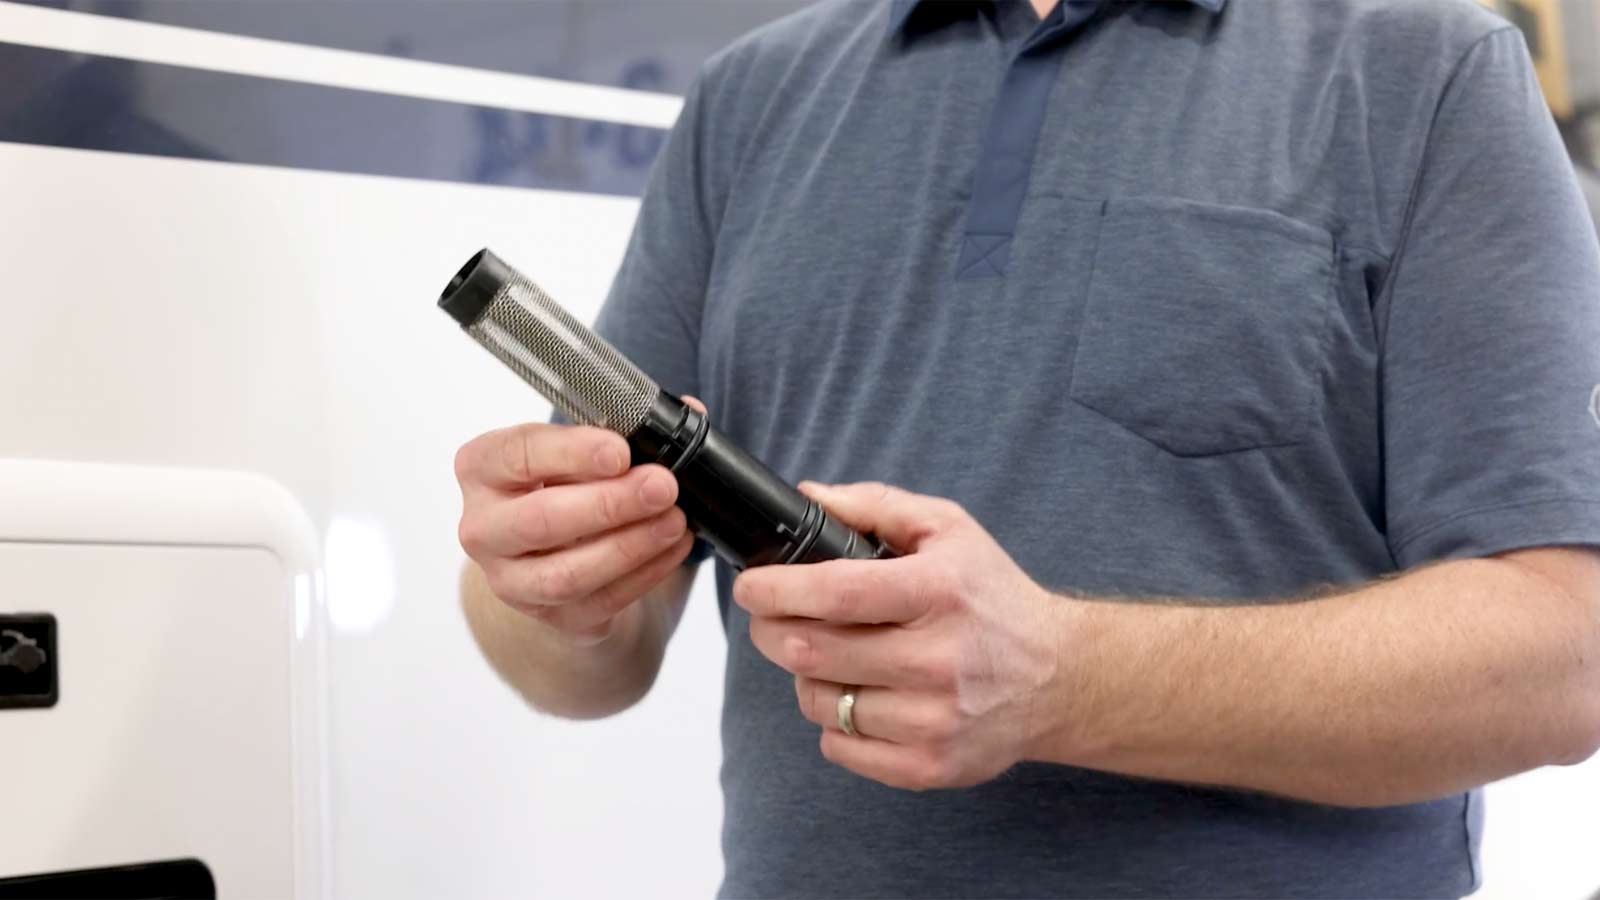
Step 1: Inlet Filter Inspection
Grab your inlet filter and begin the inspection. Make sure two O-rings are still in place. If they are not in place or cracked or damaged, they must be replaced.
Step 2: Place Inlet Filter Back into the Hot Water Heater
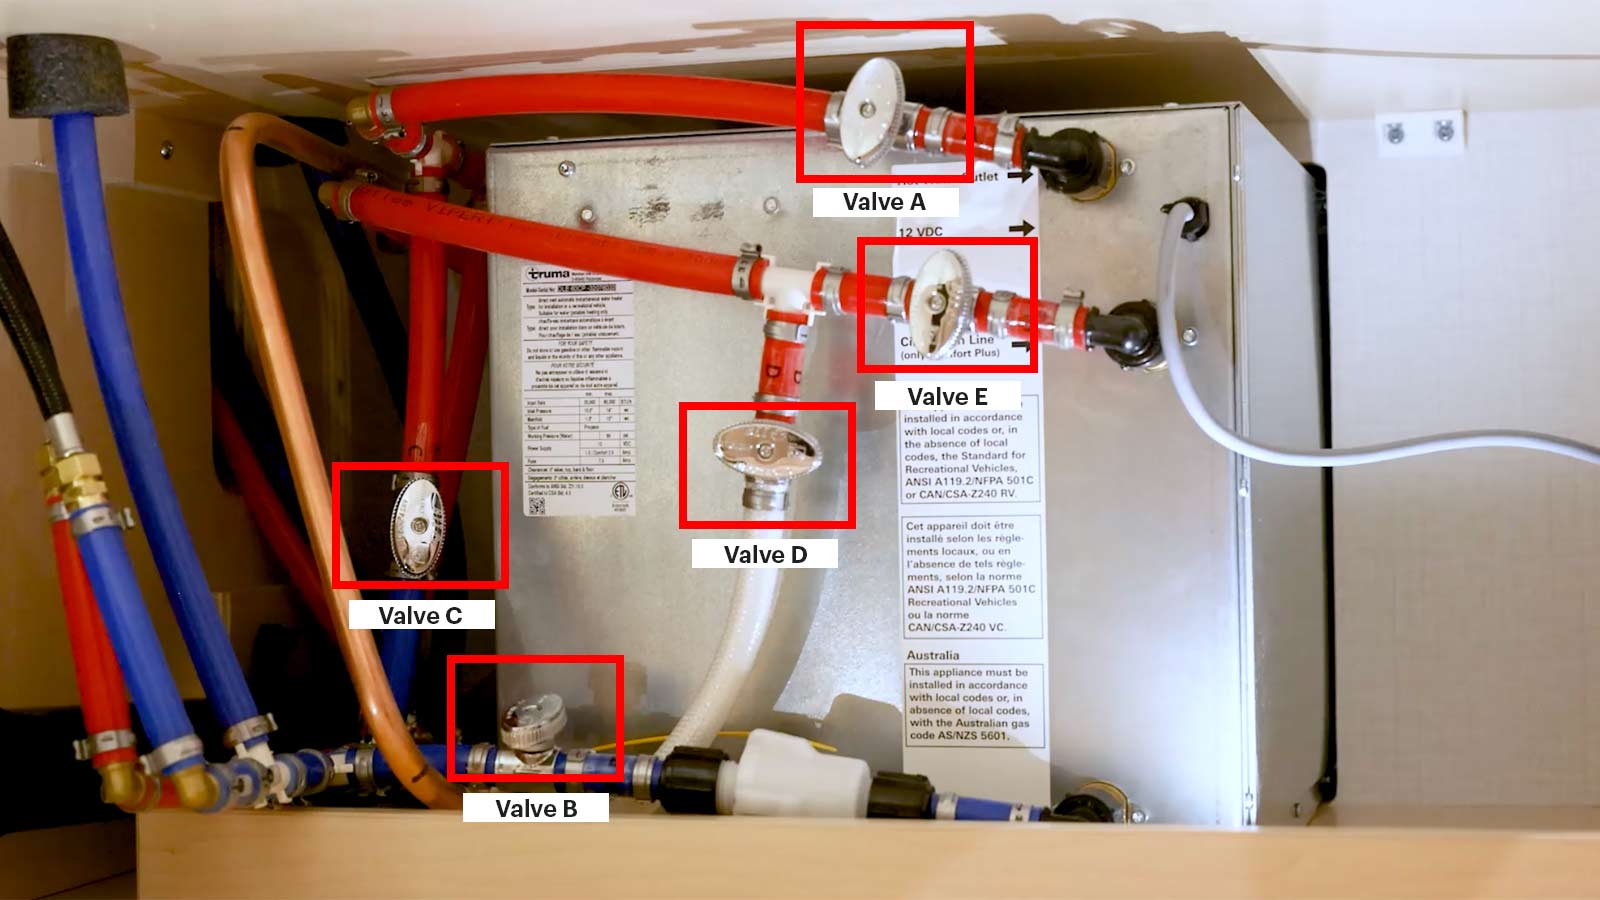
Now that you’ve inspected the inlet filter for any damage, you can begin to place the filter into the hot water heater. After you’ve placed the inlet filter back into the water heater, close the pressure relief valve if it was left open.

Also, ensure the water heater is still in the bypass mode (Valves A, B, D, E CLOSED, Valve C OPEN).
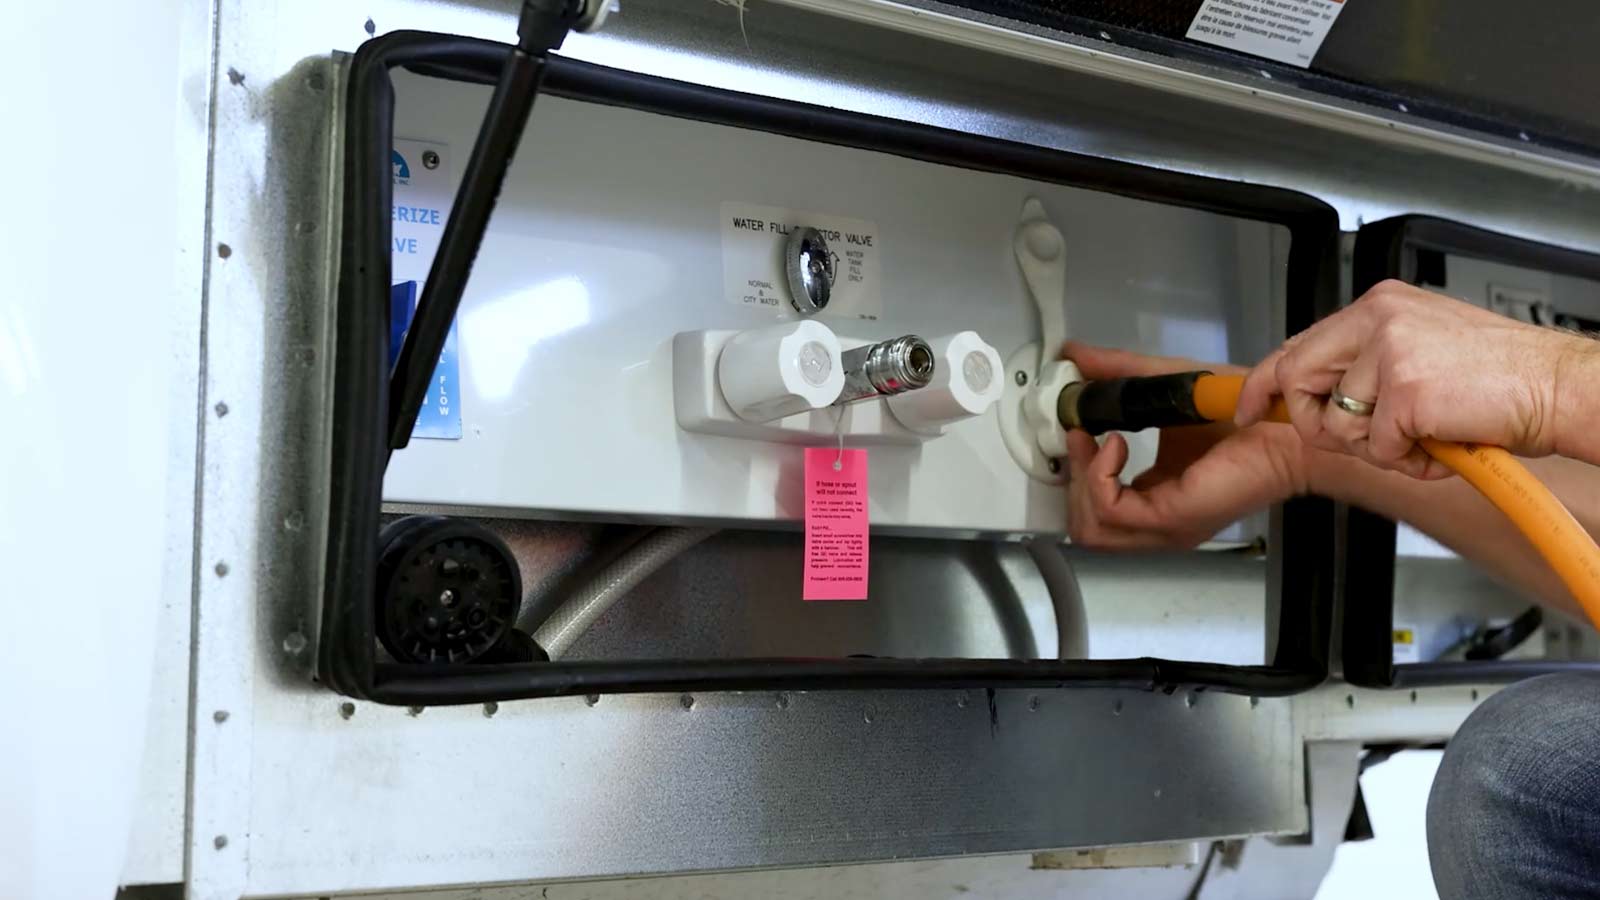
Step 3: City Water Connection
Connect your LTV to a city water connection, and in your exterior utility center, make sure your ‘Winterize Valve’ is set to “NORMAL FLOW” and your ‘Water Fill Selector Valve’ is set to “NORMAL & CITY WATER.” After all of these steps, you can turn on the city water supply and head inside your coach to begin flushing out all of the water lines.
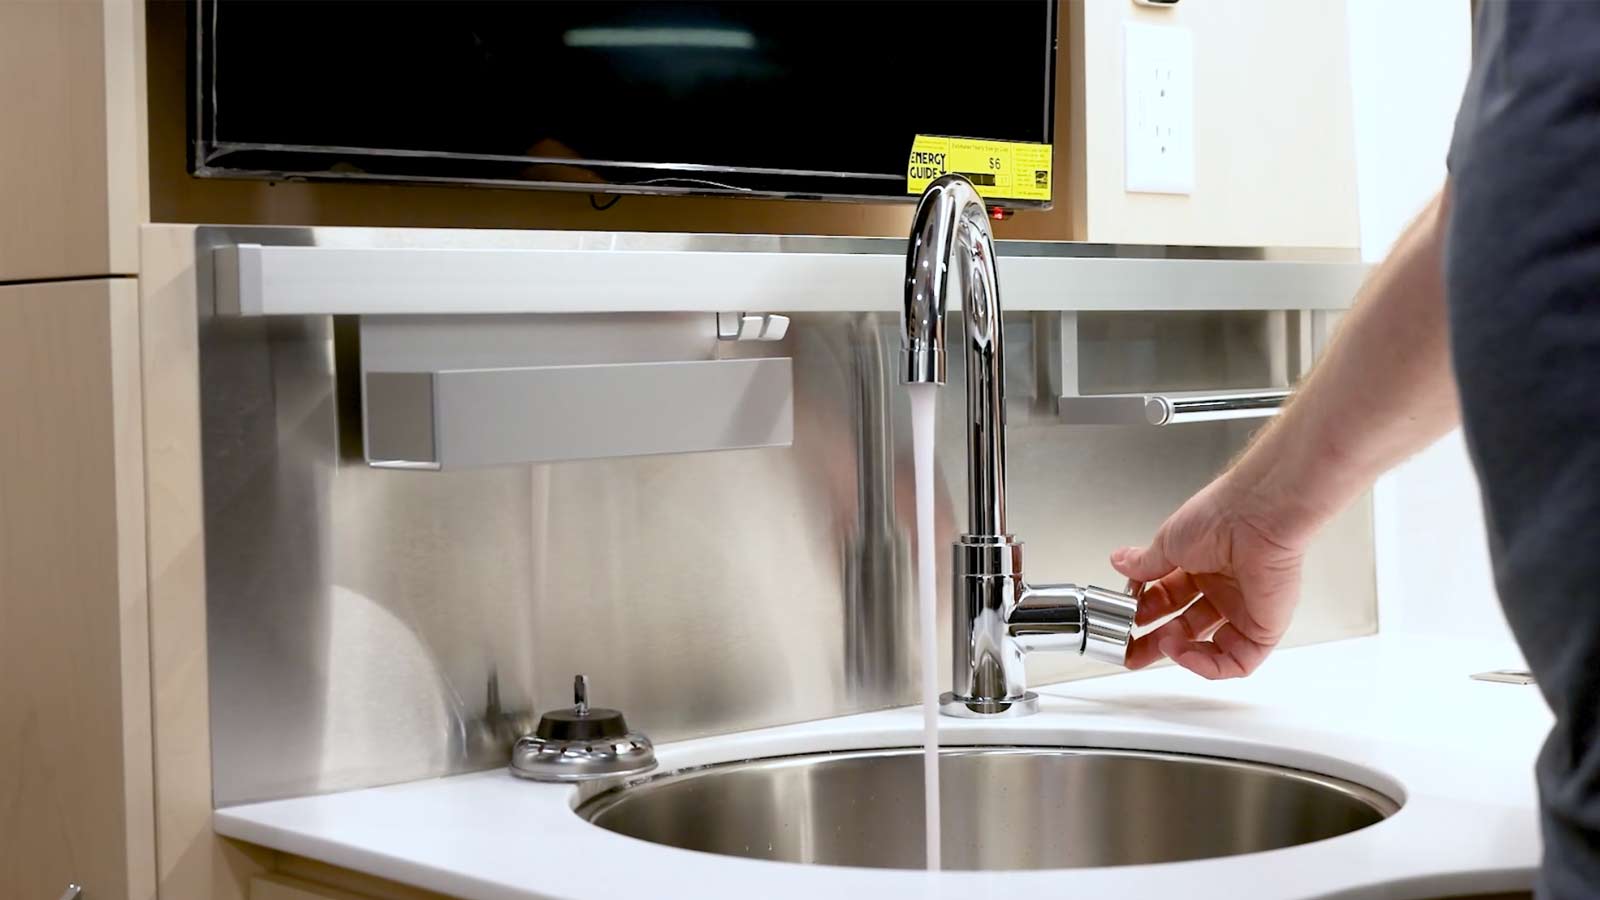
Step 4: Flush Out Water Lines
Inside the coach, turn on each faucet one at a time to allow water to flush from both the hot and the cold lines. Once the water coming through is clear, turn off the faucet. Don’t forget the toilet and exterior shower. After running all of the faucets and ensuring no pink fluid is running through the lines, open Valve D on the water heater for 5-10 seconds, which will flush the fluid out of the drain line, water will be pouring out from the bottom of the coach. When you are confident the water running out is clear, go ahead and turn Valve D back off.
Steps 5 and 6: Adjust Water Fill Selector Valve
Once the antifreeze has been flushed out of the water lines, set your Water Fill Selector Valve to “WATER TANK FILL ONLY” and fill the fresh water tank. Be sure to close the fresh water tank drain if you left it open during the winter!
Once the fresh water tank is full, disconnect the water hose, set your Water Fill Selector Valve back to “NORMAL & CITY WATER”, and turn on the water pump.


Step 7: Run the Faucets
Now that the water pump is on run the fresh water through all of the faucets again as you did in step 4 for a few moments.

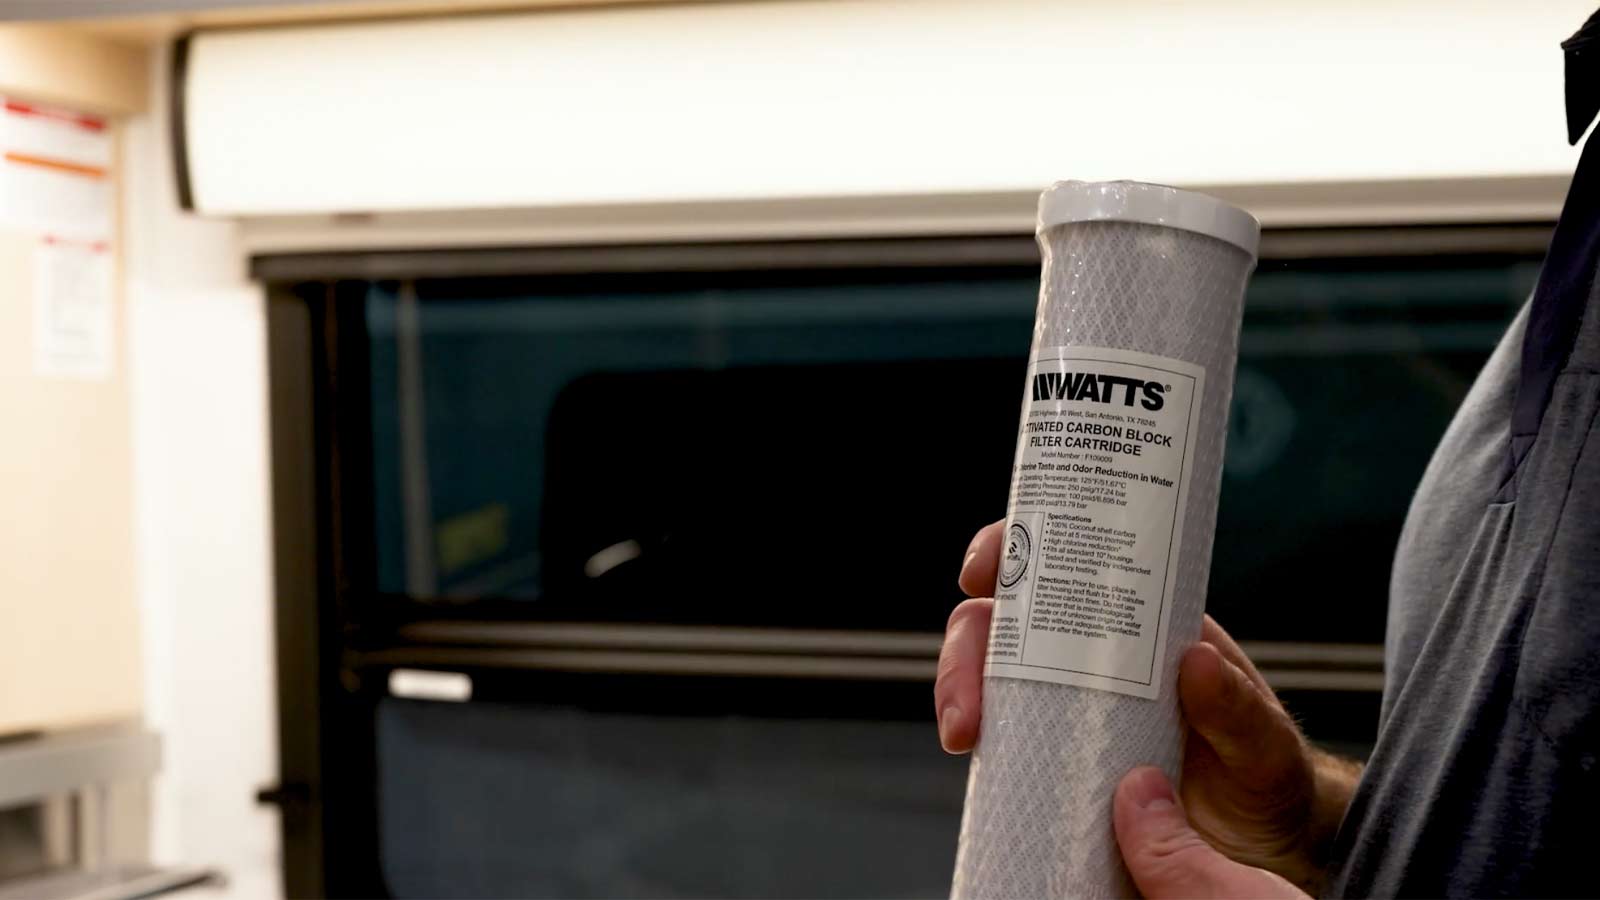
Step 8: Re-install Water Filter Cartridge (Unity Only)
This step is for Unity owners only, as the Wonder does not have a built-in water filter. Turn the water pump off and open up a faucet to ensure there is no pressure in the system. You can then proceed to change the filter.
Step 9: Take the Water Heater off Bypass
Valves A, B, and E are OPEN, and Valves C and D are CLOSED.

Now your Leisure Travel Van should be de-winterized, and you are ready to hit the road. It’s always important that you keep your coach in tip-top shape and ready for all seasons. If you are ever in need of professional help, contact the Service Department, and they will guide you along the de-winterizing process of your LTV.
Feature photo by: Franklin Beecham

Comments