This article outlines a modification completed by an LTV owner and has not been officially endorsed or reviewed by Triple E Recreational Vehicles. Please do your own research and consult your chassis manufacturer before attempting any modifications. Triple E Recreational Vehicles is not able to provide any support for this modification. Modifications may void warranties if applicable.
My wife said as we were driving to a State Park in our Unity, “Wasn’t that the entrance you just drove past?” I responded, “What?” That’s when I knew I should look into additional soundproofing for our Unity cab area. Sure, I still miss turns and entrances, but at least I am able to hear my wife point it out to me as we whoosh by! With that in mind, I went to where all savvy RVers go for information – YouTube! Before I get too far, you may be shocked by this, but I’m not a master RV tech or even a scientist, but as I often say, “what could go wrong?”
YouTube has many videos about soundproofing cars and vans, including Sprinters, and I even found a wonderful, comprehensive how-to video “2016 MB 3500 Sprinter Cab Sound Dampening (LTV RV)” from fellow Unity owner Jeff Schoenbauer, from who I completely stole my list of materials. A video specifically on “How to remove the door panels on a Sprinter” by EXPLORIST life-DIY Campers was highly useful as well. As I went deeper down this rabbit hole, it became clear that I needed to upgrade the door speakers. Duh! So, the plan was beginning to coagulate: I would add sound dampening materials to the two cab doors and the floor. The bonus is fancy new speakers. So this blog is to bring together video tutorial links and types of materials and tools needed. Please utilize these videos if you intend to do these projects, they are essential and strongly recommended.
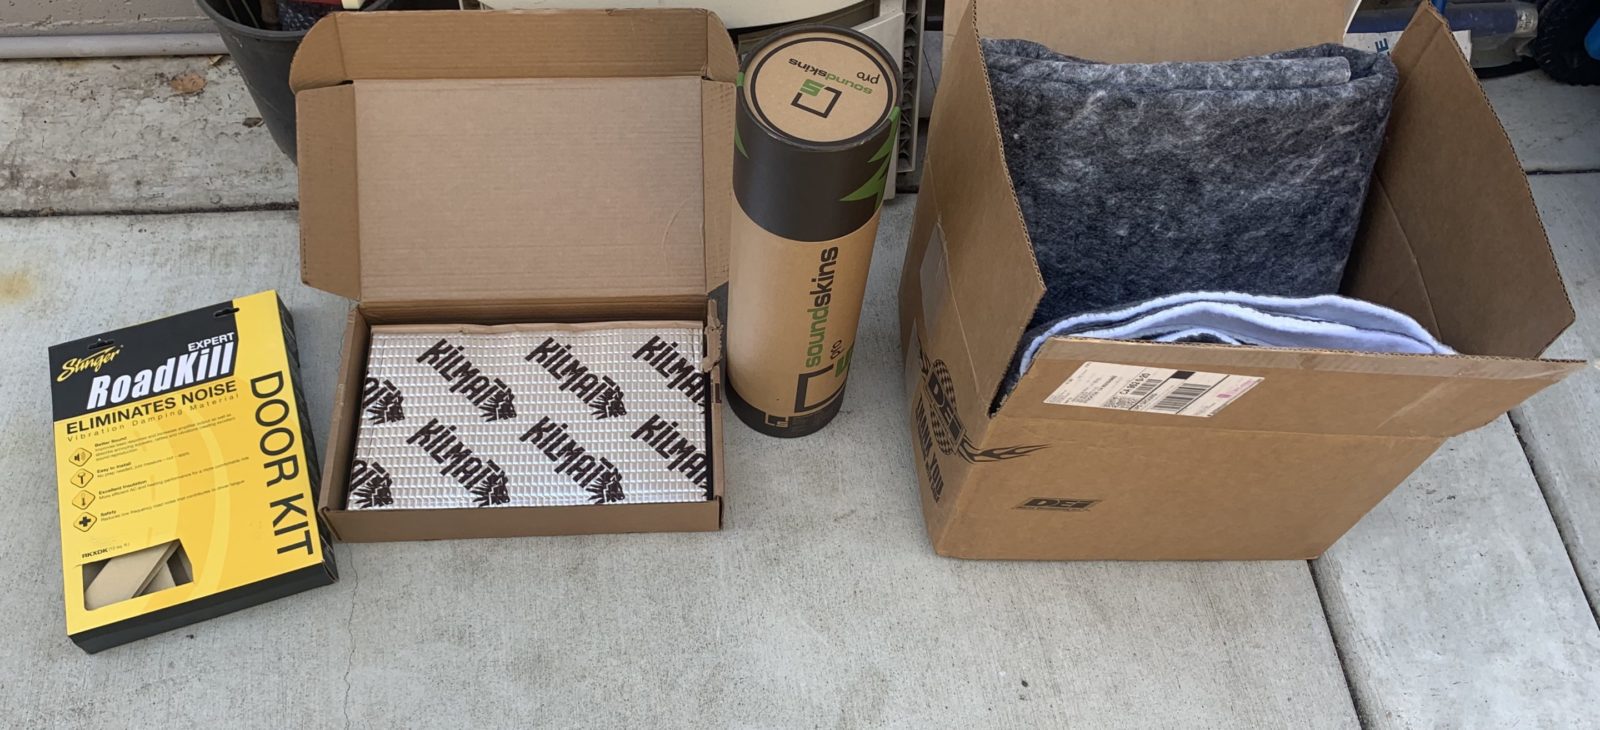
I ordered the following materials (Amazon and eBay links):
- 2 – Roadkill or Kilmat boxes, these are silver on one side and an adhesive butyl base material on the other. I bought the 50 mil version, used on the floor and doors.
- 1 – Soundskins Pro door kit, also for doors.
- 1 – Boom Mat for the floor.
- 1 – Trim toolset for door panel removal.
- 1 – 2-piece metal roller kit to apply the Kilmat pieces.
- 1 – Tube of 3M weather-strip adhesive to use for reinstalling the moisture barriers on the doors.
The total cost of these items in 2021 was around $300.
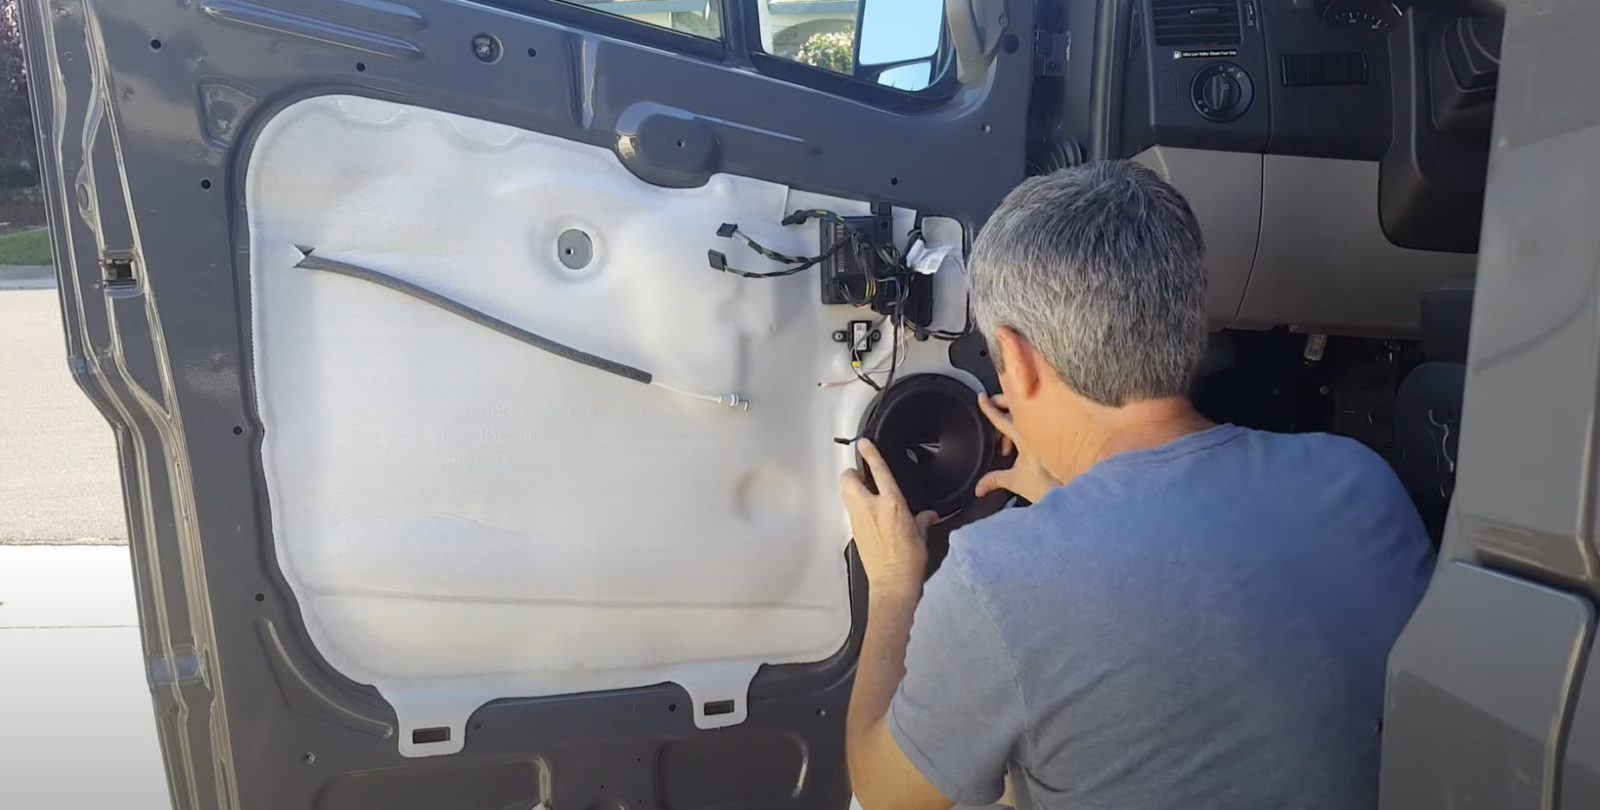
With the materials in hand, I went about taking off the door panels using the trim tools.
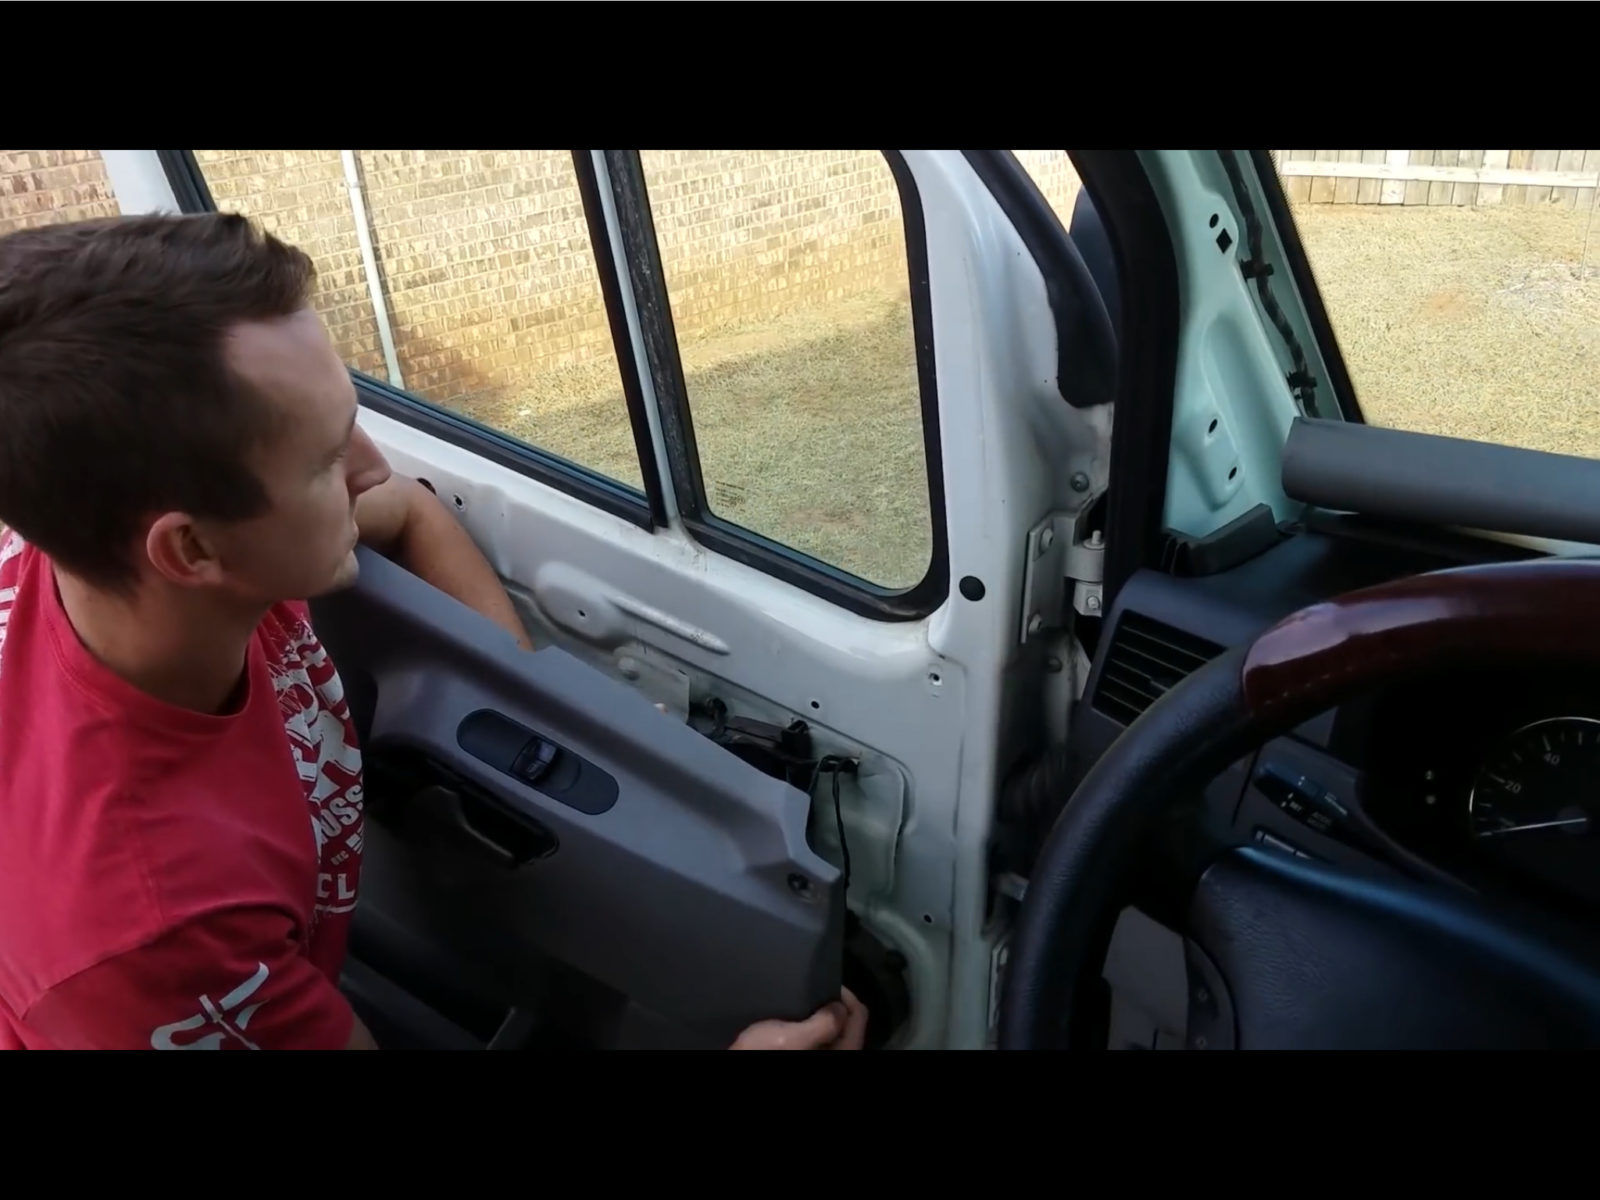
Also, be sure to carefully pull off the vapor barrier with a razor blade.
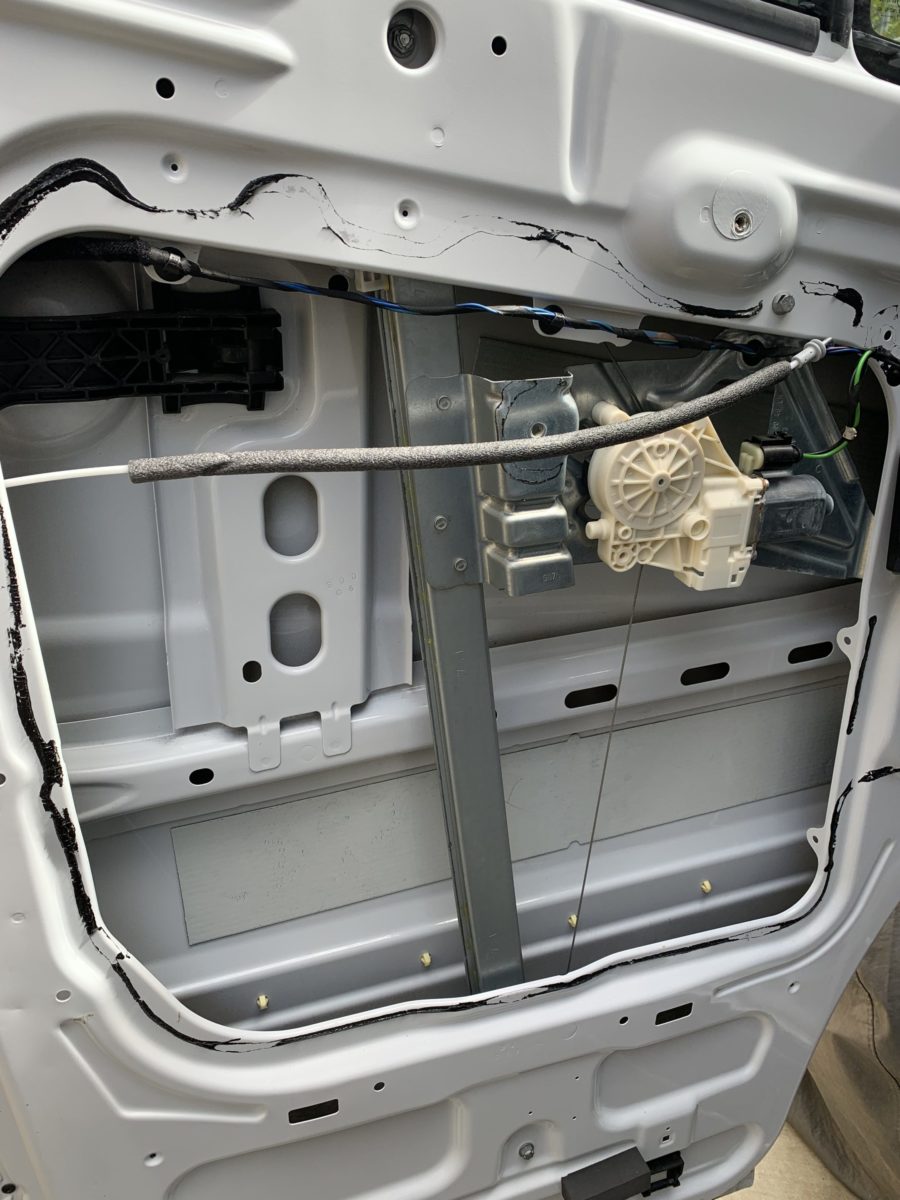
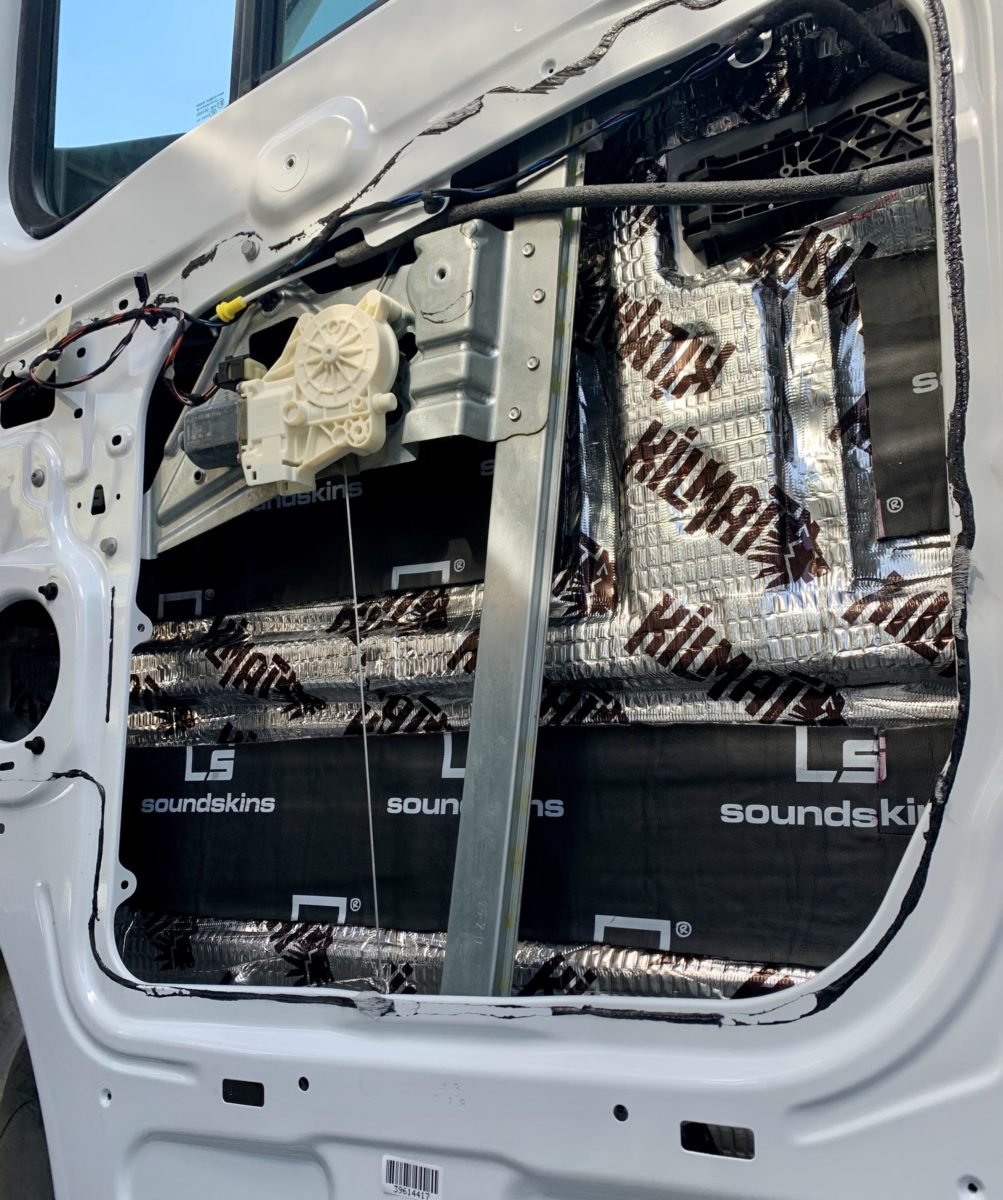
After cleaning the inside of the door skins with alcohol, I began applying the Kilmat. Use caution as there is sharp metal in these doors and wear gloves. Small hands and thin arms are helpful to get into the tight recesses of the door skin. I applied enough to cover the entire door skin, cutting to size for curves and door handles.
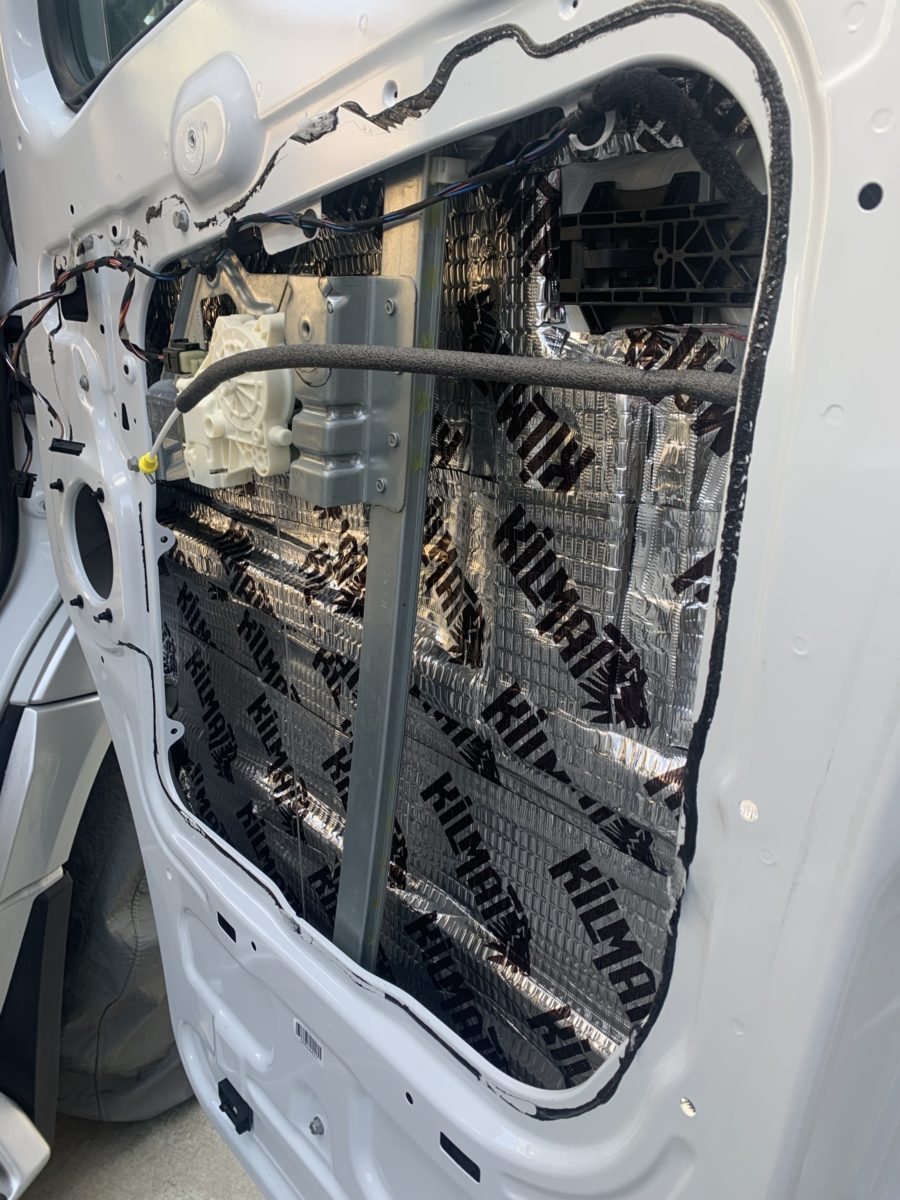
I then added the Soundskins Pro material, which is thicker and denser than Kilmat, making it harder to install on non-flat surfaces, so I cut it to fit into the biggest open areas of the door skin, going as low in the door as possible. It’s important to make sure none of these materials obstruct the windows from lowering.
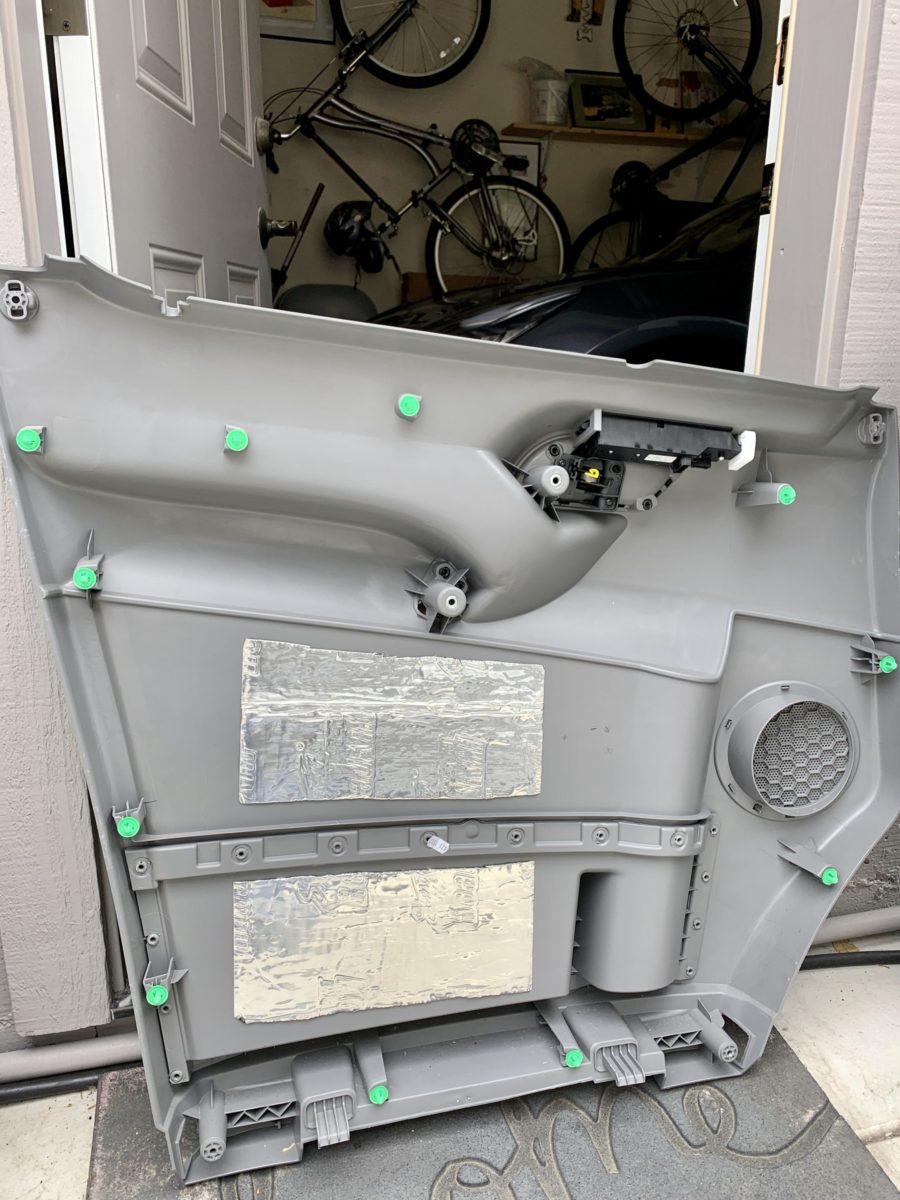
In the back of the plastic door panels, I added a few more pieces of Kilmat mainly to reduce vibration from the upgraded speakers.
Reapply vapor barriers using 3M weather-strip adhesive on the edges where necessary. Reinstall door panels. If you are upgrading speakers, don’t do this yet!
If you’ve gotten this far, congratulations! What is probably a 3-hour job for a pro, only took me 3 days! Now it’s time for the cab floor. Remove the factory rubber mats which are held in place at the door entries by trim pieces and screws.
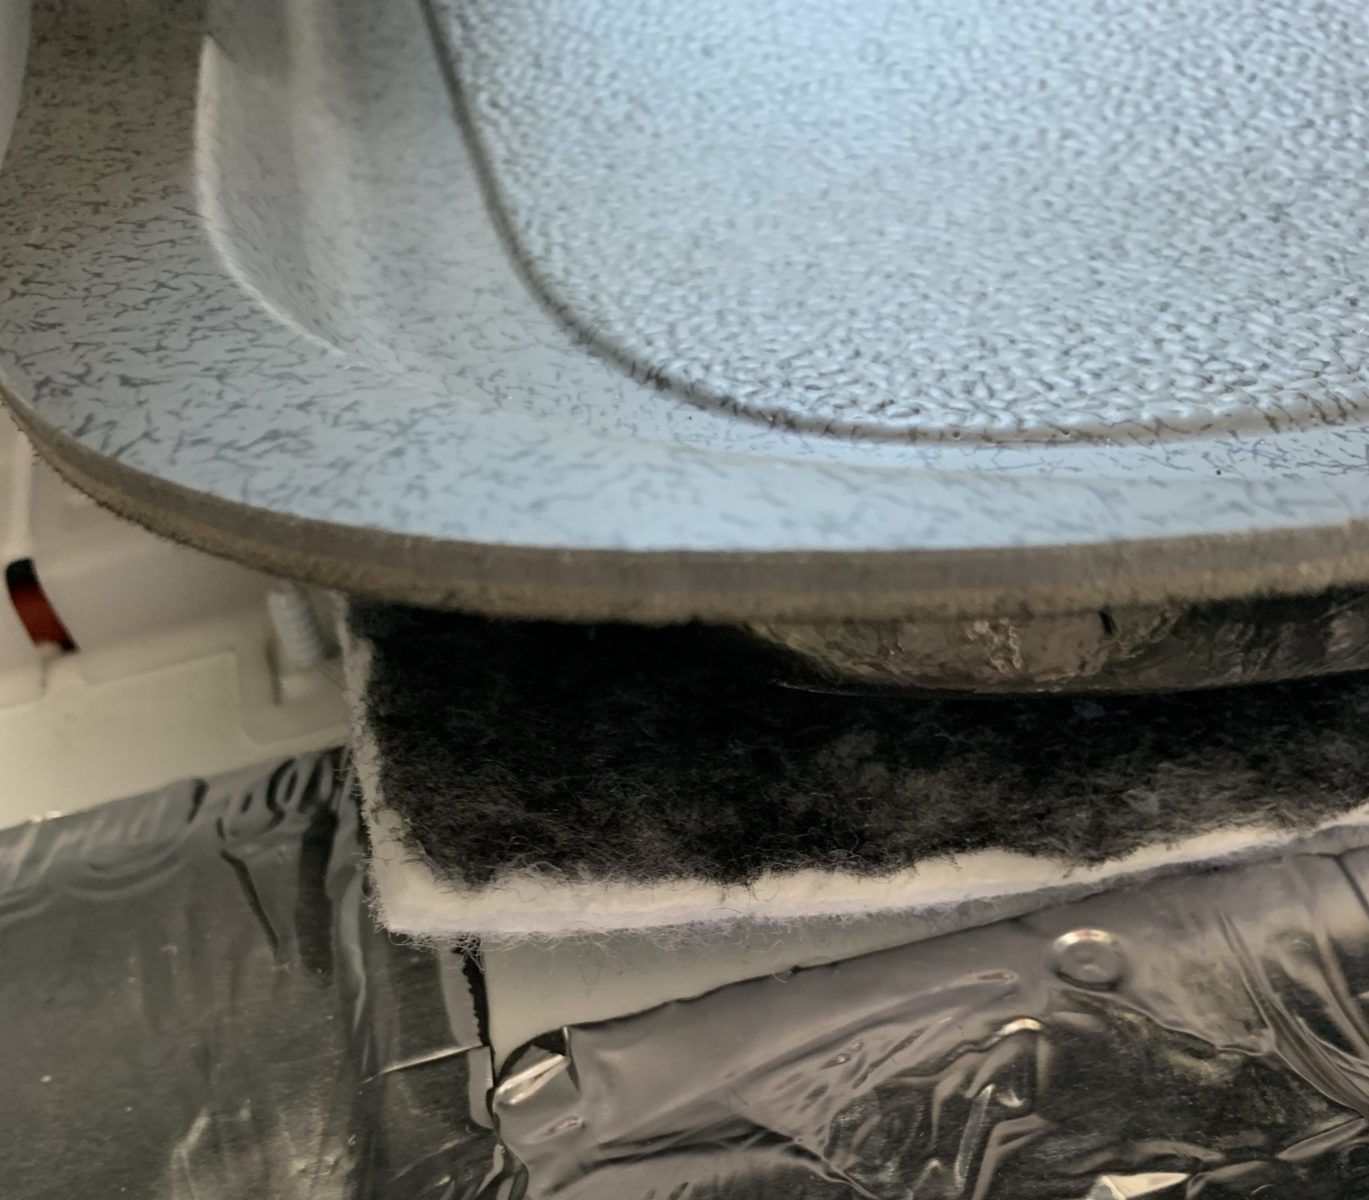
Clean the floor with alcohol, apply Kilmat, but make sure to leave access covers so the battery compartment is accessible.
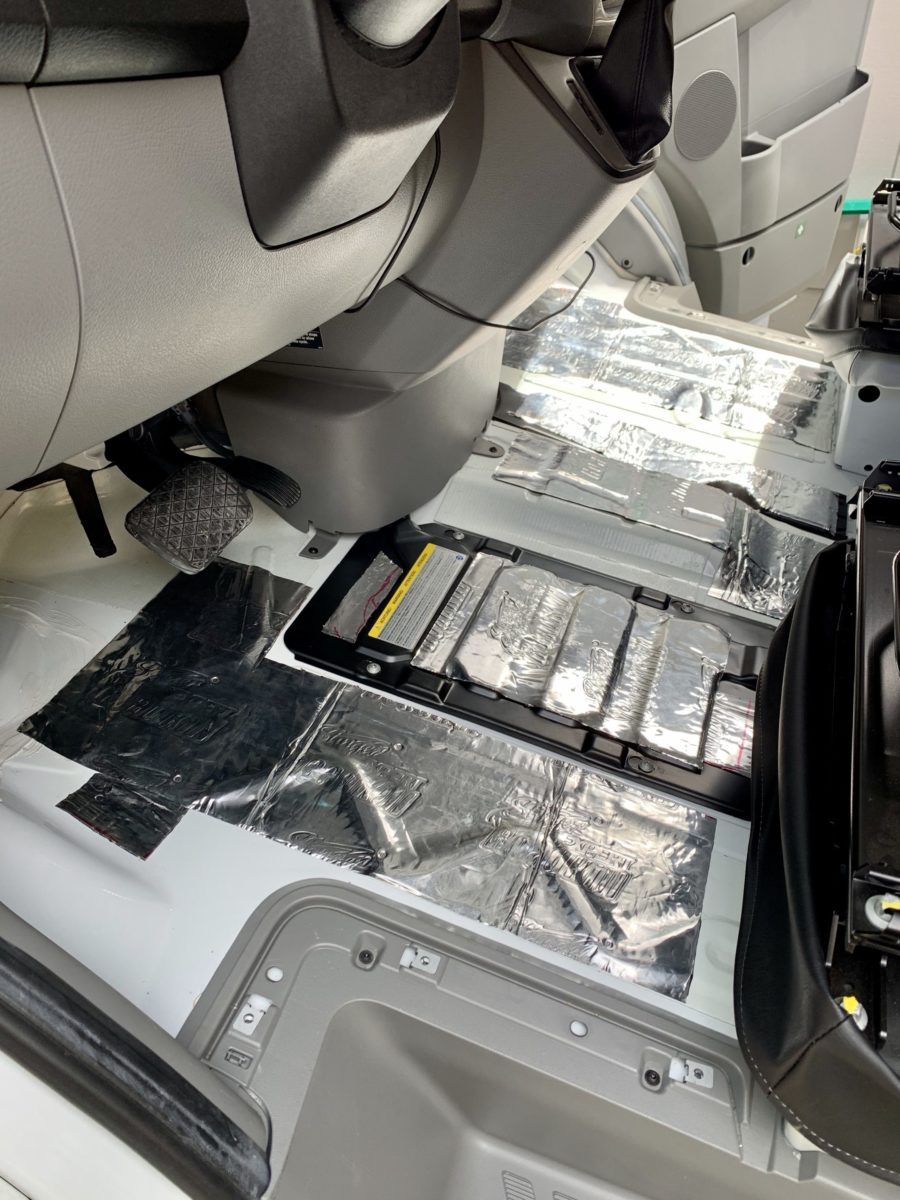
Then, use large pieces of cardboard to make a template for the BoomMat, which will sit on top of the Kilmat. Cut the BoomMat to fit the template and install. The passenger side factory floor mat can be removed from the cab and used as a template. I could not remove the driver-side factory mat completely.
What’s that, you want to upgrade speakers too? Watch “Mercedes Sprinter speaker upgrade video” by ourkaravan. In order to use the original door mounting hole, you need to order spacers (2018 and up) from eBay to fit larger speaker magnets. The speakers that many people have used are Hertz MPX 165.3 Pro 6.5″ 2-way car speakers. These are in the $400 range. When I see “Pro” in the name, I automatically think the product was made especially for me! Some people opt for speakers with separate tweeters (like in the video), but this requires replacing the dash tweeters, installing a crossover in the door, new speaker cables between the crossover and the tweeters, and fishing the cables from the door to the dash; that is above my pay grade.
Next step is to remove the stock, wimpy door speakers. Make note of the color coding for positive and negative cables then cut off the factory connector ends. You will need to extend the factory speaker cables by a couple of feet and crimp them together as well as crimp on some spade lugs to attach to the speaker connectors. Install the spacers and then the new speakers. Make sure you test them before reattaching vapor barriers and installing door panels.
I also disconnected the dash center speaker because it had a negative effect on sound quality in my opinion.
You will probably notice that the doors feel heavier when opening and closing as well as shut with a thud. This is more akin to a Mercedes S-Class sound instead of a hollow van door. Note, I did not do a sound level measurement before and after the installation, but my wife and I definitely believe it is quieter in the cab from the standpoint of road noise and we find that it is easier to converse in normal tones. This doesn’t have much effect on the engine noise, but the Mercedes diesel engine is pretty quiet for a diesel. I also added some Kilmat to the fold-down compartment doors at the bottom of the panels. Boom Mat could also be used. If you end up with extra Kilmat, the generator compartment could be a place to strategically add more.
From a speaker upgrade sound quality standpoint, I don’t hear much difference in the bottom end however, there is a more detailed and articulate sound in the mids and highs. This sound dampening material probably added about 40 pounds. Ultimately, I believe the sound dampening and speaker upgrade make for a less fatiguing driving experience, especially over some not-so-pristine California highways. Above all, “what did you say?” is no longer par for the course or rather drive!
Editor’s Note: Jeff Regan is a member of LTV’s sponsored content team, The Leisure Explorers. Do you own a Leisure Travel Van and enjoy writing? Learn more about joining the team.
Comments