Editor’s Note: This post is written by a member of LTV’s sponsored content team, The Leisure Explorers. Do you own a Leisure Travel Van and enjoy writing? Learn more about joining the team.
Editor’s note: The modification ideas on this page were submitted to Triple E Recreational Vehicles by an independent third party and has not been verified or tested by Triple E Recreational Vehicles. Please do your own research before implementing these, or any other modifications. You must always use a qualified professional to make any modifications to your vehicle, and ensure that any changes you make are safe, and in compliance with all applicable laws. Modifications may void certain aspects of your limited warranty, as well as affect resale values. Consult your warranty for details. Triple E Recreational Vehicles is not responsible or liable for any actions you take after viewing this page, or for any modifications you make to your vehicle.
Anyone who’s owned an RV for over five minutes probably has the “best” gadget or upgrade. As time goes by, more “bests” will emerge, and if you, dear reader, are like me, you’re always looking for other owners’ good ideas and recommendations to see if they can be applied to your rig and your way of camping. Heck, that’s why you’re reading this article because all of us are always looking for the next “best” thing.
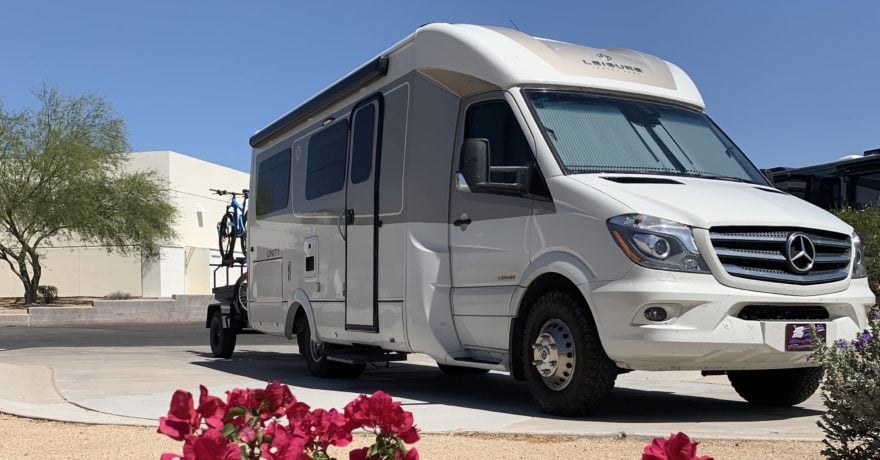
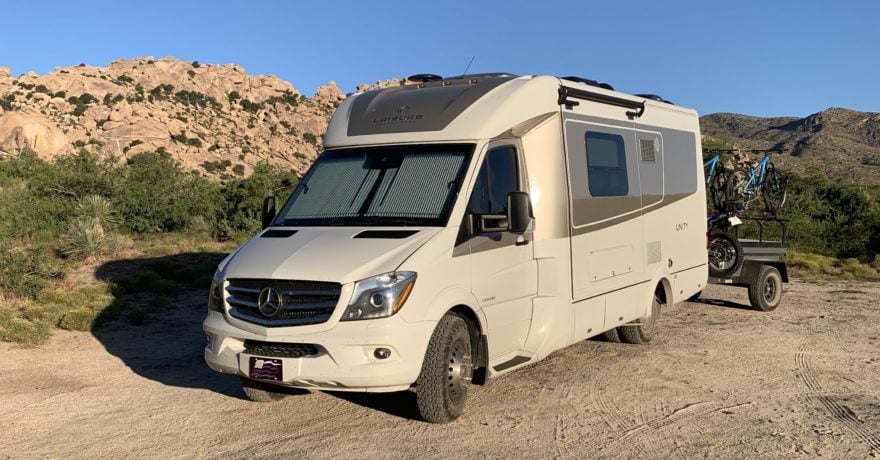
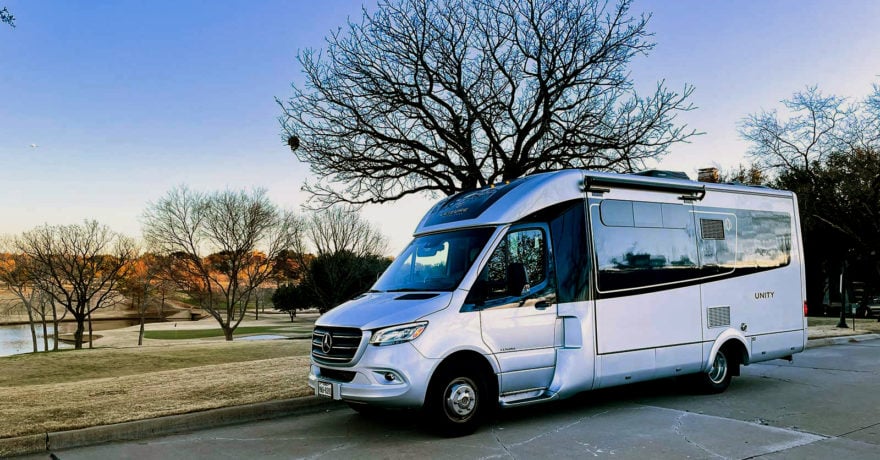
Our “best” upgrade to our 2018 Unity FX ticks off a few of the more important boxes. It was relatively inexpensive, and I was able to install it myself without too much effort. It is a BIG improvement in safety, and overall, it makes driving more comfortable, which leads to us being more eager to be on the road. What is this “best” upgrade? It’s a rear camera setup.
Let’s face it; the LTV is a beautiful and amazing RV. It’s easy and small enough to drive around in, yet roomy to live in for extended periods, but one thing we quickly noticed was we don’t always have good situational awareness as we drive down the road. The side mirrors can be adjusted to cover the blind spots on your flanks mostly. But, when we added this backup camera, we have a close-up view of what we could potentially hit.
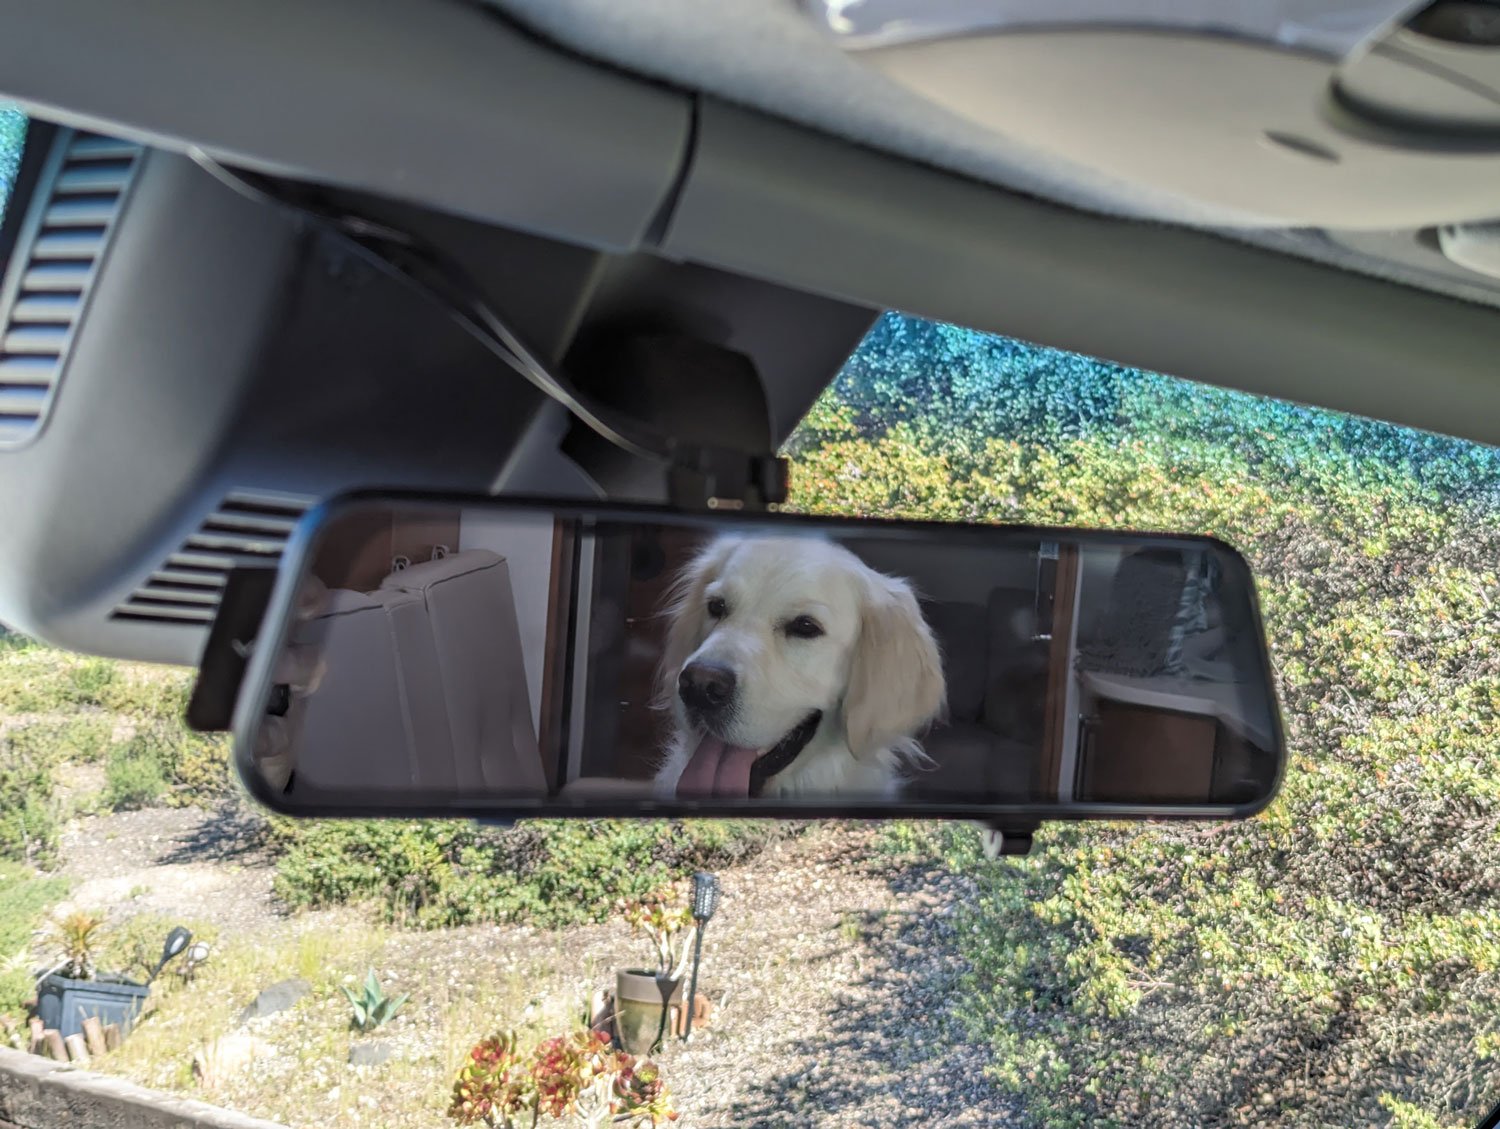
So, while there is a rearview mirror, and it’s our second nature to use that while driving, I quickly learned that what’s in my rearview mirror is not the road but rather the rear of my LTV and this didn’t tell me where traffic was or could be.
After a few trips, I thought something must improve that view, so I started my research. Checking LTV forums, I found some people would keep their backup camera on all the time, with a slight shift, to try to see more of the road than the 12 inches behind the bumper. Internet searches turned up cameras with separate monitors, some connected wirelessly, although the monitors were big and bulky and suited more for giant Class A RVs. Neither of these options really fit what I was looking for, so I was pleased when I came across the mention of a rear camera where the display hung over the existing rearview mirror. This was what I was looking for. Now I needed to figure out how to install it.
The Main System
Luckily I didn’t have to figure this out on my own. On one of the LTV social media owner sites, I saw a post where the owner had selected all the parts needed to install the camera. I would love to give that owner all the credit here, but I’ve long since lost the post and can’t remember who made the post. If you’re that person, then I offer my whole-hearted thanks for what you did for me and for everyone else, maybe you can follow what I’m about to tell you.
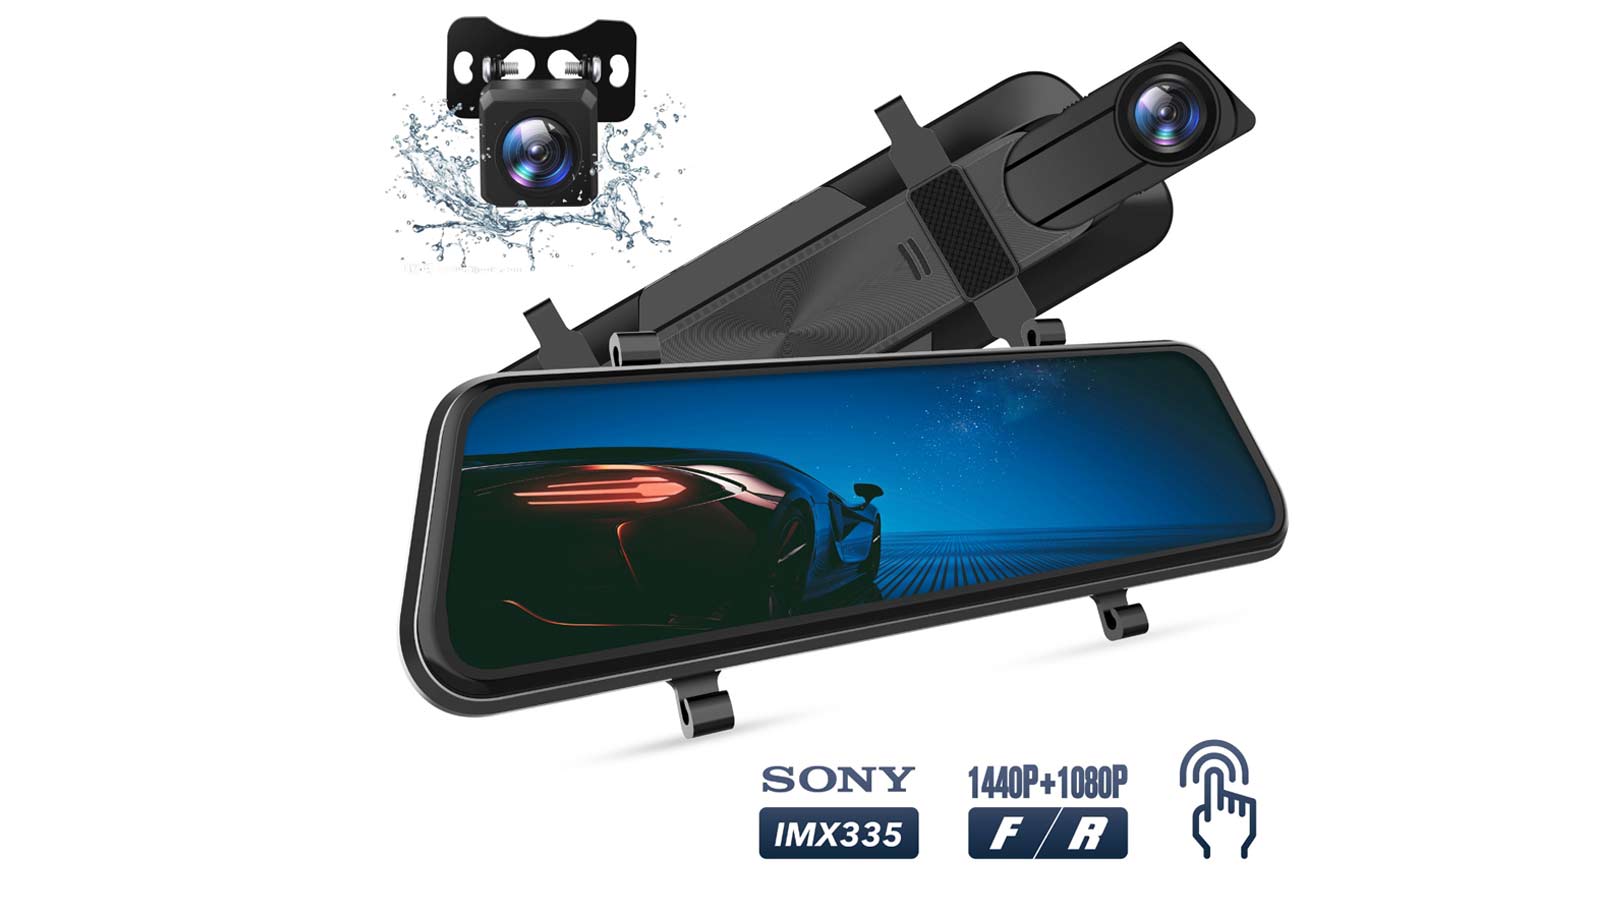
The camera setup I picked was the VanTop H610. As this was a few years ago, there are probably newer models out there. My model isn’t even sold on Amazon anymore, but you can find it at Walmart and Best Buy. If you don’t like this one, there are many other brands (Wolfbox is one that comes up a lot in searches). These are the reasons I picked the one I did:
- The display hung over the existing mirror–right where I’m used to looking. It also had a 10-inch width and was a touch screen. There are ones with a 12-inch width, so depends on what you personally want.
- The camera itself had a wide field of view, showing everything behind me.
- The camera was small and looked easy to mount.
- It wasn’t too expensive and looked like I could install it myself.
Other features weren’t as important to me. It has a forward-facing camera, the ability to record video on a microSD card, and a “night-enhanced vision” for the front camera. All these may be features you want, but as I was getting this for a rearview mirror “replacement,” they were just add-ons for me. I suggest you look at many different models and brands as you may have different needs or desires. The bottom line is there’s a system to meet everyone’s needs.
The VanTop system I bought, which is similar to others, contains the display (with the integrated front-facing camera) to hang over the rearview mirror, a rear camera, a power cord that plugs into a cigarette lighter (do they still call it that?), and a cable to connect the rear camera to the display.
The Other Essentials
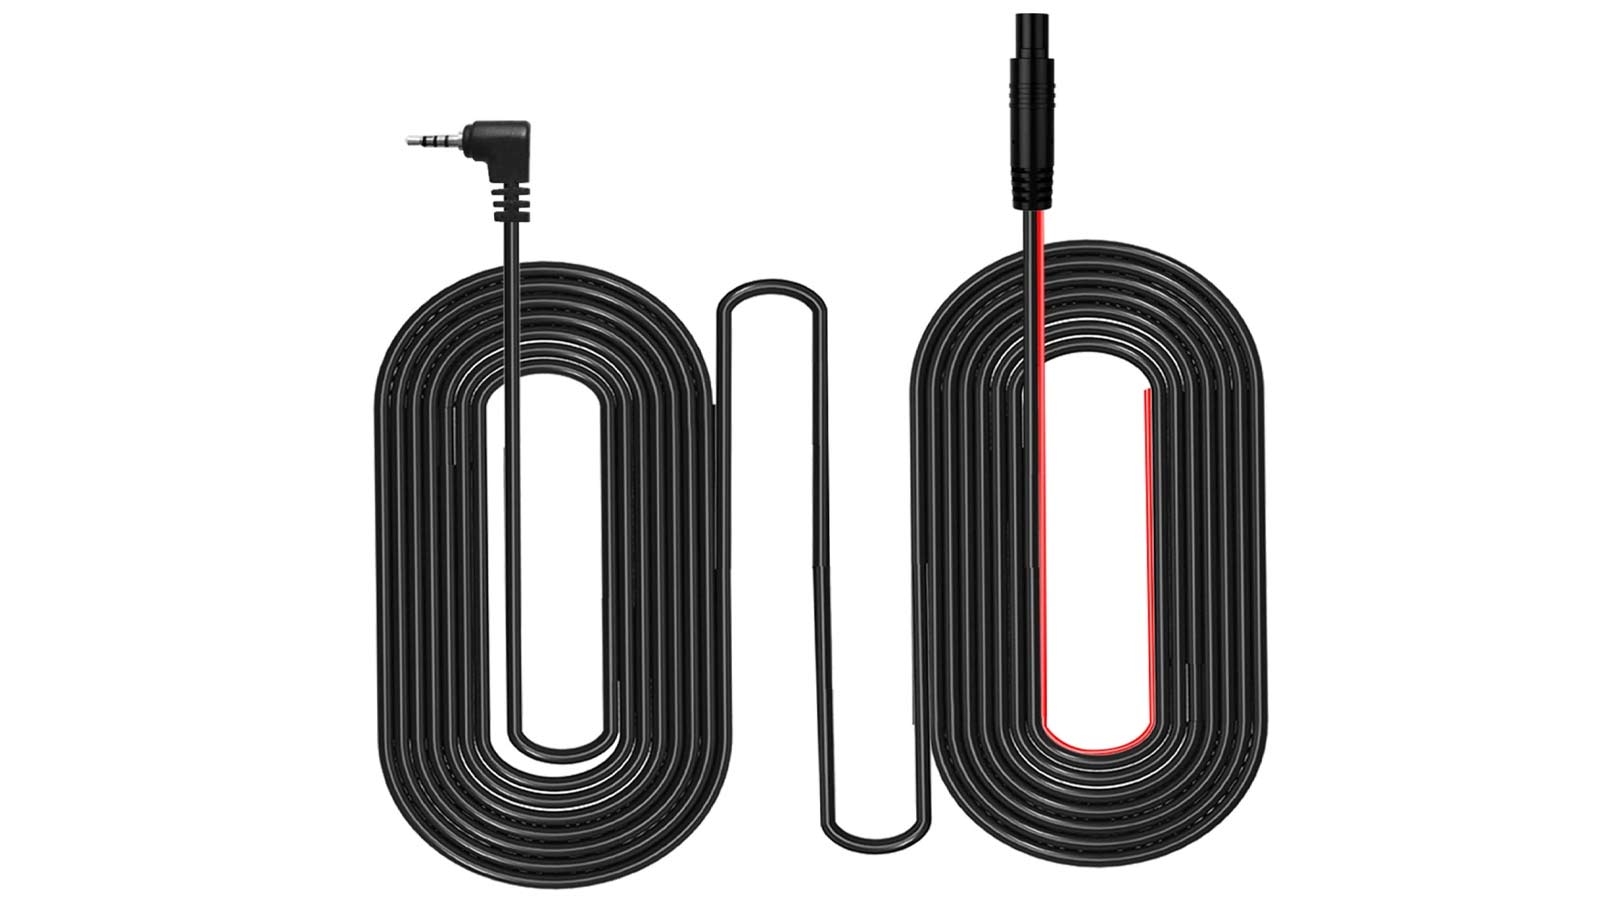
It seems the complete package, but an LTV is slightly longer than your average car, so an additional item needed was an extension cable. I used the 4-pin dash cam cable from YQMAJIM, which is 33 feet long and would give me plenty to work with to go from the camera at the back to the engine section. For whatever system you get, make sure the cable for the rear camera is at least 30 feet long, or else get an extension cable that will work with it. This may require a bit more research based on the system you’re getting or even a call to customer support to make sure you get the right connections (4-pin vs. 5-pin, etc.), but most of these rear camera systems are designed for cars, and you’ll need these extension cables for your RV.
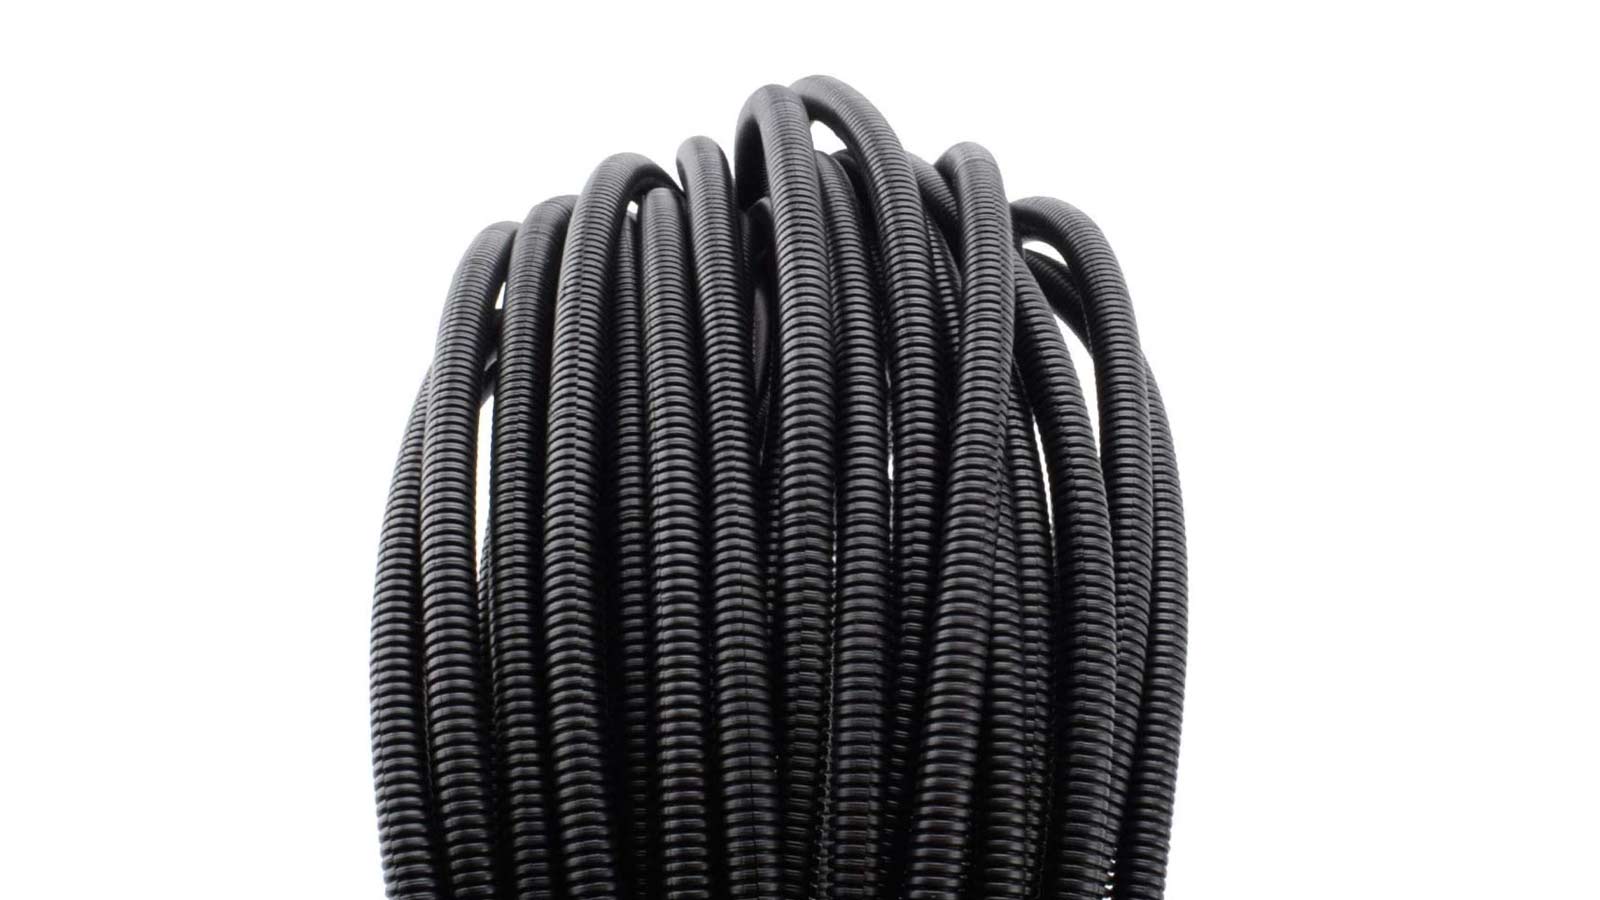
Since the camera would be mounted to the back of the RV, the cable would have to run to the front. There’s no way to run it inside the rig, so it must be routed under it. I also ordered 100 feet of ¼ inch “loom” protective coating to protect the cable from any breaks. Add some good quality zip ties to secure the cable as it traversed the undercarriage, and I had what I needed to route the cable.
Since my extension cable only went to the engine section, I needed another extension cable to get up into the cab and to the actual display. I got a 10 ft cable, 2.5mm Male to Female 4 pin, also from YQMAJIM. As I said earlier, if the system you’re getting doesn’t have a long enough extension cable (either with the package or as an option), you may want to call their customer service to get the details of what will be needed.

Once all the parts arrived, the first thing I did, which I would recommend, was to connect everything before unspooling it all and make sure it all worked. Trust me on this–you don’t want to find you have a faulty camera or wiring after you’ve installed it all.
Installation
With everything checked out, it was time to install. I started at the back, figuring out where to mount the camera. I held the camera to different heights while my wife looked at the display to see the coverage area but, the fiberglass outer shell at the back offers only a few locations where mounting would be easy. Directly above the license plate turned out to be ideal. It was high enough (and centered) to give a full view of the area behind the RV, and on our 2018 Unity FX, that location has a gap between the outer and inner fiberglass that I could reach from below. Mounting the camera was easy with the provided screws and was the only time I did any drilling into the RV.
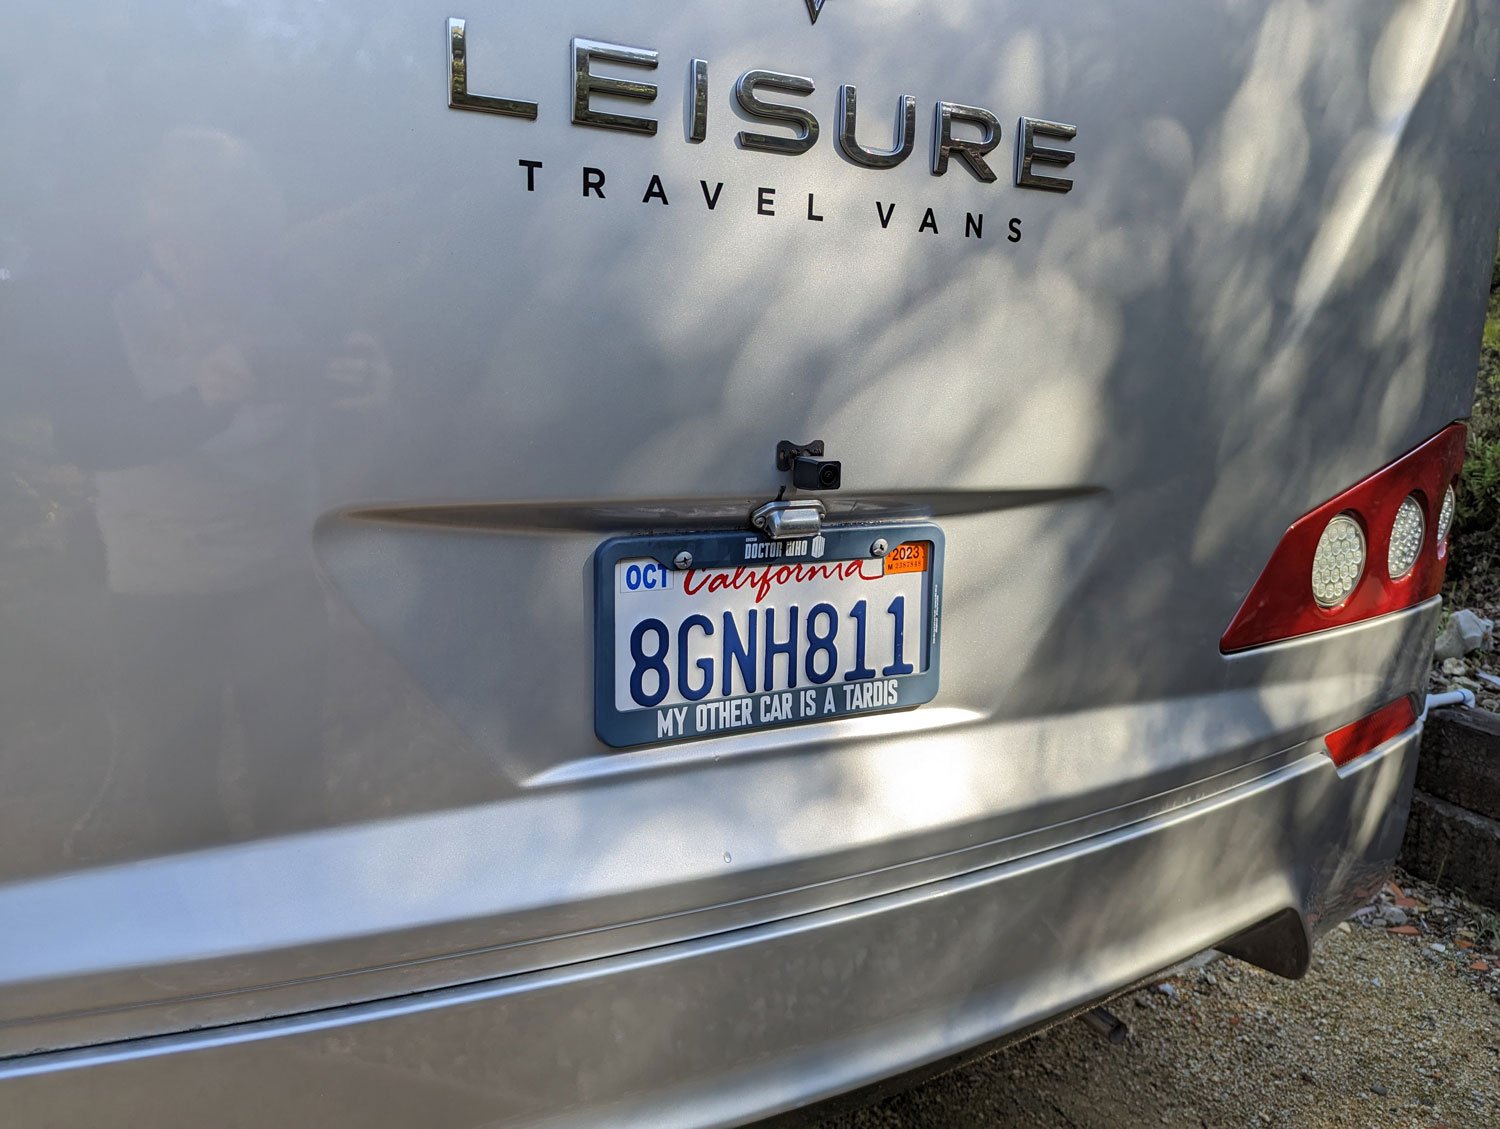

I hooked up the camera to its connector and then screwed it onto the back. I also put a lot of electrical tape around the connection to ensure it wouldn’t come loose and make it thicker than the hole. This way, if the mounting screws fail, the camera will hang and not fall completely off. So far, the camera has held up well. My only post-installation concern has been if we ever get an external storage box to mount on the hitch, it will likely block the camera. I guess I’ll have to figure out how to raise the camera if/when we ever get such a unit. If you already have external items on your hitch, you may want to look at mounting it higher.
With the camera mounted, and before running the cable, I put the extension cable inside its protective sheath. This is easier to do before connecting it all up. Then it was time to crawl under the RV and start routing it towards the front. If you haven’t spent much time under your rig, you may be surprised how many cables are under there. I didn’t have a set path and stuck to following existing cables as much as possible. This allowed me to zip-tie my cable to existing cables, struts, and connectors as much as possible.
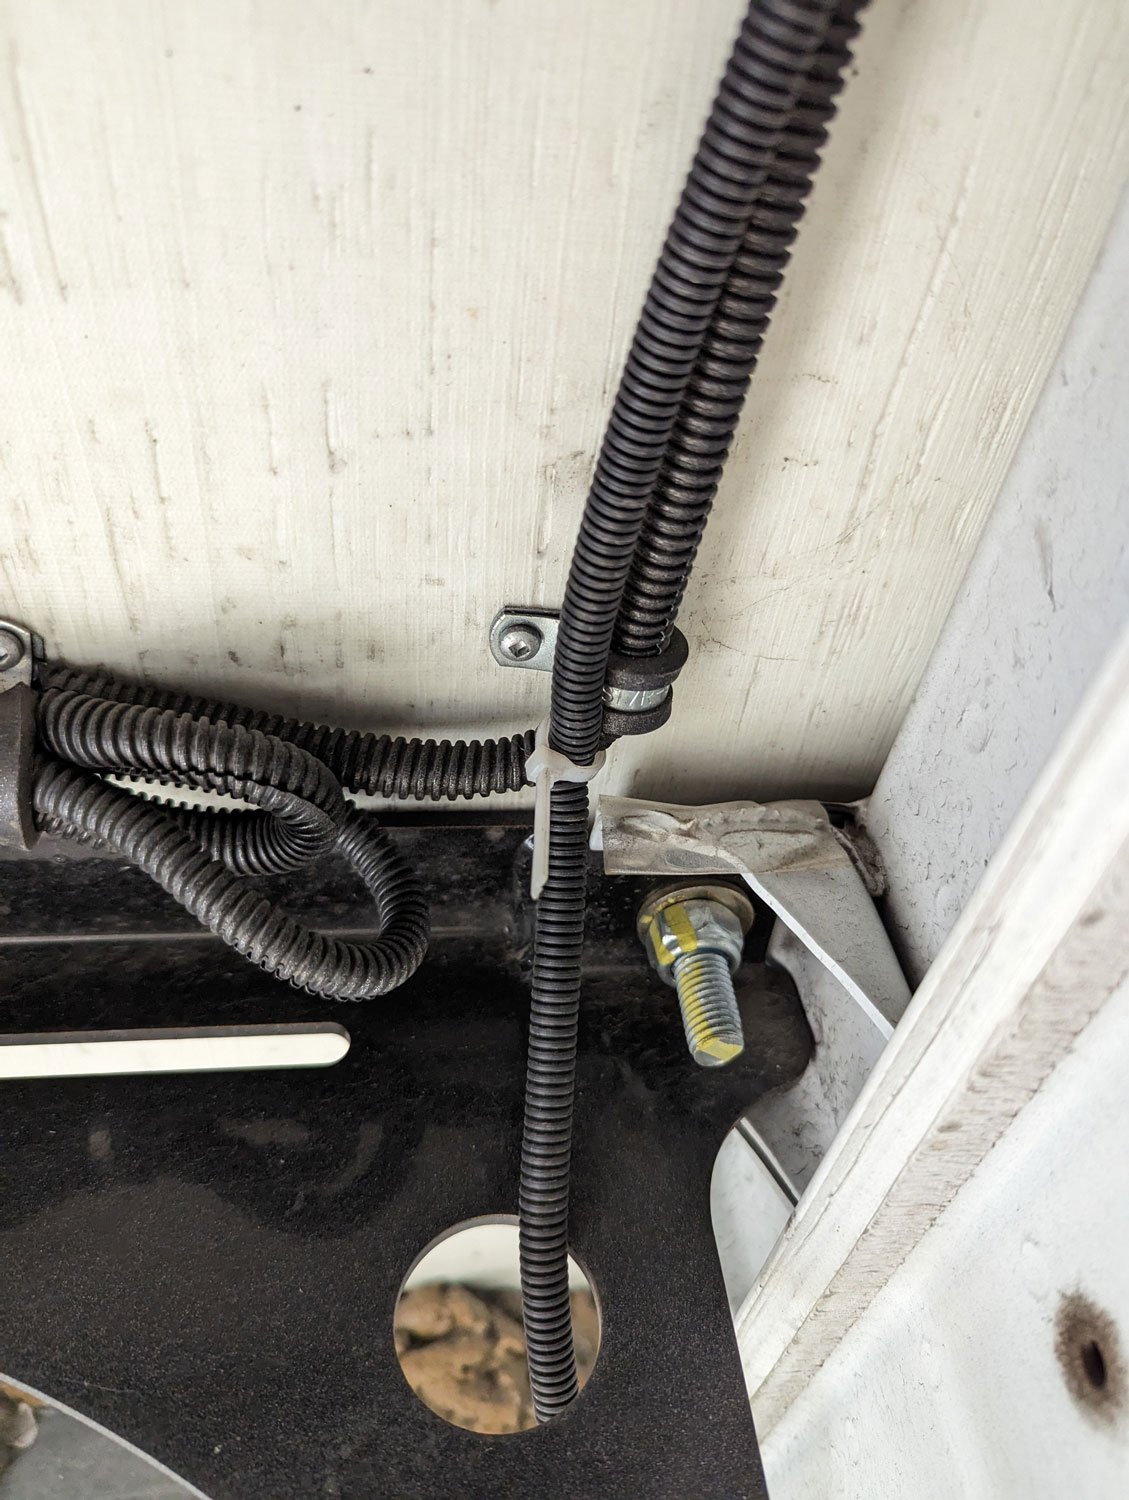

It’s essential to ensure your cable is snug and doesn’t hang down under the rig. With the extension, I knew I had plenty to work with, so I didn’t have to take the most direct route. My end goal was the engine compartment on the driver’s side. I used a lot of zip ties to be as secure as possible.

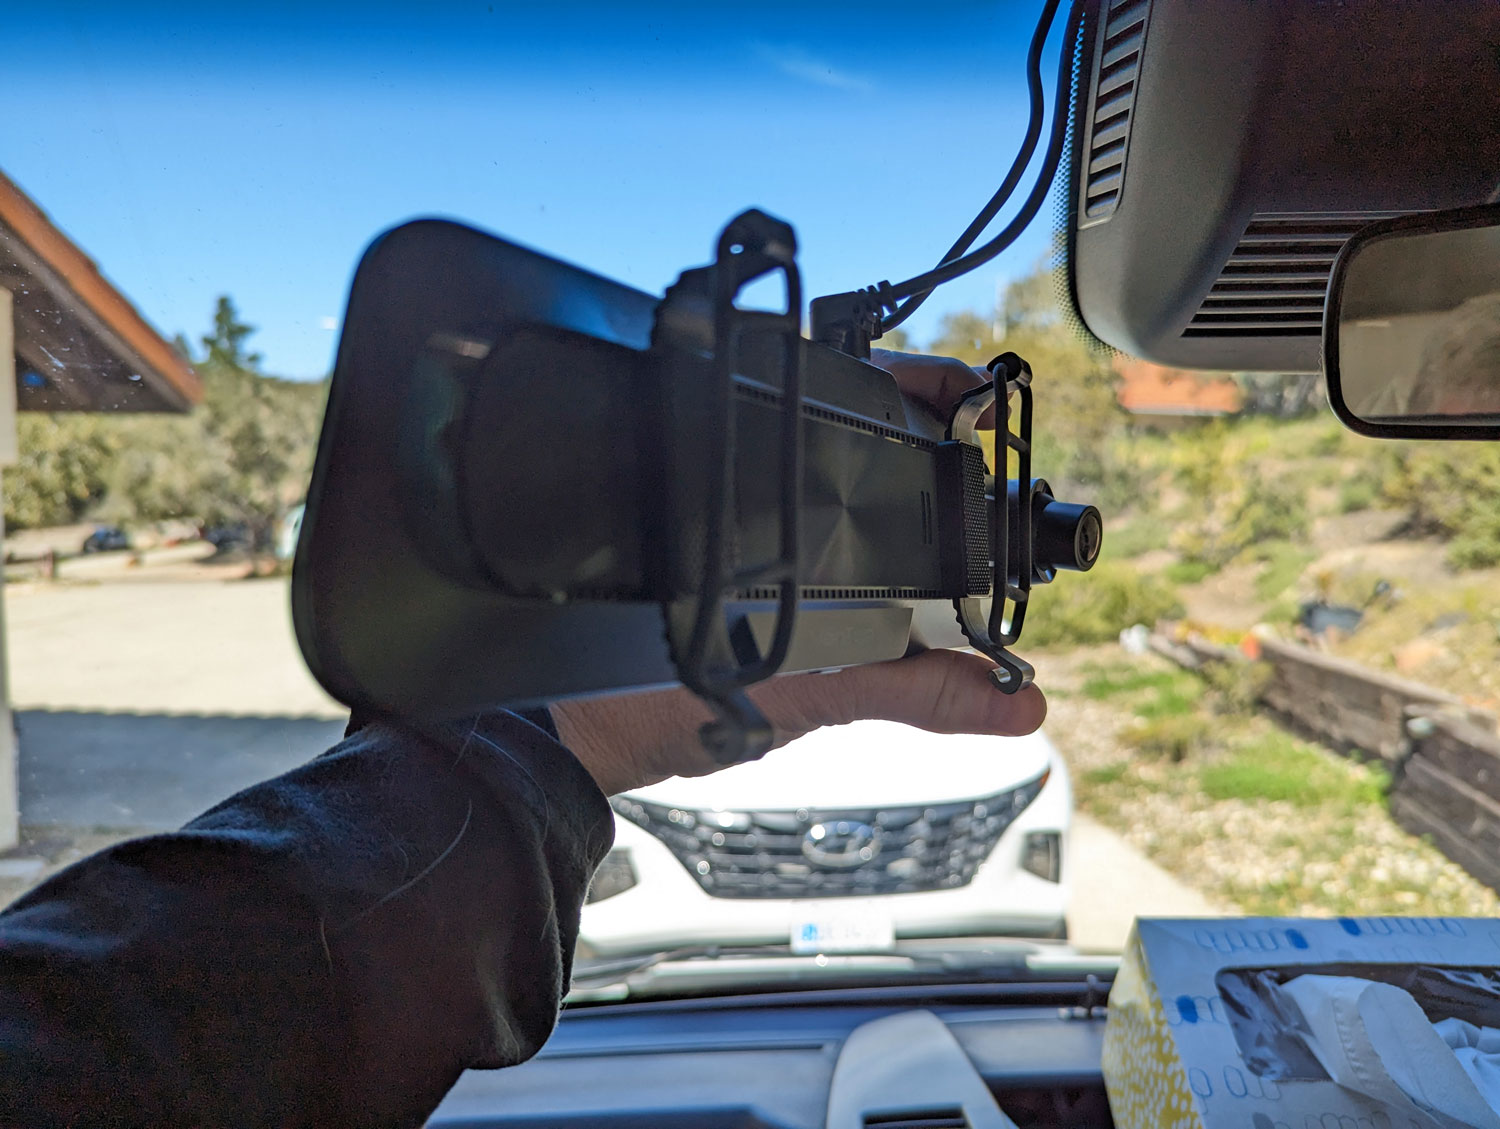
This was the longest part of the installation, as I didn’t want to rush it, and I did have to constantly re-position myself. Still, it only took a little over an hour. Once I got to the engine section, I coiled up what was left and then moved inside the cab. I hung the display up over the rearview mirror. Now I had two cables to route–the power and the rear camera. I connected them both to the display and then ran them up above the front window and behind the plastic to the driver’s edge of the window. Then I pushed them behind the plastic cover and down to the footwell of the driver’s side.
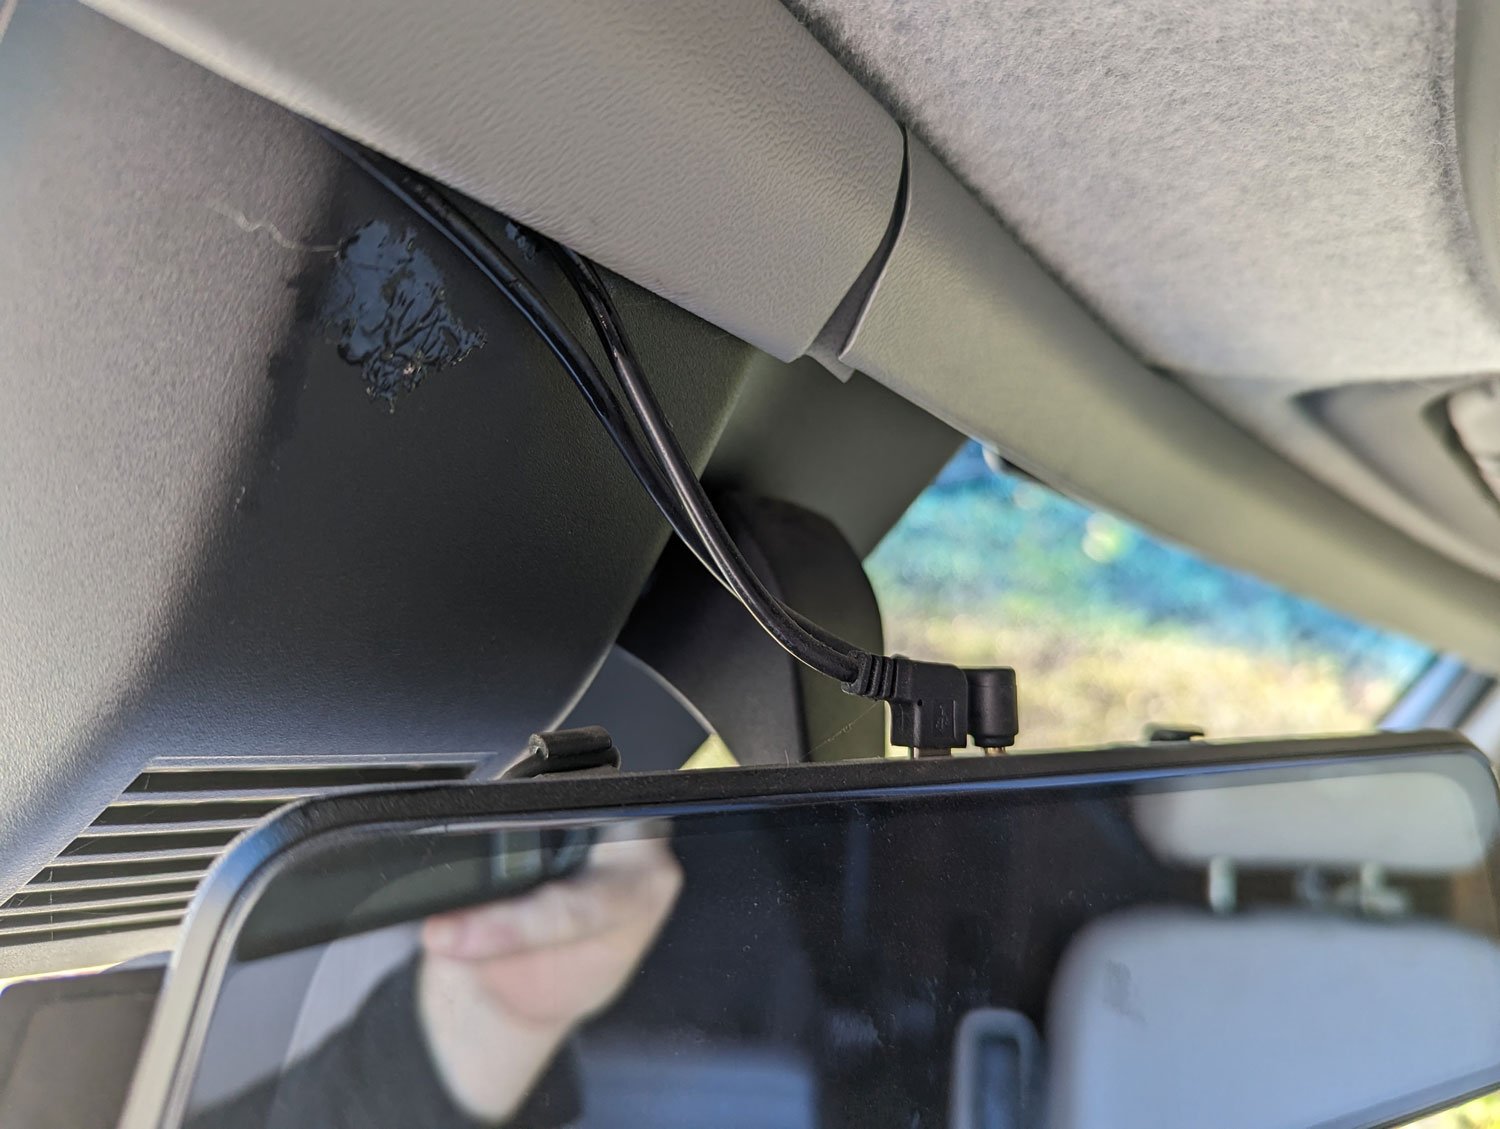
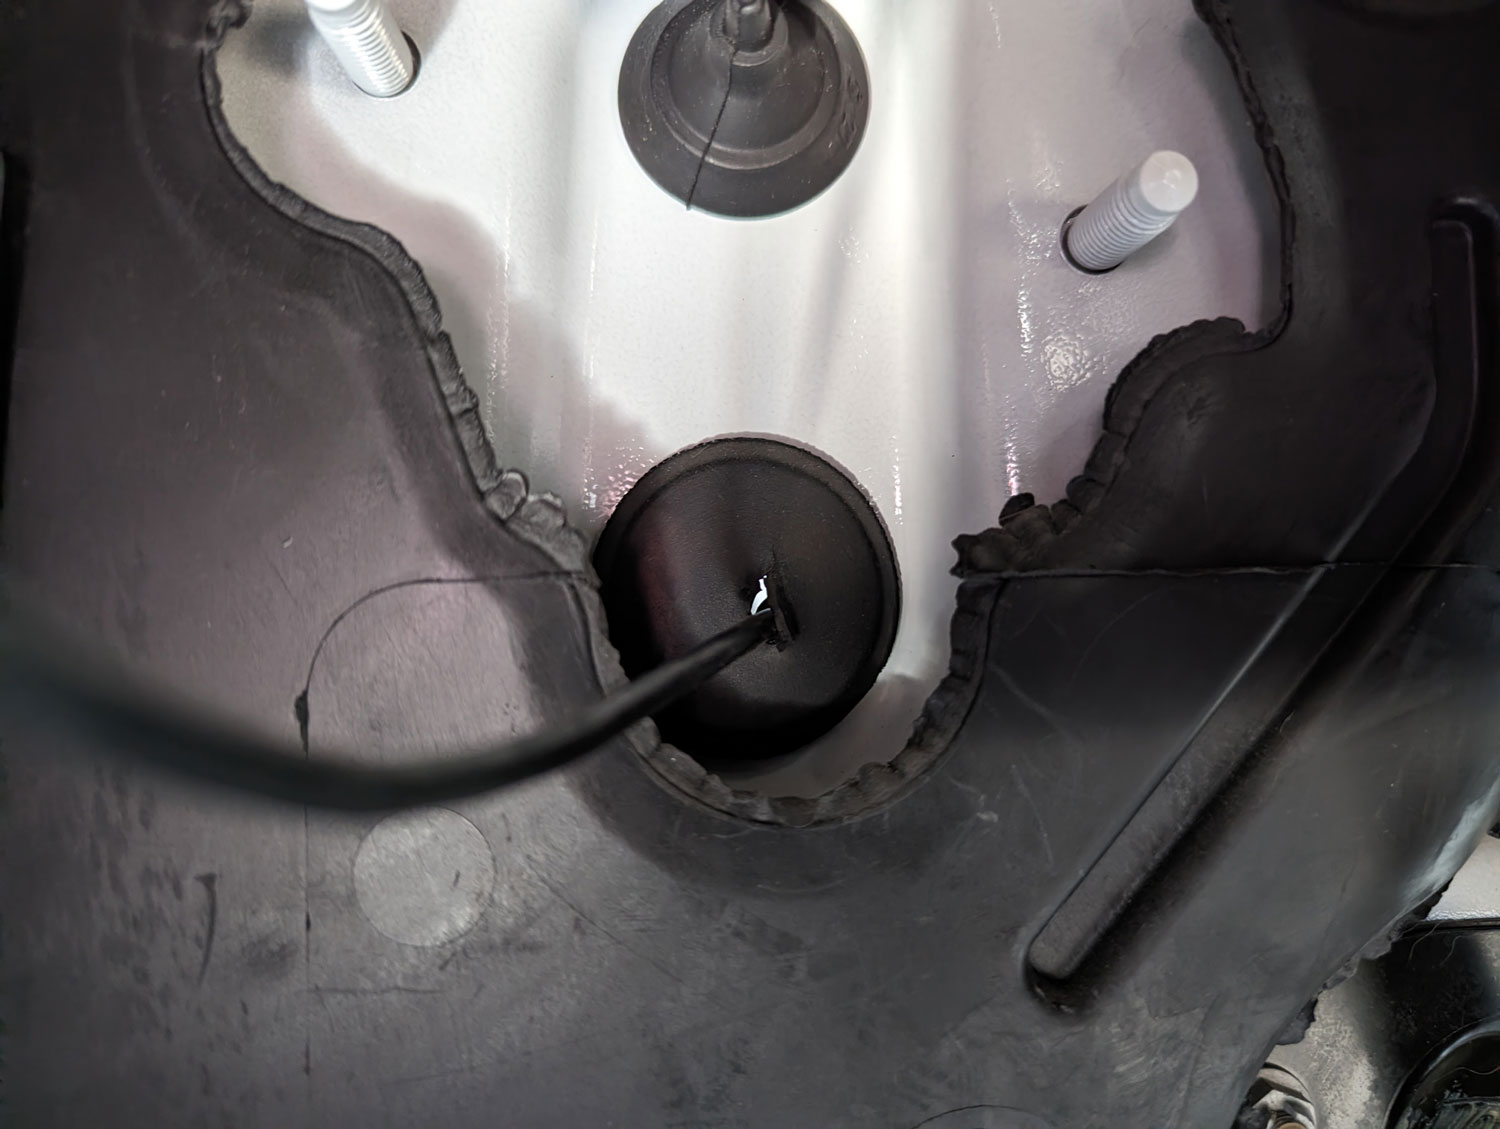
At this point, the two cables split. The power cable I routed above the pedals to the center console where it could be plugged in. Obviously, any excess wiring was gathered up, and I made sure no cables were hanging down where they could interfere with the driver’s foot. The camera cable needed to go into the engine section. On our Mercedes chassis are rubber seals in the footwell that cover up holes leading to the engine section. I made a slice in one of them and could easily push the cable through.
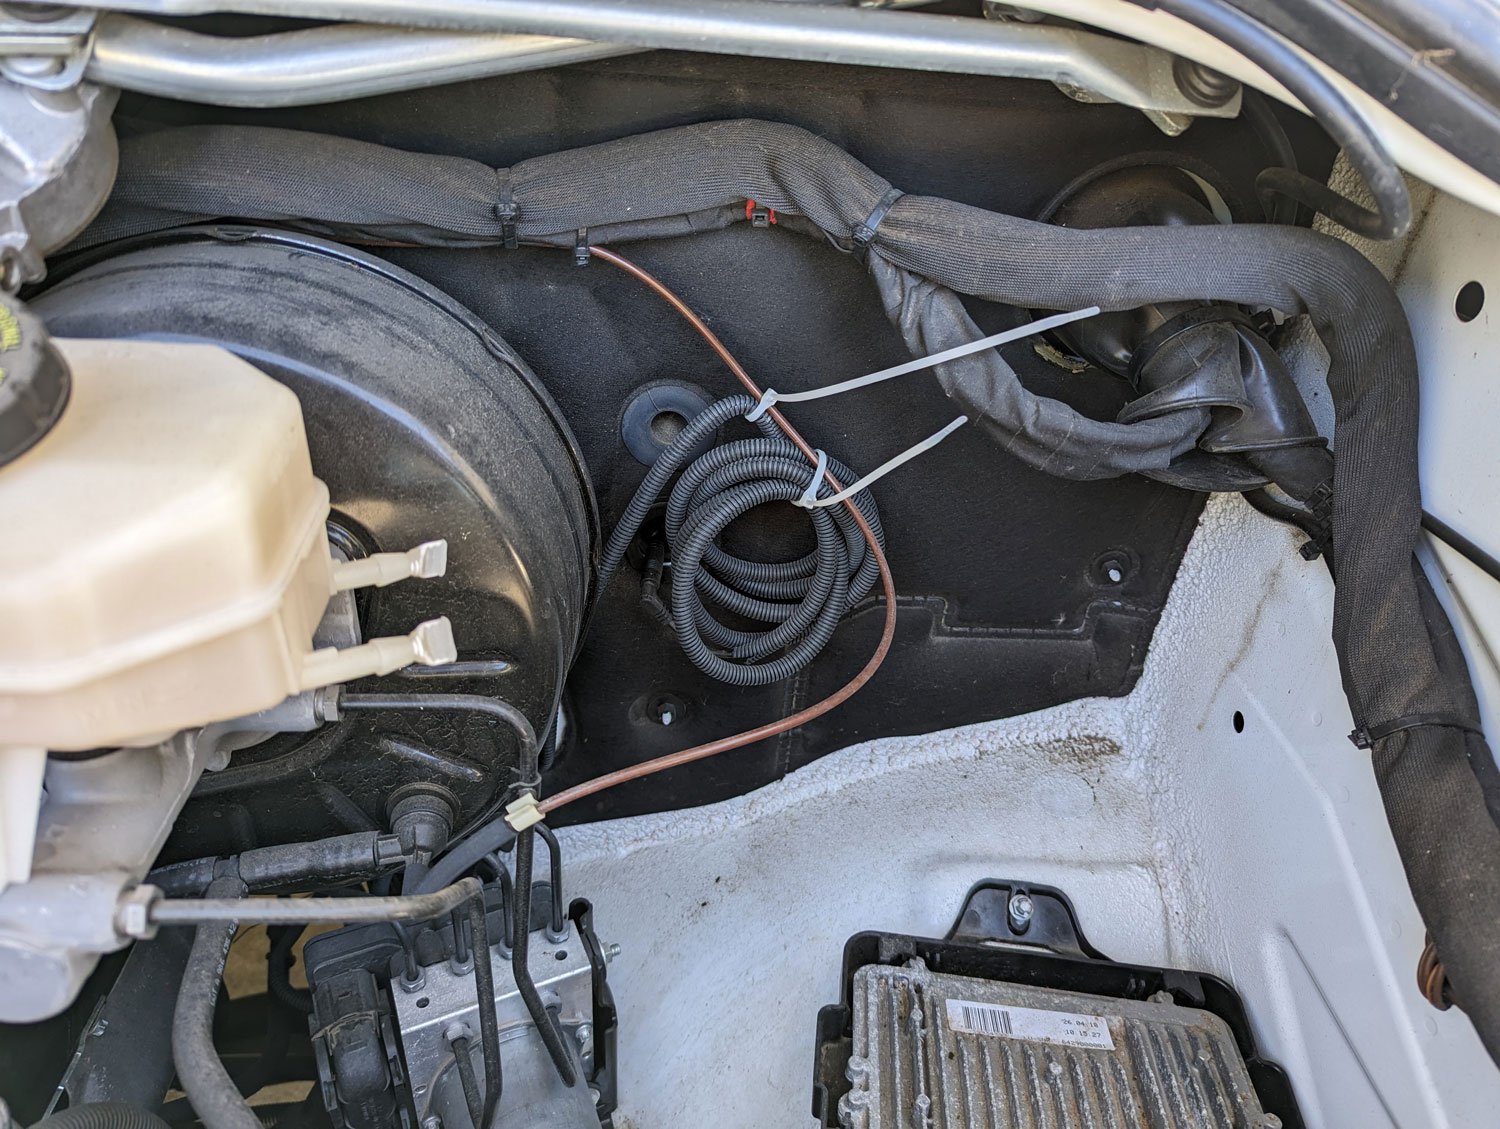
I still had a lot of excess cables, but there was plenty of room in the engine section. I coiled it up and securely tied it inside the compartment, ensuring the connections were tight.
At this point, everything was connected and ready to go. I plugged the power into the cigarette lighter, turned on the engine, and had an image on my display. I did have to read the instruction manual on how to set it up with the date and time, default camera image (rear for me), etc. But the installation was over, and now we could test it on the road.
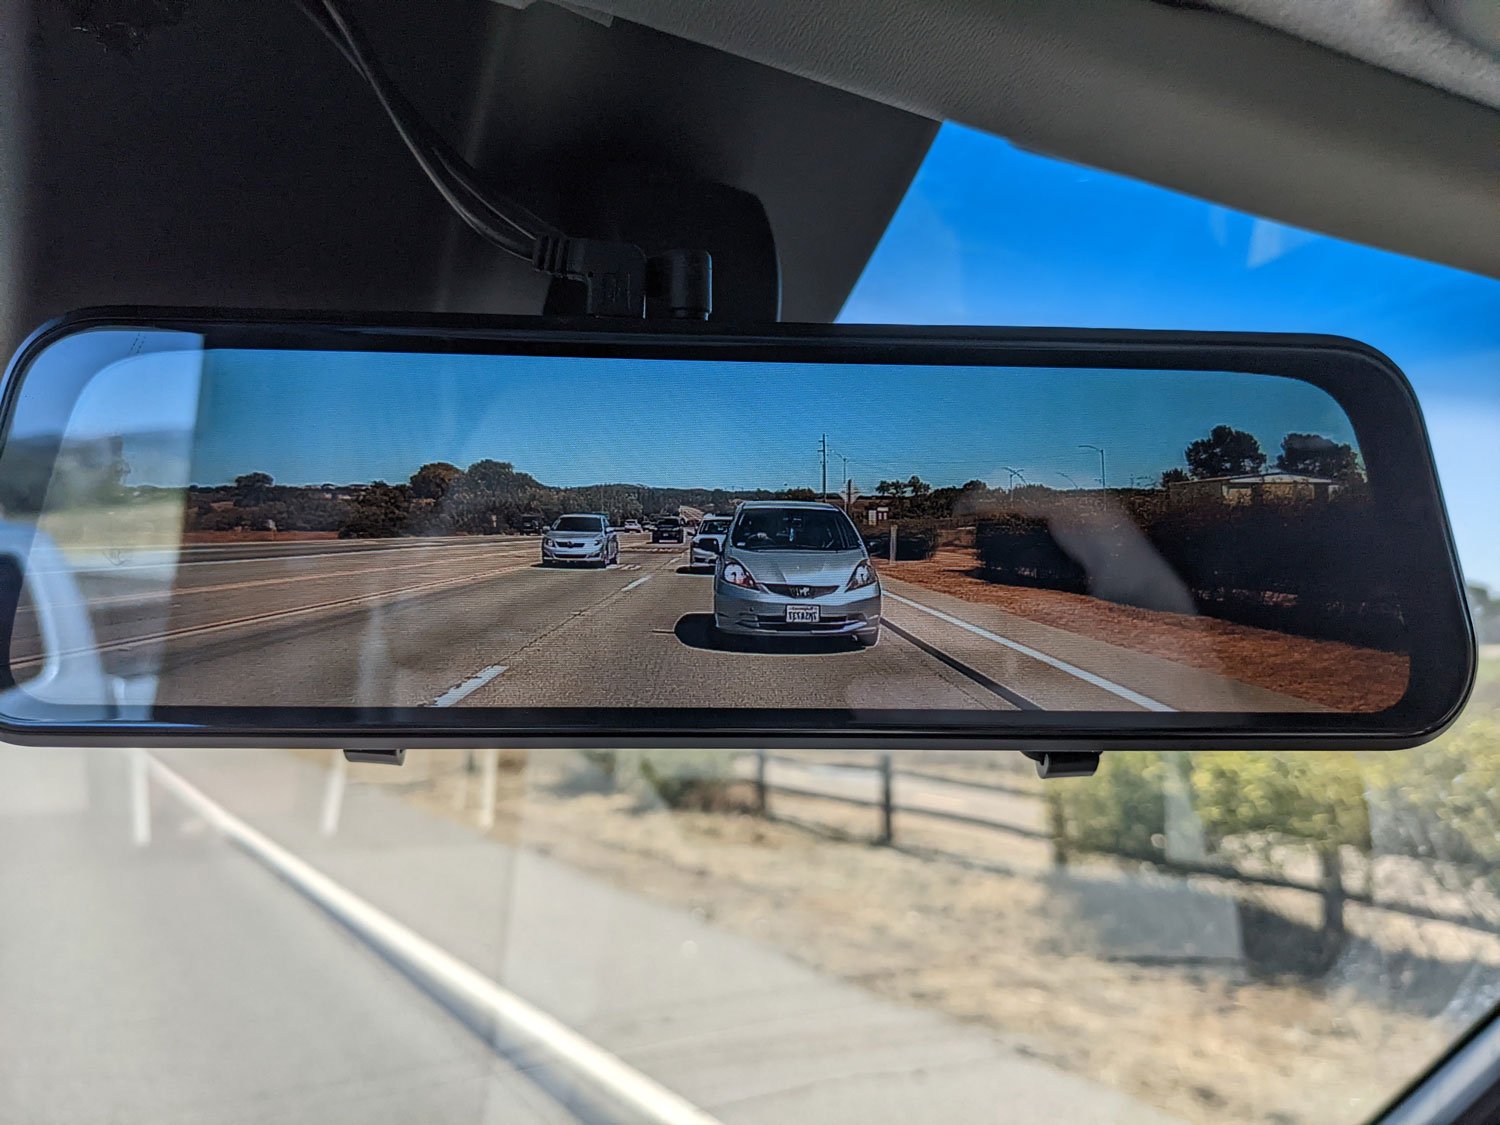
Wow, it sure does work well! The field of view is nice and wide, and with the side mirrors, there are zero blind spots. Best of all, glancing at the rearview mirror shows what’s behind me, and I am much more aware and confident when driving.
Conclusion
As I continue to follow forums and read articles like this, I’m well aware that rear camera options exist. Some people have installed systems with blind-spot monitors for the rear and side, and some hard-wire their systems to the battery, so they don’t have to worry about knocking the power adaptor loose and briefly losing the camera view (that’s happened to us a few times). Others also have rear parking assist lines or have a wireless camera (but be careful–it still needs power from somewhere to work).
There are multiple options for displays like ours besides the VanTop we got. You should pick whatever works best for you. But I would strongly suggest looking into getting something, and if you’re even halfway handy, this is not a difficult installation to do yourself. Some upgrades make it more comfortable to use the RV, and some make it safer. For us, this does both, and while we’ve done other things, big and small, to make the “Zephyr” our own, we both agree that this is, by far, the best upgrade we have done and make our trips more enjoyable.
Comments