Editor’s Note: Robin North is a member of LTV’s sponsored content team, The Leisure Explorers. Do you own a Leisure Travel Van and enjoy writing? Learn more about joining the team.
I know you’re excited. You just got word that your RV is ready to be picked up. But before you take that first cross-country RV trip, you’ll need to plan a “shakedown cruise.” And although it may sound a bit intimidating, a shakedown cruise is a learning experience you can’t afford to pass up.
Let’s begin with the name. A shakedown cruise is a nautical term used for when a boat’s performance is tested under typical working conditions. The practice is also used to help a crew get familiar with a new boat, or to ensure all systems are functional, especially after repairs. And, it’s a great concept that applies to the RV world, too.
At its most basic, a shakedown cruise helps you get acquainted with your RV. At its most detailed, a shakedown cruise is time dedicated to thoroughly exploring the systems and features of your RV and to making sure everything is working as it should be. Because every brand and model of RV is unique, a new RV means a shakedown cruise, no matter how experienced you are as a RVer.
But, your RV experience does count and you may not need as detailed a shakedown cruise with a new RV as, say, someone who has never owned a RV. Although all systems and features need to be tested regardless of your experience level, if you’ve owned RVs before, you may not need a detailed exploration of every switch, button, and appliance.
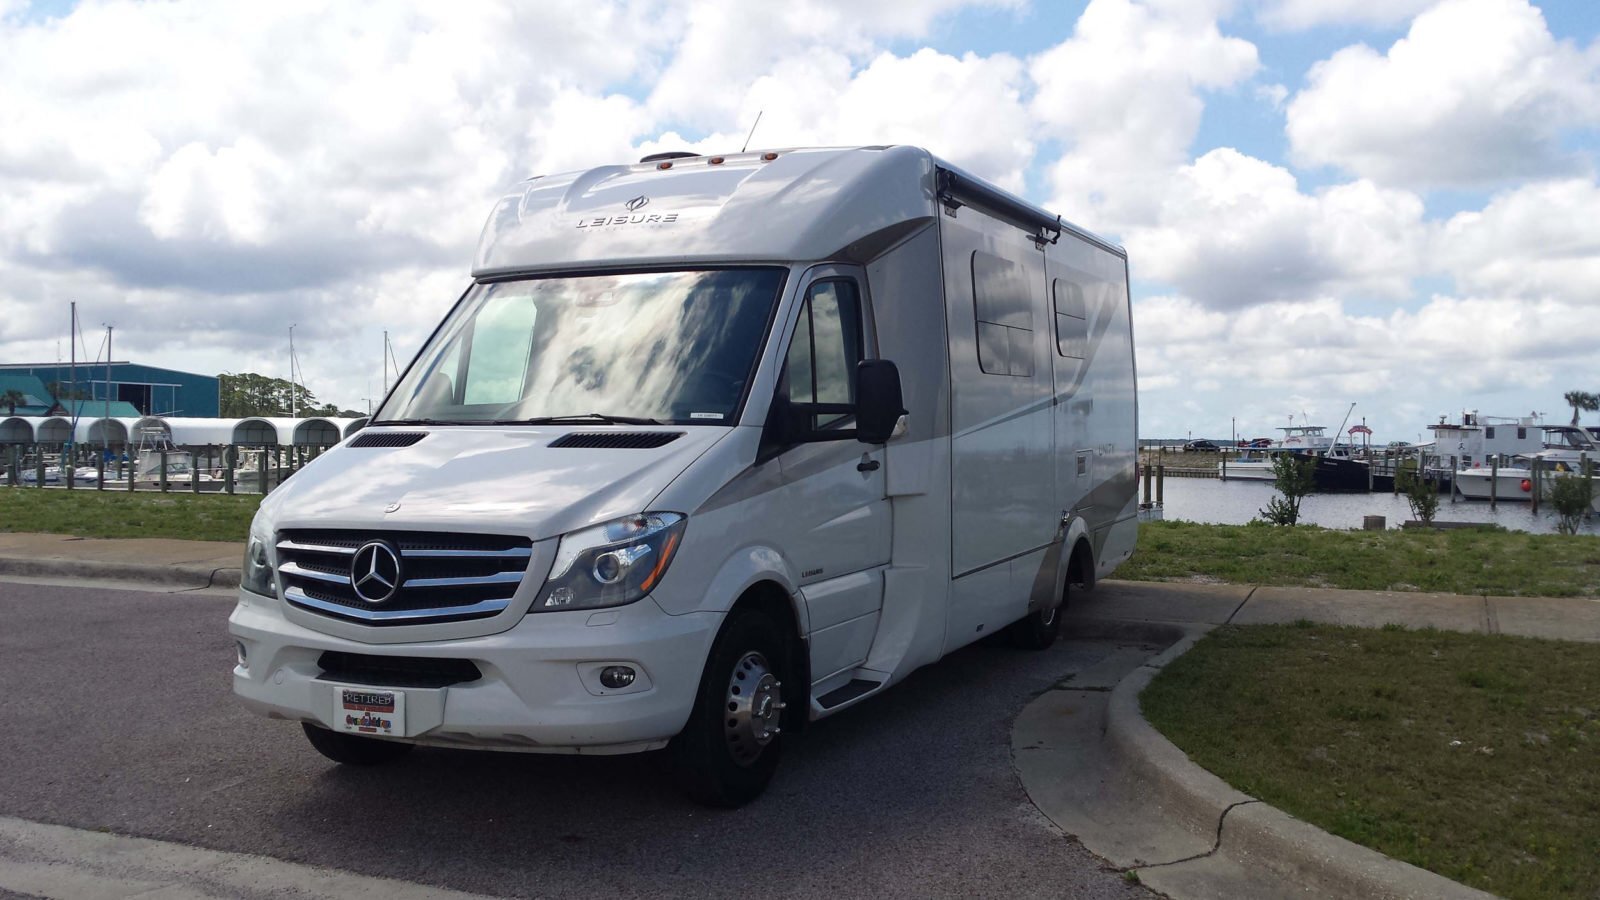
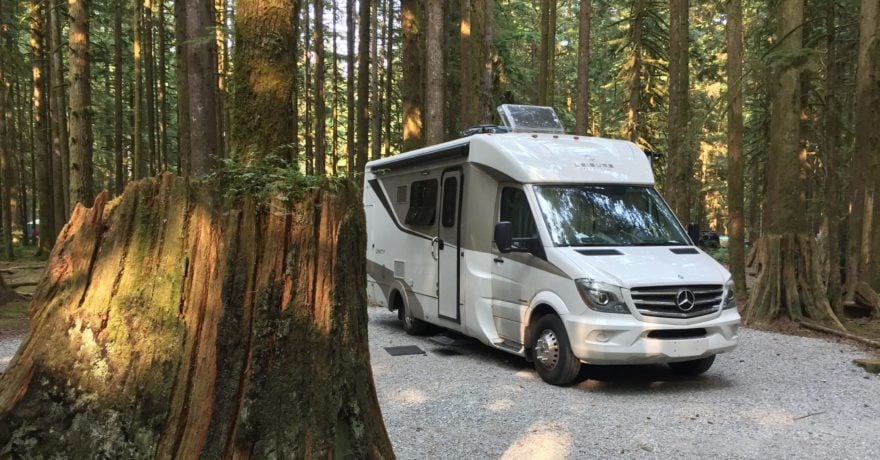
On the other end of the spectrum, if you have never owned a RV, a shakedown cruise is a great way to get familiar with the basics of RVing. This is where we landed as new RV owners. We had to travel almost 500 miles to take delivery of our Unity MB. That meant we would be driving it home that same distance. For us, the drive home would be a two-day shakedown cruise. I asked my husband, Jim, what we were going to do for this shakedown cruise; he smiled and said, “We’re going to figure out how much we don’t know.” Those were prophetic words!
Picking Up Your New RV: The Dealer Orientation
When we arrived to pick up our RV, the service manager at the dealership gave us a brief walkthrough. He talked about the air conditioning, the furnace, how the fridge worked, the propane stove, the generator, the water pump, how to read the holding tank monitor and solar panel monitor, and how to hook up the TV cable. Then we walked outside to review the service bay. He explained how to empty the holding tanks, and told us all about the macerator pump, the back-up manual dump hose, and the electrical and water hookups. Then it was on to the cab and all the buttons and functions for the GPS, back-up camera, mirrors, and so on. By the time the tour was over, our heads were spinning.
We had read in one blog that we should video the whole thing – good advice. Although we took lots of notes, it was a challenge to keep up with the torrent of information. I suppose if we had owned a RV before, much of the tour would have been a review, but for us, it was all new. The service manager handed over the keys and wished us luck.
Tip: Don’t dismiss the orientation tour. Take notes as best you can (or video the whole thing if you can), and then make a point to review the tour to reinforce what you learned. Every RV model is slightly different so even if you’re an experienced RVer, you’ll want to make note of what is different from your last RV.
Your First Overnight: Near the Dealership or Near Home?
As we drove away, the only comforting thought was that we had made reservations at a nearby campground to spend our first night. That was a good call. Just having some time to talk over what we had heard and to try out a few of the buttons and switches made the experience a little less overwhelming. We knew we had a long drive ahead of us, and having the time to review our notes and to anticipate what we might need to consider en route made the trip home more enjoyable.
Tip: Make reservations near the dealership so that if you have an issue, you are close to help. An overnight stay gives you the opportunity to practice setting up and breaking down camp, securing the RV for travel, leveling the coach, hooking up the electricity and water, and dumping the holding tanks. In other words, it gives you a chance to check that everything is working before you head for home.
Now, you might not live far away from your RV dealer, so simply driving it home is the easiest thing to do. But you’ll need to schedule a shakedown cruise as soon as is practical. Hopefully you have a campground close by that will give you the opportunity to test the systems and still be close enough to the dealership (or home) to get help if you need it.
Let’s look at some of the essential tasks for a shakedown cruise, and then a few suggestions to make that time even more helpful.
Shakedown Cruise Essentials
Take inventory of all the equipment
Most RVs come equipped with at least the basics: an electrical cord, a water hose, and a dump hose. It sounds simple, but sometimes things get lost in transit. Check to make sure you have these basics before leaving the dealership. You may want to purchase a water pressure regulator, water filter, and surge protector as well as an electrical adapter to help protect your investment, but those can come later.
Make sure the RV is road-ready
Check the fuel level, tire pressure, water levels, propane level, DEF level (if your unit has a diesel engine), and windshield washer fluid. At delivery, you should have an RV that has been serviced and is ready to go, but just in case, do a quick check to be sure.
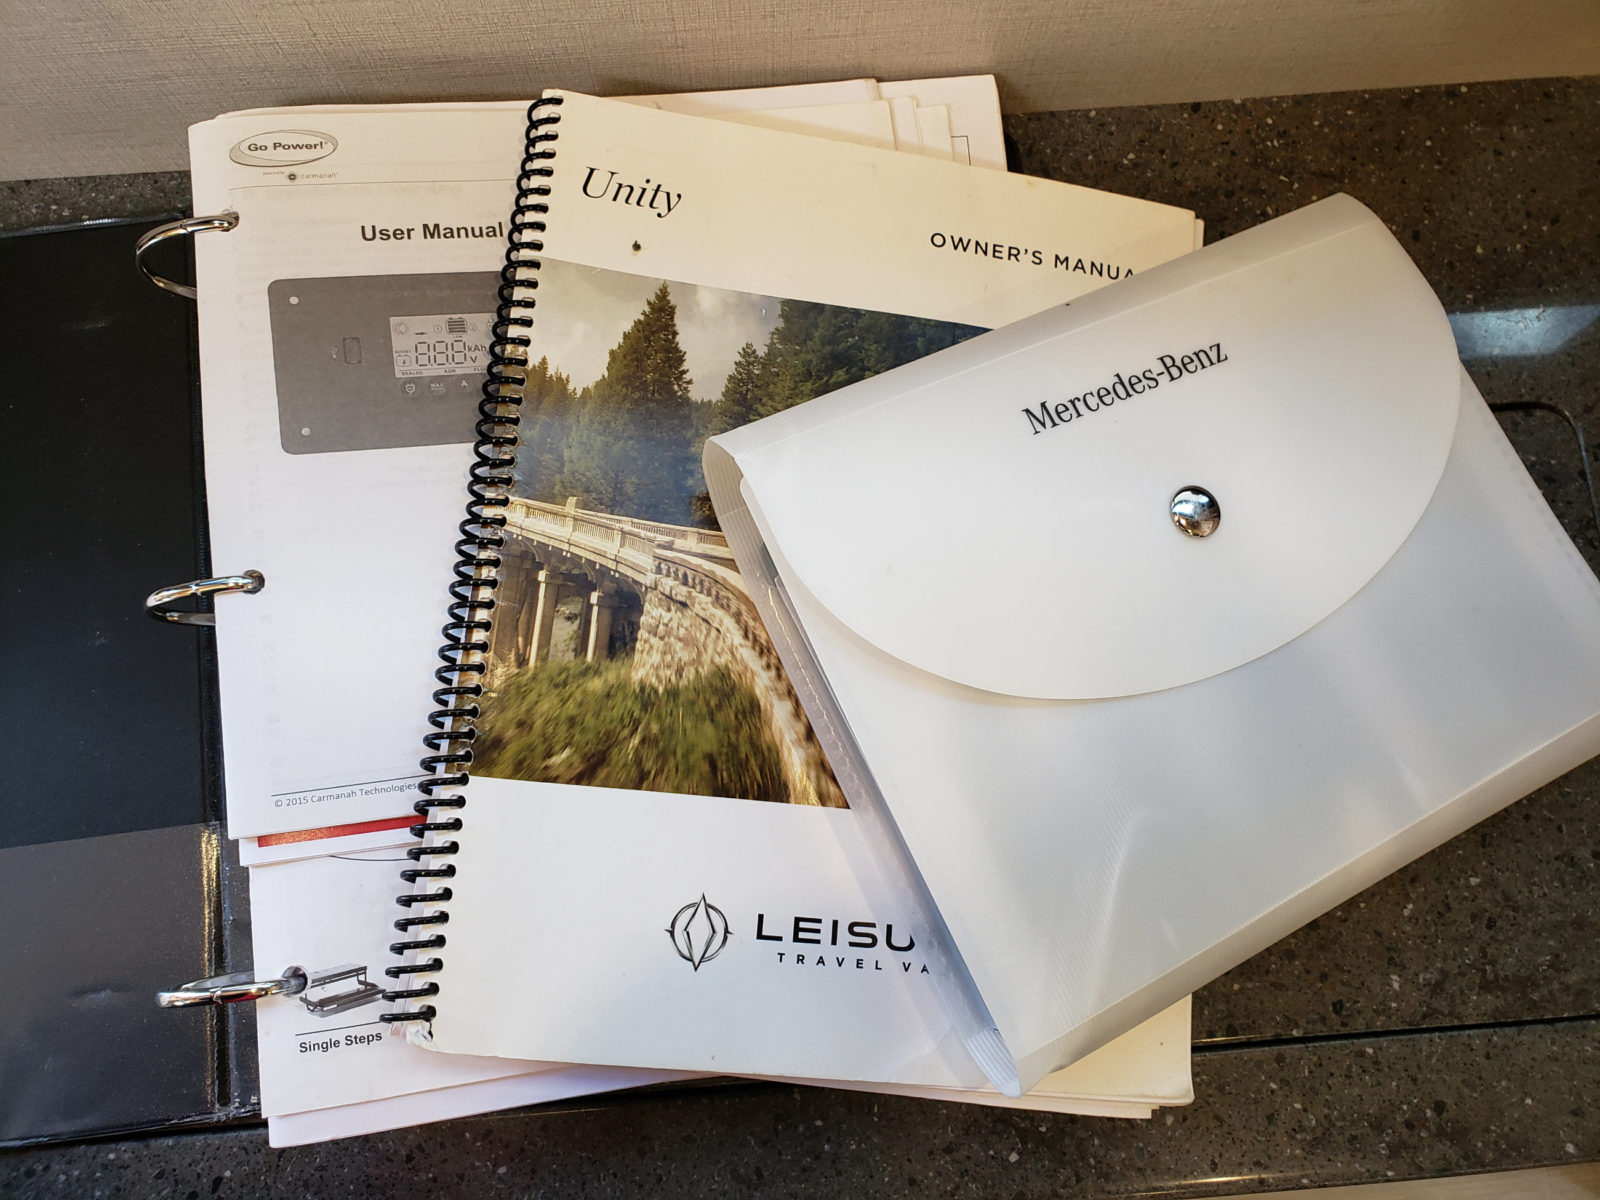
Review the RV manuals
Check to make sure you have all the RV manuals before you leave the dealership. These should include manuals for the the coach, appliances, systems, and the vehicle side. If the manuals are missing, get a copy from your dealer, or download them from the manufacturer’s website. Although not the most fascinating text, understanding the operational requirements for each of the RV systems and all of the appliances will help prevent “operator error.”
Check all the systems and appliances
Once you are familiar with the manufacturer’s recommendations, check all the systems and appliances to make sure they are functioning properly. This is best done over a couple of days camping so that you can test the systems in the way you would normally use them.
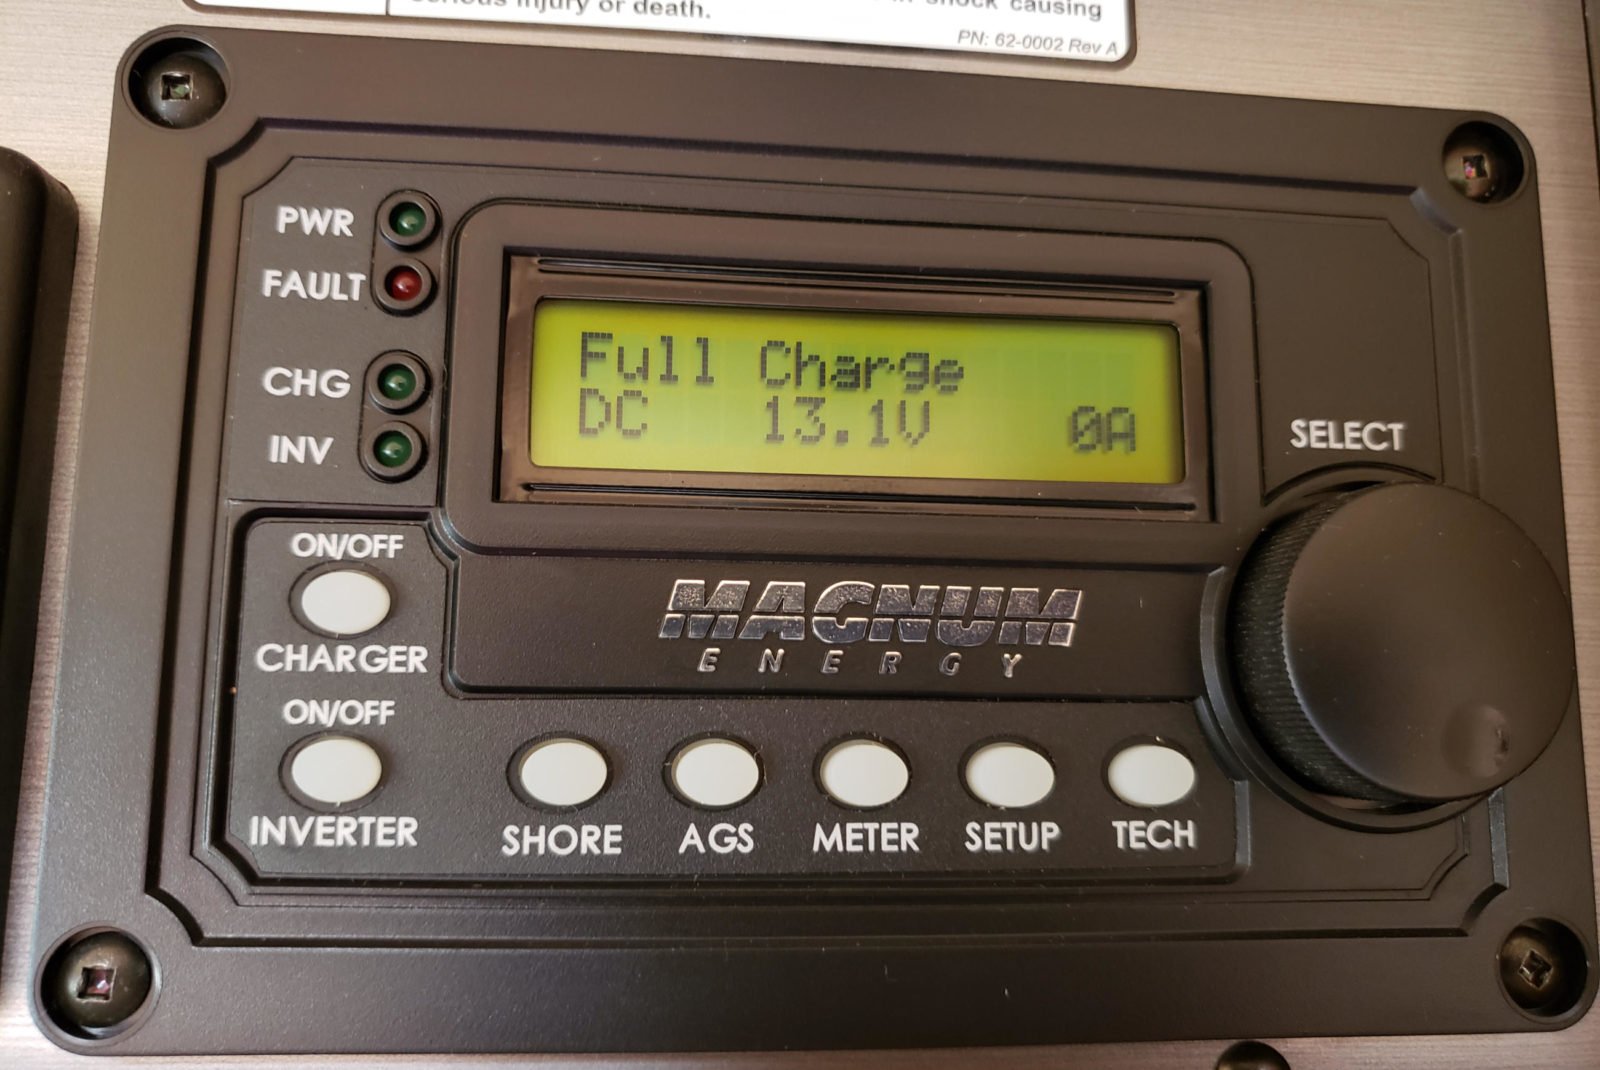
Electrical. Find the location of each of the following items, learn how each one works, and test them: coach battery switch, holding tank monitor, solar panel monitor, fuse panel, generator, inverter, and the main electrical cord. Learn more about RV electrical systems here.
Plumbing. Test the faucets, toilet, and shower with both “city water” and when using the water pump. Make sure the water filter is installed, operate the water heater on both the propane and electric settings, test the holding tank valves, fill the fresh water tank with water from the city tap, run the macerator dump system (if you have that option), learn where to fill the propane tank, attach the freshwater hose, and use the dump hose and rinse it out (if you don’t have a macerator). Learn more about RV plumbing systems here.

Heat and Air. Test the furnace and air conditioner. Learn about the thermostat settings, test the vent fans, and open and close all the operable windows.
Safety. Locate the CO detector, smoke detector, LP detector, and fire extinguisher. Know how they operate and then test them. (This is a very noisy test, so consider doing this in the daytime and in a location where you are less likely to disturb anyone!)
Other Systems. Learn how to level the RV with leveling blocks or test the auto levelers. If you are using leveling blocks, get an app to help you level and learn how to read it.
Propane Stove. Test to make sure propane is flowing freely and that the spark ignition is working. (Open a window while you are testing the propane stove.)
Refrigerator. Set the temperature and leave it. Use an automatic thermometer that offers an in-fridge sensor as well as an out-of-fridge display. (It is better to add cold food rather than room-temperature food. Most are better at keeping cold food cold than cooling down warm food). You may want to test the refrigerator using shore power, battery power, and propane if you have a multi-fuel fridge.
Microwave Oven. Some units are equipped with a convection microwave, others have just a microwave oven. Test your unit in all its capacities. In a convection oven, try baking something. In a regular microwave, try warming up a cup of coffee.
Satellite Dish and WiFi Extender. Try setting up your television using the satellite dish, and try out the WiFi extender over a few days to gauge the capacity.
Television and Stereo. Learn how these units work and how their remote controls work. Nothing is more frustrating than an unfamiliar remote!
Organize Your RV
Once you’ve taken care of the essentials, a shakedown cruise is a great time to set up your RV. This can run the gamut from organizing the space to creating labels and cheat sheets. Here are a few items you may want to include in your shakedown cruise:
Create an RV Notebook
A shakedown cruise is a good time to assemble your RV’s information in one place. Get a notebook and list all of the appliances and system components in your RV. Take a few minutes to list the make and model numbers of each one. And, while you’re at it, map out a schedule of when maintenance is needed for each and add it to your calendar.

Labeling buttons and switches
If your RV switches are not labeled, creating your own temporary labels can be quite helpful. Once you are familiar with your RV you can remove the homemade labels.
Add Cheat Sheets for equipment
Tape “cheat sheets” on appliances and systems to offer a reminder on how to use them. Obviously, these are temporary. You’ll get to know all of these things over the first trip or two, but labels and cheat sheets are very helpful when everything is new.
Get to know any software
If your RV uses a tablet to operate and monitor all the systems and functions, make sure you know how the software works and, if needed, make a cheat sheet to help you execute the tasks you’ll need to do frequently. This same concept can be used for the GPS system or the WiFi extender.
Assess the storage space
Even if you’re an avid RV traveler, every RV has a different configuration for storage. Make a note of the essential items like the electrical cord, water hose, and leveling blocks, and determine where those can be stored. Measuring cabinets, drawers, and storage bays will get you familiar with your RV’s storage capacity, and taking inventory of every space will make packing a lot less frustrating. Once you’ve claimed space for the travel essentials, you can assess the remaining storage capacity for the comforts and little camping luxuries.
As RVs become more sophisticated and home-like, they also become more complex. Since you bought your RV to relax and have some carefree travel time, the last thing you want to face is a vehicle full of question marks when it comes time to use it. To avoid that feeling of the unknown, a shakedown cruise for an RV is one of the most helpful trips you’ll make. And, taking the time to get familiar with your unit will make using it that much more enjoyable.
Comments