
Editor’s Note: This post is written by a member of LTV’s sponsored content team, The Leisure Explorers. Do you own a Leisure Travel Van and enjoy writing? Learn more about joining the team.
So, You Bought A Unity. Now What?
Owning and maintaining a motorhome can be overwhelming, especially if you’re buying your very first one. You’ve researched brands, studied the floorplans, and maybe even lurked on various social media platforms. You decided you wanted a Leisure Travel Van, found the right model, and perhaps waited a year or more for the build. Or you jumped the wait list and latched on to a new model being built that became available, and suddenly find yourself completing the paperwork to buy. Or, like us, you found a gently used model.
Whatever the case, first-time ownership can seem like bringing home a new baby, when suddenly all the anticipation has turned into reality, and you ask yourself, “Now what?”
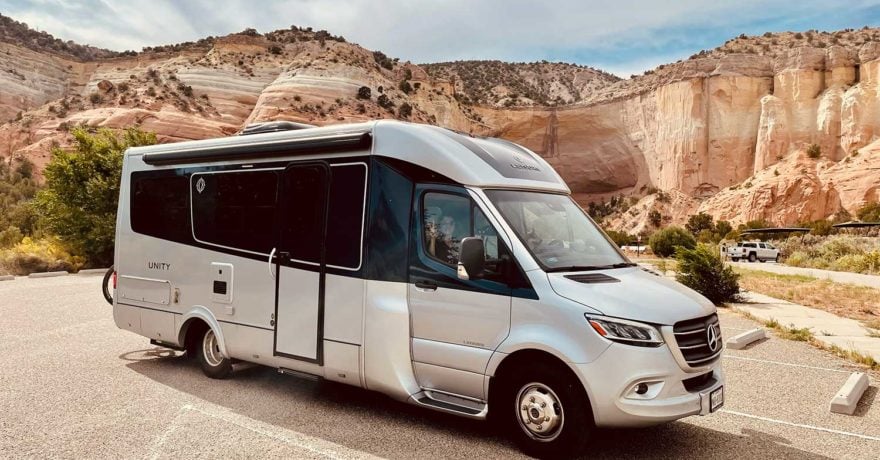
As owners of a 2015.5 Unity Murphy Bed for seven years, we’d like to share our tips for owning and driving for absolute beginners. We won’t get into all the Truma or Winegard systems operating, batteries, etc. That’s why they make owner manuals. We’re offering just the basic know-how stuff for diesel owners. Some of these we’ve learned by making mistakes, and we are passing on these tips so you don’t have to repeat them. In part two of this story, we’ll get into routine maintenance, which is crucial to keeping you out of the shop and your LTV operating as it should. You maintain your car. How about your house? An RV also needs maintenance, and many new owners don’t think about this.
That said, here’s our absolute beginner’s guide to your LTV.
Read The Manuals
First, read your manuals and look up any how-to demonstrations on YouTube. Even before you open the doors. We’ve often gone back to watch the LTV-produced videos of our vehicle to make sure we haven’t missed anything, including winterizing and de-winterizing. And if you cringe at the thought of reading manuals, we get it, but you’ll soon realize the importance of reading the manuals. Owning a Leisure Travel Van gives you access to the MyLTV Owners Dashboard. This is filled with helpful videos, product manuals, and so much more. Also, take the time to review the “Tips and Tools” area on the LTV blog. You’ll find lots of information on organizing your kitchen, how your plumbing works, essential items and tools to carry, and more. There are several Facebook pages devoted to LTVs as well; we use the Leisure Travel Enthusiasts Facebook page, and if you go into the Files section on each, you will find lots of information on various topics.
Hopefully, the dealer provided you a good orientation of your vehicle. Orientations can vary since most dealers sell various brands, in addition to LTV. If you haven’t picked up your vehicle yet, it’s a good idea to take notes, read the manuals online before you take delivery, and even video the instructions given as well as your questions. You’ll be glad you did once you are on the road and realize you’ve forgotten nearly everything you heard in the excitement.
Your First Tank of Fuel
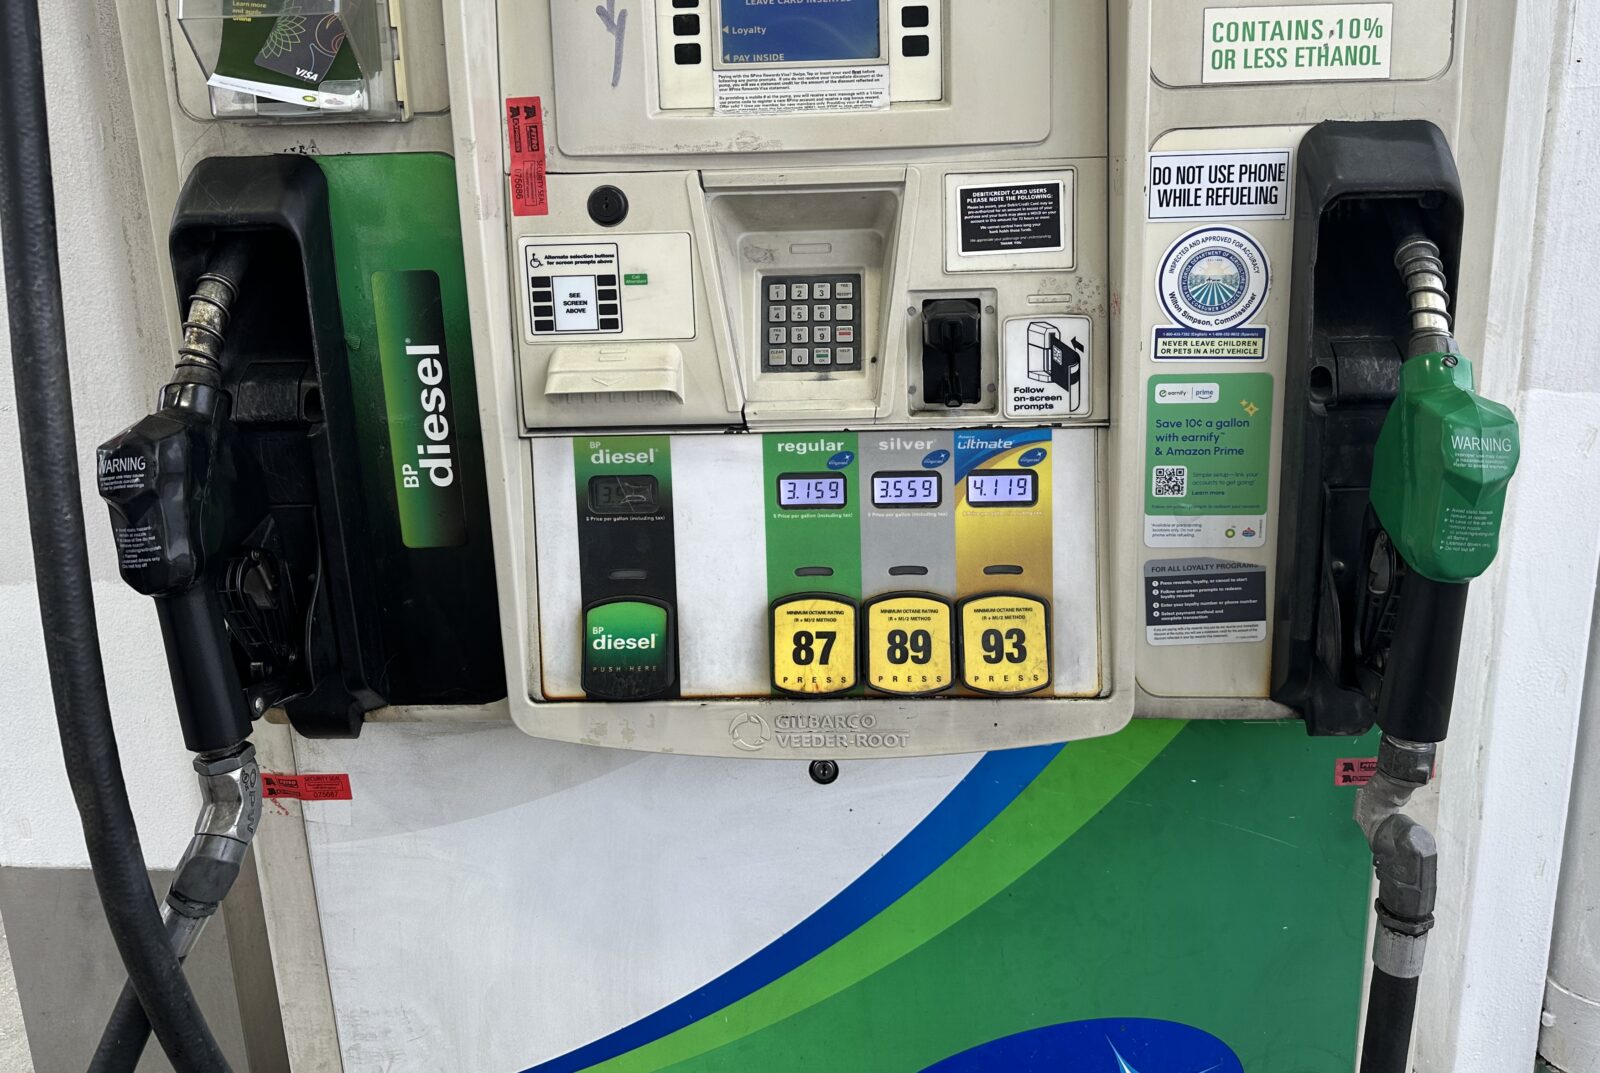
A diesel engine powers a Unity. The first rule we instituted was never to refer to diesel as gas. Accidentally putting any gasoline into your diesel tank can wreck your engine and cost you thousands. It has happened to others, not us. So, when talking about refueling, we always use the terms “diesel” or “fuel” and always look at the pump to ensure we put diesel, not gas, into the tank. Do not ever, ever, ever assume that a green handle or green fuel line means automatically that it is diesel. Always, always, always look at the sign on the pump. Some stations have green fuel lines or handles that are gas. Sometimes, they are diesel, and gas pumps also have diesel fuel. Look at the sign at the pump.
Don’t let your fuel level get low. Diesel engines must have a continuous flow of fuel. If you let the fuel get low, air will be pumped into the engine rather than fuel, causing system damage worth many dollars. In winter, diesel will tend to gel in very cold weather. Consult your owner’s manual for any recommended anti-gel additives. In below-freezing weather, look for either premium or number 1 grade diesel. Don’t sweat worrying if the pump has “low sulphur” diesel. Diesel meant for the road is all low-sulfur. We always look for fuel at a half-tank, and it allows us to stretch our legs, too. So, to repeat:
- Look at the pump, not the color of the handle, to confirm you chose diesel.
- Always say “time to get fuel,” not gas, and remember to put the fuel cap back on and close the fuel door. This can prevent spending money on costly repairs.

Using Diesel Truck Stop Pumps
I try to avoid going to the trucker’s diesel area unless I have no choice. Pumps flow much faster there (remember, they’re for filling trucks), and I find there is usually no overflow protection, so there’s often a spill involved. I always go to the automobile pumps if they are available.
Truck lanes at service stations also have DEF available at the pump. Again, make sure that you are using the correct pump, and do not put DEF into your fuel tank.
Since I don’t want to chance mixing up pump handles, I have never filled a DEF tank at the truck pumps. Others have. I stick with 2.5-gallon jugs. If the DEF tank is full and there is some left in the container, I screw the cap back on because I can use it up in another week or so. DEF does have an expiration date, so if you have opened it, don’t use it after it sits in your garage for months–buy new.
Shakedown Trip
If you have time, it’s helpful to take a “shakedown” trip. During this trip, you can practice setting up your vehicle and go through the steps of hooking up to electricity and water, as well as emptying your tanks. We’ll get into that procedure—yes, there is one—below.
Know Your Height
Why is this important? Bridge heights vary. On most freeways, they’re high enough for semis. But in some cities, watch out. In the U.S., measurements are in feet. In Canada and Mexico, meters. A Unity is 10 feet, 6 inches, or 3.2 meters tall. A Wonder is about 10 feet, or about 3 meters. Those measures include the air conditioner. Want to see what happens if you don’t pay attention? Just look at YouTube videos like this.
Some scenic routes, like the Blue Ridge Parkway, have a few low-clearance tunnels. Their height is measured at the side of the tunnel ceiling. We made it through by staying in the center where it’s highest, but Bill walked behind our LTV at each low tunnel to make sure. Some route mappers and campground apps also feature height warning settings. Some printed maps also do. Use them.
Starting And Ending Your Trip
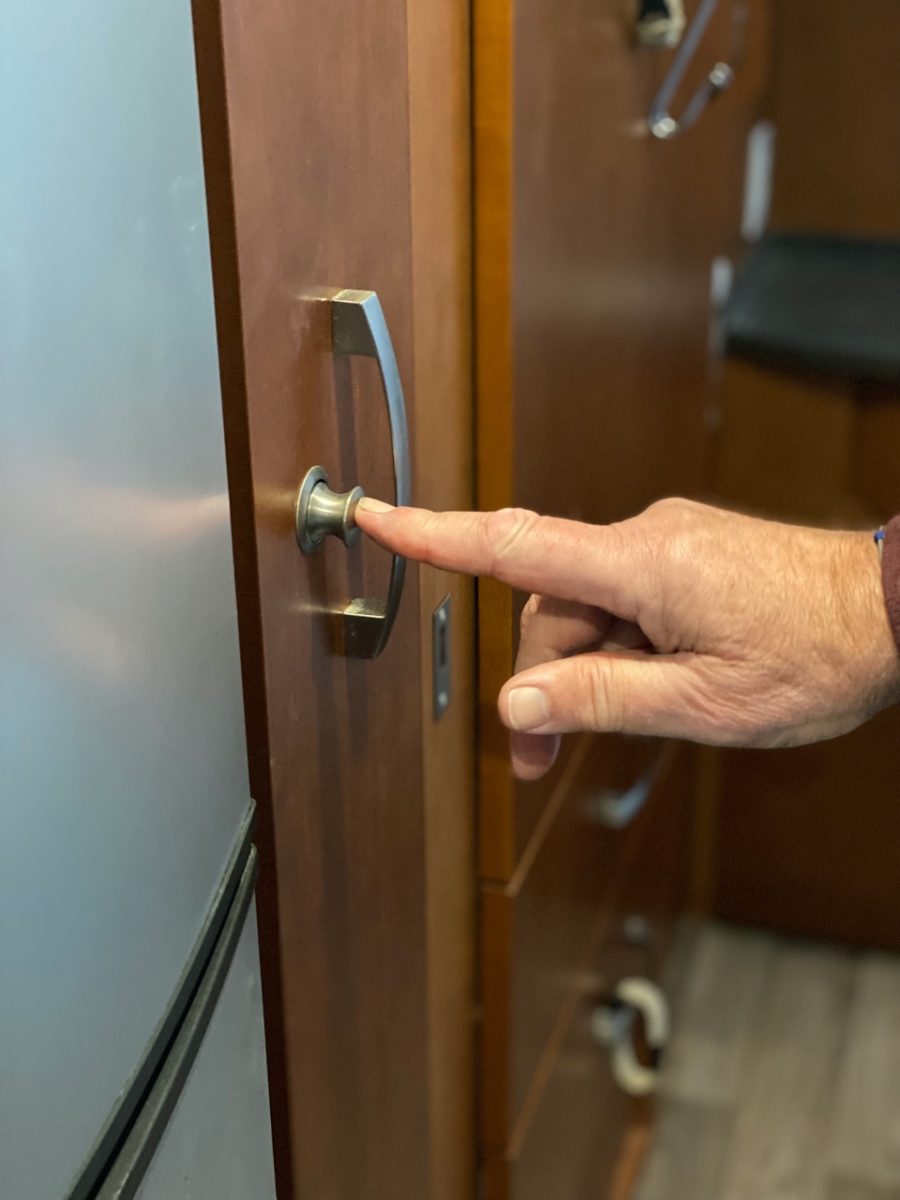
If equipped, turn on the propane feed solenoid, allowing propane to flow. It’s the black switch in the exterior shower bay. If you didn’t turn it off, hope the batteries still carry a charge because this little switch is one of your RV’s “phantom draws” that could kill your house batteries. But let’s assume you did that. Turn on the house batteries before your trip. The switch is by the steps. “Off” is at the 12 o’clock position, and “on” is at the 3 o’clock position.
On newer models, the battery disconnect switch is a button on the multiplex panel closest to the entrance door.
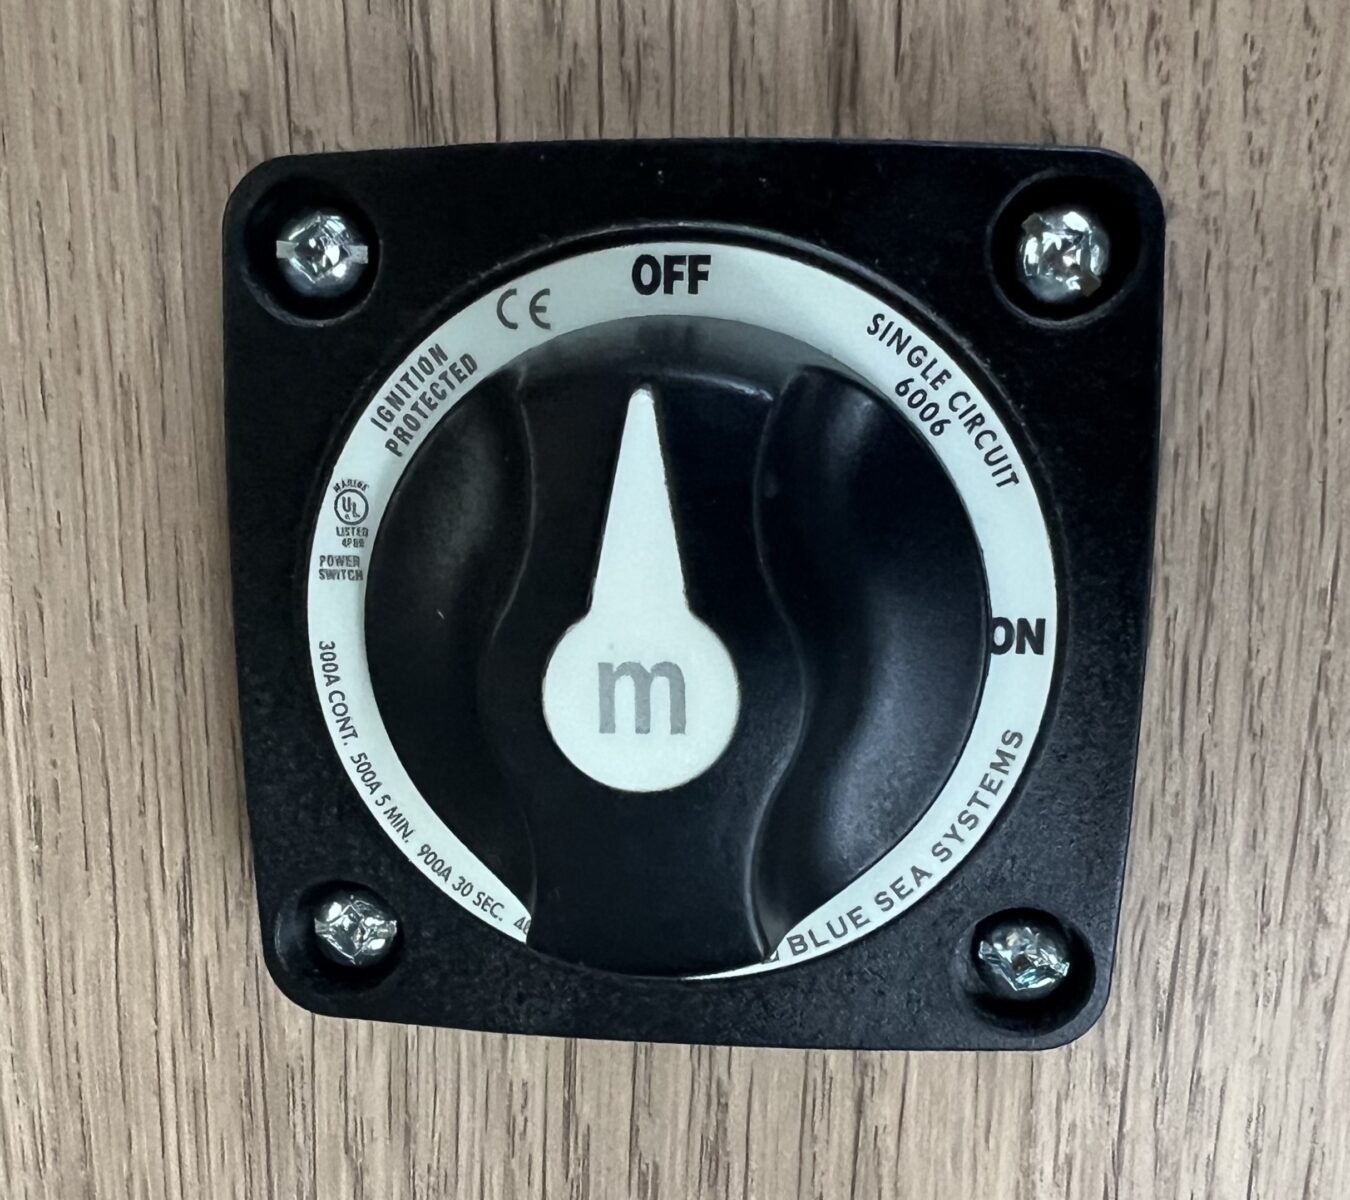
Turn on the refrigerator. We set our three-way fridge on “A” for Automatic. Auto means the fridge will choose what power source to use. If it’s a three-way, it chooses between 12-volt power when driving, propane if you’re stopped and not plugged into power, or 120 volts if you’re plugged in. Newer LTV models may be equipped with a 12-V fridge. Simply turn the fridge on and it will begin cooling. Turning on the refrigerator early ensures you can use it in a few hours. When you return home, turn off the house master switch back to “off ” or 12 o’clock position. We left it on once, drained the batteries, and had to buy a new one. You will only make that mistake once, as it is costly.
Then, pack your things and get ready to go! Chances are, you will pack too much the first time. When you return, look over what you didn’t use, including clothes. Do you really need it? Maybe (probably) not. We like to use packing cubes to keep things in place. There are various sellers. You might, too.
Airplane Check Before You Go!
We wrote an entire story on this subject alone. Follow the suggestions or don’t at your peril. Short version: Make sure all the cabinets (especially the pantry) are locked, all exterior storage compartments are closed, the slide is in, the awning is in, the vents are down, the compartments are closed, etc. We call it doing an “airplane check,” much like aircraft cabin attendants do pre-takeoff. One does it, then the other to double-check. You only need to make a turn and have your pantry fly open once to learn the importance of checking and rechecking everything before you leave. Other bigger and far more costly disasters await outside if you do not do this, as covered below.
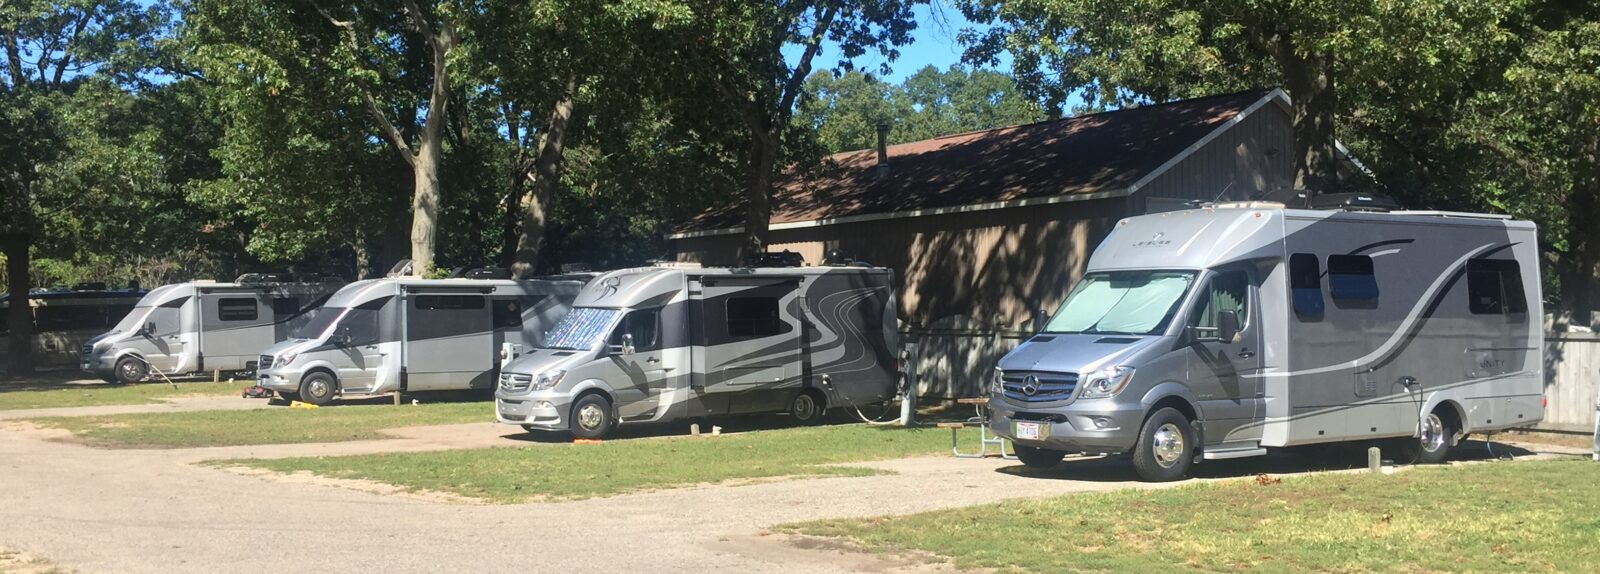
You Reached Your Campsite. Time To Hook Up
You’ve arrived at your campground and found your site. First thing: Look it over. Are there any low-hanging tree branches? Posts? Large rocks? If you’ve chosen a back-in site, we always back up with someone outside watching for any hazards (look up, too). Always.
If you’re alone, go slow. Before your first trip, practice backing into a space in an empty school parking lot. Do it in stages. The few times we decided we didn’t need a spotter, we soon realized why we did, such as when we tapped a rock we couldn’t see in any mirror or backup camera. Get out. Look for obstacles. You’ll be glad you did. Your wallet will be glad, too.
Plugging in at a Campsite
Not following the proper steps could trash, as in burn, your electrical system at most, or toast your 30-amp outlet on the side of your LTV at least. Save aggravation and money by using these steps, which will become automatic after a few times. I’m not saying it may happen. If you don’t follow procedure, it will burn out your connection on the side of your LTV.
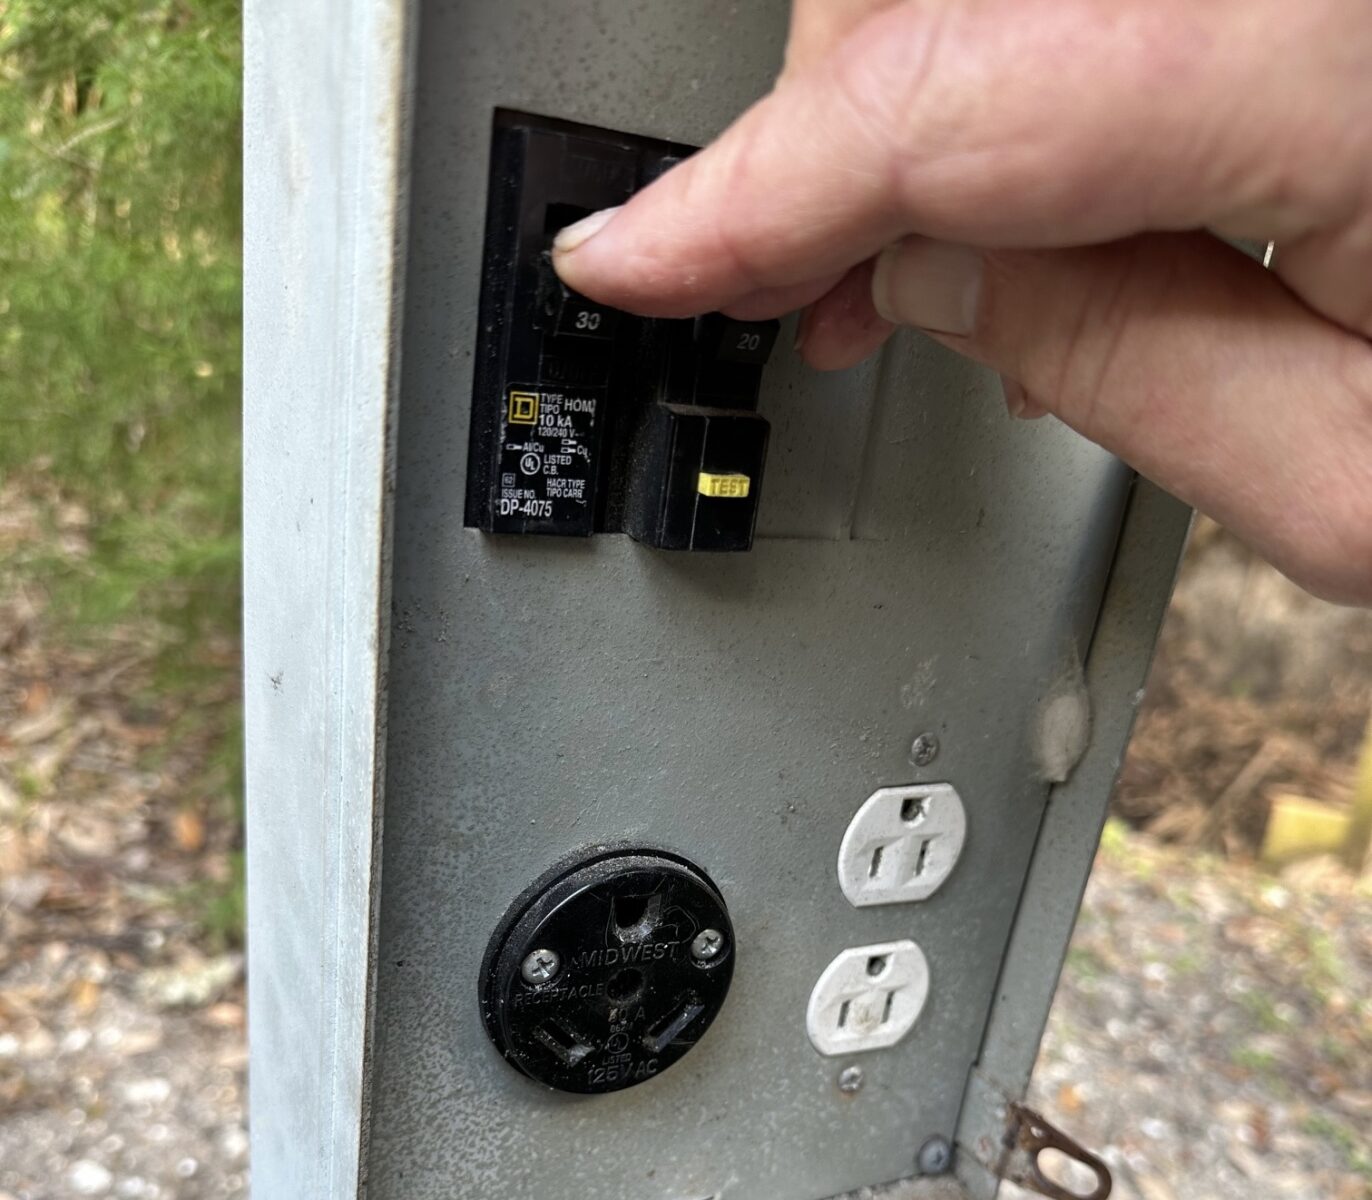
- Turn off all the power at the post by flipping all the switches you see to “off.” These are circuit breakers. There will be a 110—or 15-amp switch, a 30 amp, and a 50 amp. You will use the 30 amp receptacle. It’s the only one that will fit your power cord. If there’s only a 50-amp outlet, you’ll need a 50 to 30-amp adapter. They are inexpensive and should be a part of your must-have items.

- Plug in your surge protector to the 30 amp receptacle. Don’t have one? Get one online or at an RV store. Onboard surge protectors became standard on LTVs in model year 2021, so you may not need an external protector. It saves you from destroying your rig due to a poorly wired campsite post. Our external protector has protected us thrice by detecting incorrectly wired posts.
- Connect the 30-amp cord to the protector. For newer models, connect the power cord to the disabled power post.

- Plug in the cord to the RV.


- ONLY THEN should you turn on the power at the post.
- Plugging it into your LTV with the pedestal power still on will eventually burn your RV’s receptacle to a crisp by arcing electricity. If you have a surge protector (again, we HIGHLY recommend if it’s not standard), it will wait about three minutes to complete its system checks before allowing power to enter the Unity.
Putting out the Slide
If you use the slide lock, remove it. Always look for any other impediments, both inside and outside. That includes always checking for clearance from trees, rocks, picnic tables, etc.
Inside, make sure nothing is blocking the slide. Cat or dog toys, slippers, or something else in the way can cause issues. Always put out the slide all the way, and always bring it in all the way. After checking both sides, hold the out button until the slide is completely extended. You will know it is by the quick double “whir” (“zing-zing”) of the motors and the fact that it has stopped. Always properly maintain the mechanism and seal (we’ll get to that in part 2). Maintenance takes about 10 minutes every few months. Slide seals may also flip inward, which could lead to a leak in heavy rain, and RVs and leaks don’t go together. We’ll detail an easy way to prevent that in part 2.
Opening Cabinets/Storage
Always assume something has shifted while driving. Hold one hand near or under the cabinet when you open it to ensure nothing will fall out. We put tension rods in the cabinets to help. We bought light, break-resistant dishes and non-breakable glasses and mugs. Keep heavy items in lower cabinets to minimize the potential of something falling out after driving (think of all the warnings on an airplane about items shifting during the flight). In the pantry, put the heaviest items toward the rear of each shelf.
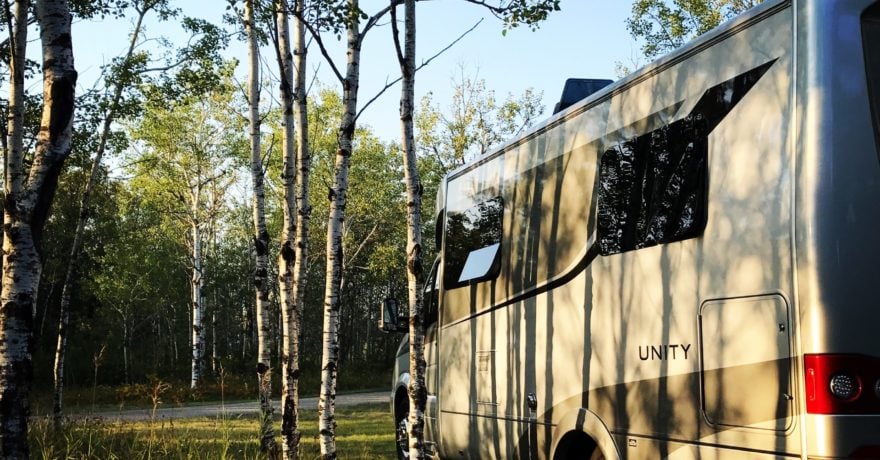
Enjoy your Stay
Be mindful of quiet hours and other courtesies and rules expected at a campground. If you have a pet, always pick up after it.
Leaving Your Campsite
Create your own “sterile cockpit” checklist. Always do an exterior and interior check. Always look up and check that roof vents are closed. Yup, we’ve done it. We forgot about those vents. Close all the windows as well.
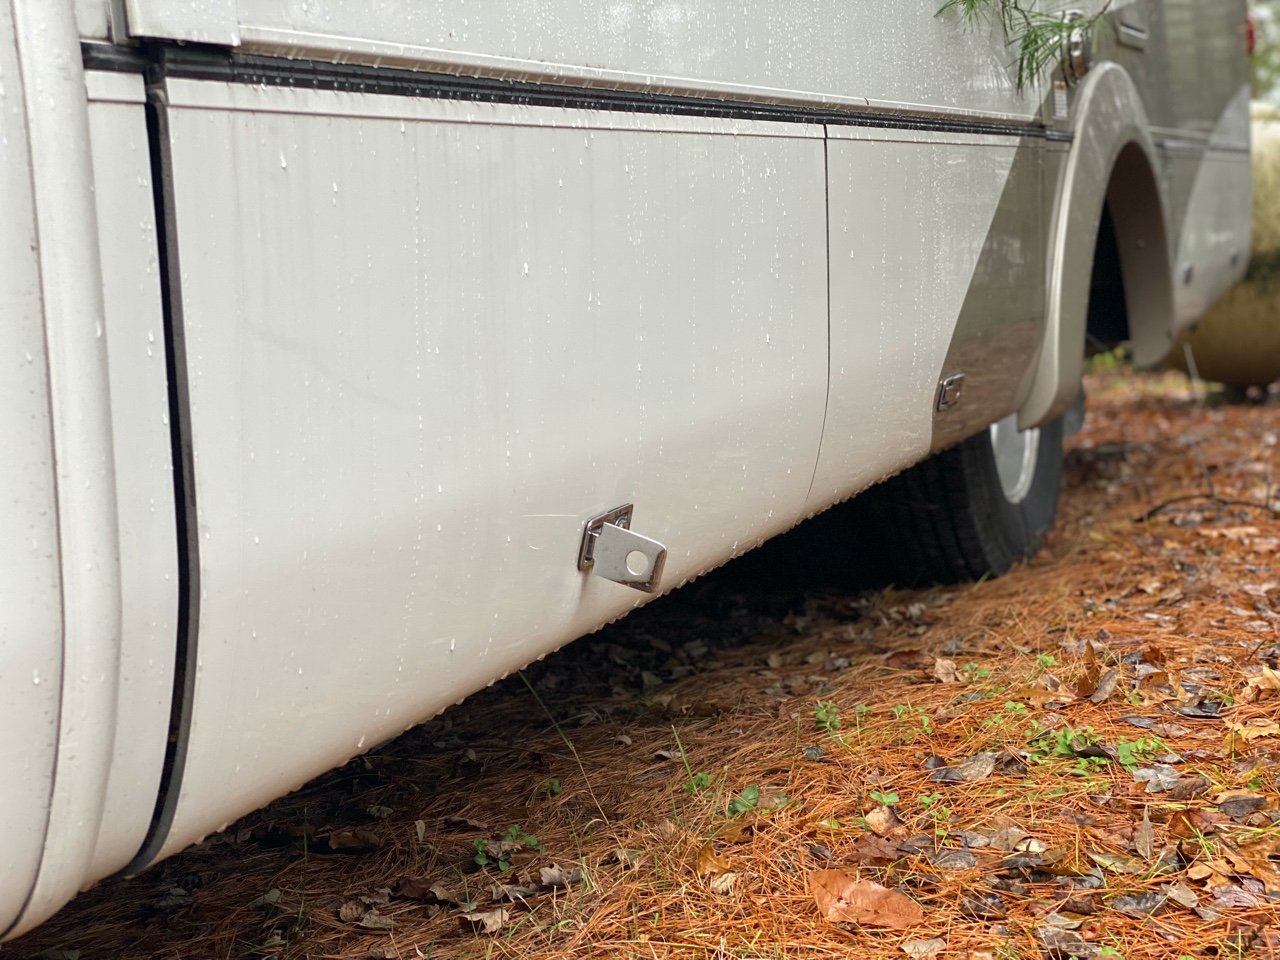
Outside
Turn off the power at the pedestal first. Disconnect the power cord from the electrical box, and disconnect the water hose. Tip: Have someone inside turn on a faucet to release pressure, then easily remove the water hose—empty and store by connecting one end to the other. Store the power line. Make sure all exterior storage units are closed. Is the awning in? Is your welcome mat stored? We’ve since stopped leaving one welcome mat at a campground each trip due to that outside check, but it used to be a tradition with us. Walk around the rig. Twice. Look up. Are your windows closed? At least two owners we know of destroyed their awnings by driving away with them extended. One drove away with the slide extended.
Inside
Be sure all cabinets are locked, especially the pantry. Not locking the pantry can have disastrous results, not only from things falling out. At least one person we know of destroyed their pantry by not locking it. Clear all counters. We place items in the sink or countertop storage.
When You Get Home
- Turn off and, of course, empty your refrigerator. Wipe down the interior and open the doors to prevent mold from growing.
- Turn off the main power at the entrance door.
- If so equipped, turn off the black switch propane solenoid to help stop phantom power battery draws.
DEF (Diesel Exhaust Fluid)
Since this article is dedicated to Unity models, this pertains to those.
Your vehicle’s emissions system uses DEF, basically a urea mix that reduces harmful diesel emissions. The DEF tank is usually under the hood. I typically add a bit of DEF every 2,000 miles. I get nervous about it getting so low, but if you read the Mercedes manual, it says that DEF doesn’t need to be added for 5,000 miles or so, but I err on the side of caution. Newer models have dashboard gauges. But I ensured it’s always full, and the “add DEF” warning does not come on. You can buy two 1/2 gallon jugs. I would stick with the Blue DEF version. However, all DEF is federally ISO approved. Walmart has its own for cheaper, but I like the original. Don’t believe someone who says it must be added on each fill-up. Yup, we were told that once. Costco has excellent DEF prices if available. I avoid buying DEF at dusty little stations. It does have a shelf life, and that’s why I use it all before buying more. Costco and Walmart have good turnover rates.
Biodiesel
If you find yourself in an area that sells biodiesel only, no worries. When we attended the LTV rally in Winkler, biodiesel questions were among the most asked. Mercedes representatives then recommended that if you use a biodiesel blend (5-20%) exclusively, change your oil more often than the MB recommended 20,000 miles (which I hope you will do anyway). Out West, 5% biodiesel is pretty common. Some places have 20%. Mercedes says to use 20% only if you must and, again, change that oil more frequently. Mercedes does not recommend using 100% biodiesel or biomass diesel. Here is the official Mercedes biodiesel brochure.
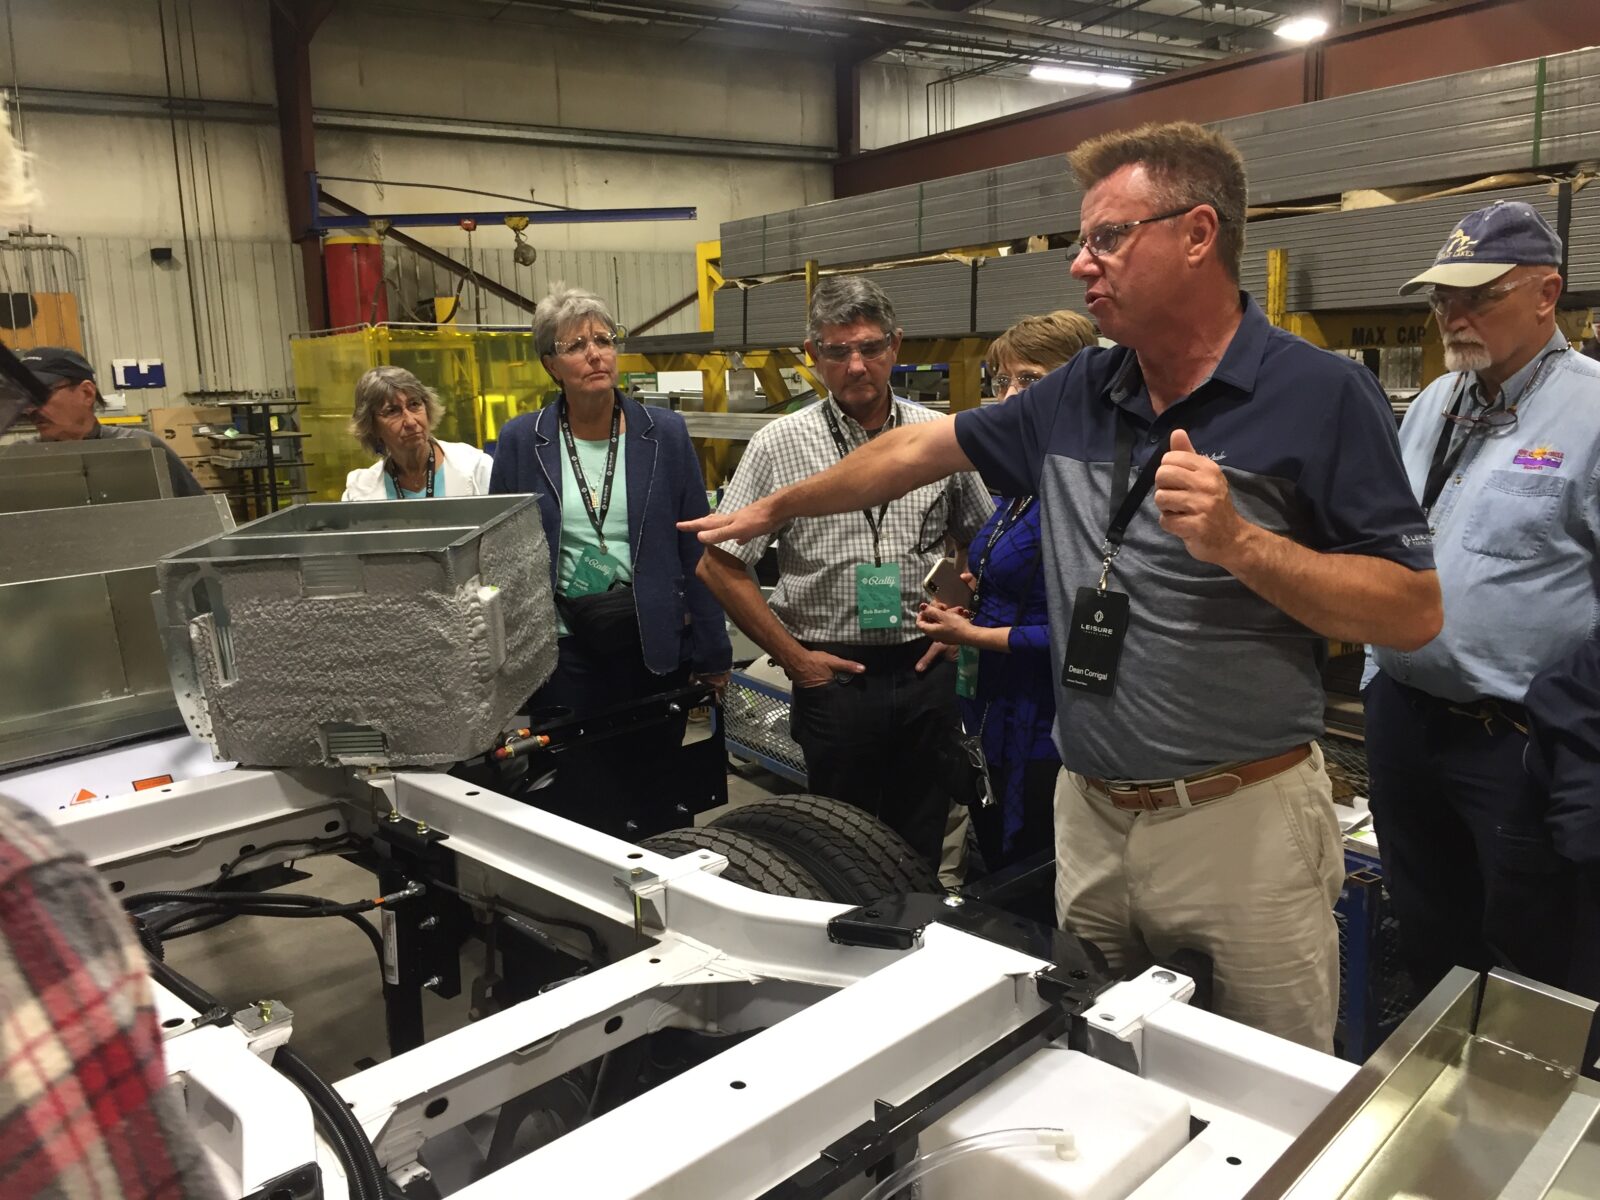
Attend A Regional LTV Rally

You can sign up for Travelers Clubs on LTV’s website. There is also a page for owners’ events. You’ll learn a ton at these events, including what not to do.

Consider attending the LTV Fall Rally in Winkler, Manitoba, home of Leisure Travel Vans, each early September. You learn a lot. Registration and attendance are by lottery.

The most important thing is to have fun and enjoy your adventures! In part two of Unity for Beginners, we’ll get to exterior maintenance, which should be done at least twice yearly and in some spots every month or so. This also applies to Wonder owners as well. See you then!

Comments