
Once you reach temperatures of about 0 degrees Celsius, 32 degrees Fahrenheit, or below, it’s time to winterize your RV. Below are the steps for winterizing a Leisure Travel Van with a Truma AquaGo Comfort Plus water heater. For previous LTV models, read our instructions on winterizing with a Suburban Water Heater.
Why Should I Winterize My LTV?
Winterizing your RV is the act of removing water from water lines, holding tanks, and water heater that can freeze when temperatures go below freezing. The smallest amount of water left inside the systems could freeze, expand, and later cause damage to your RV. Taking the time to winterize your Leisure Travel Van will save you from having to pay high repair costs and will aid in keeping you out of the repair shop upon the arrival of spring.
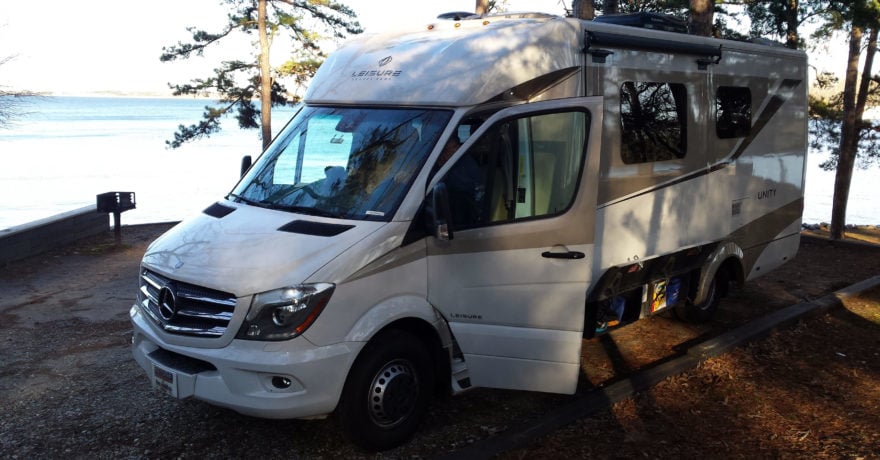
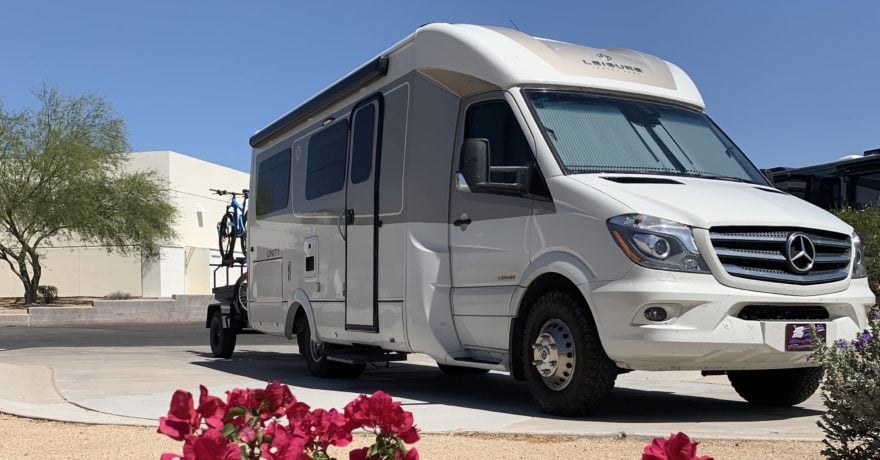
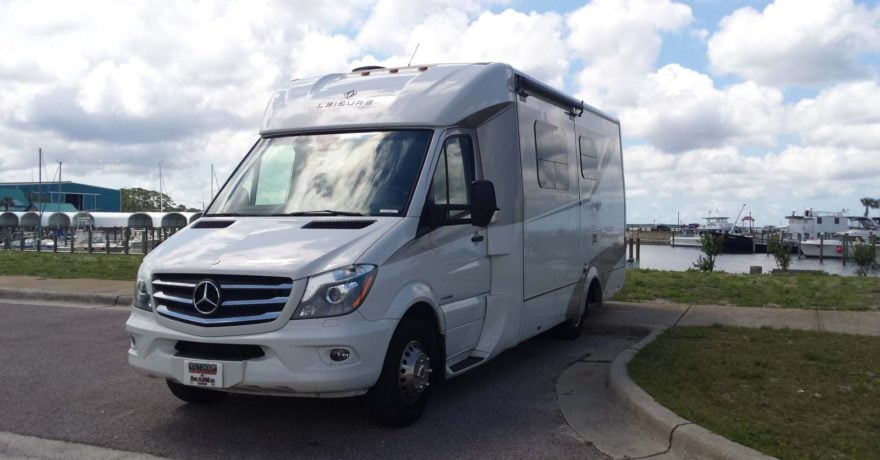
Whether you have a Unity or a Wonder, this winterizing guide is meant for both coaches. Both the SOP (standard operating procedure) and step-by-step video are also available to guide you through the winterization process.
Step 1: Prep the Hot Water Heater
- Beginning by shutting off your hot water heater.
- After you have shut the water heater off, run water through a faucet hotline for 30-second to speed up the cooling of the hot water heater. Be sure the water heater is cool to the touch to prevent scalding injury.
- Shut off the water supply.
- Open the hot and cold water lines of any sink faucet to relieve any pressure.
- Again, be sure the water heater is cool to the touch. The pressure relief valve can be used to release any remaining pressure in the water.
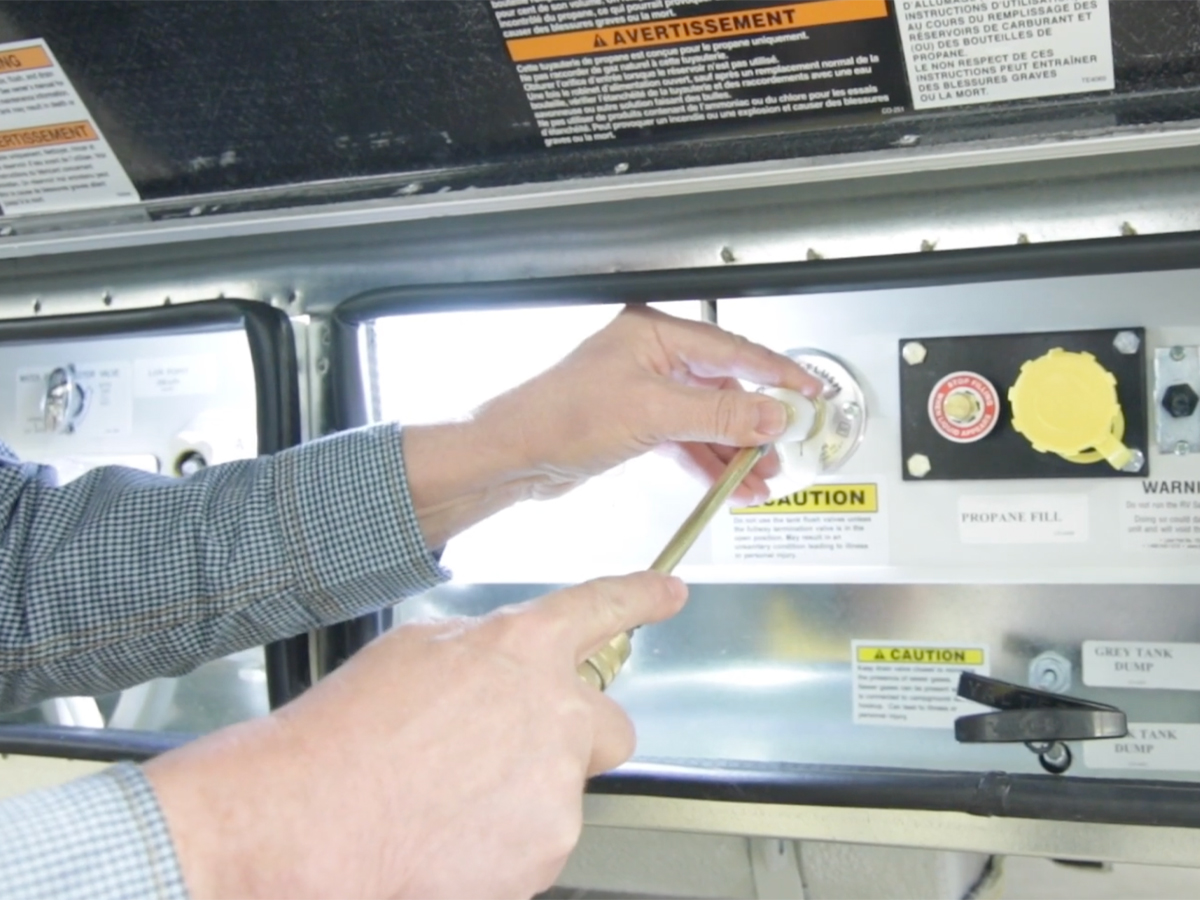
- Open the yellow drain lever to drain the water from the water heater.
Step 2: Filters
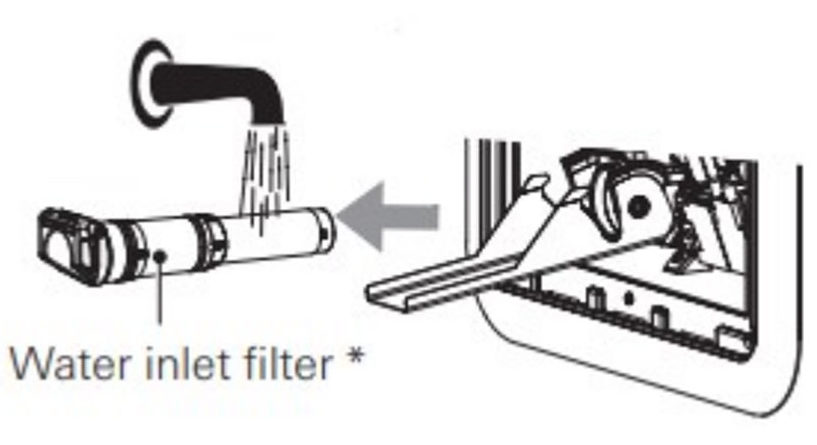
- Remove the inlet filter and rinse. Store the inlet filter outside of the water heater during winter storage. Close the yellow drain and close the water heater door.
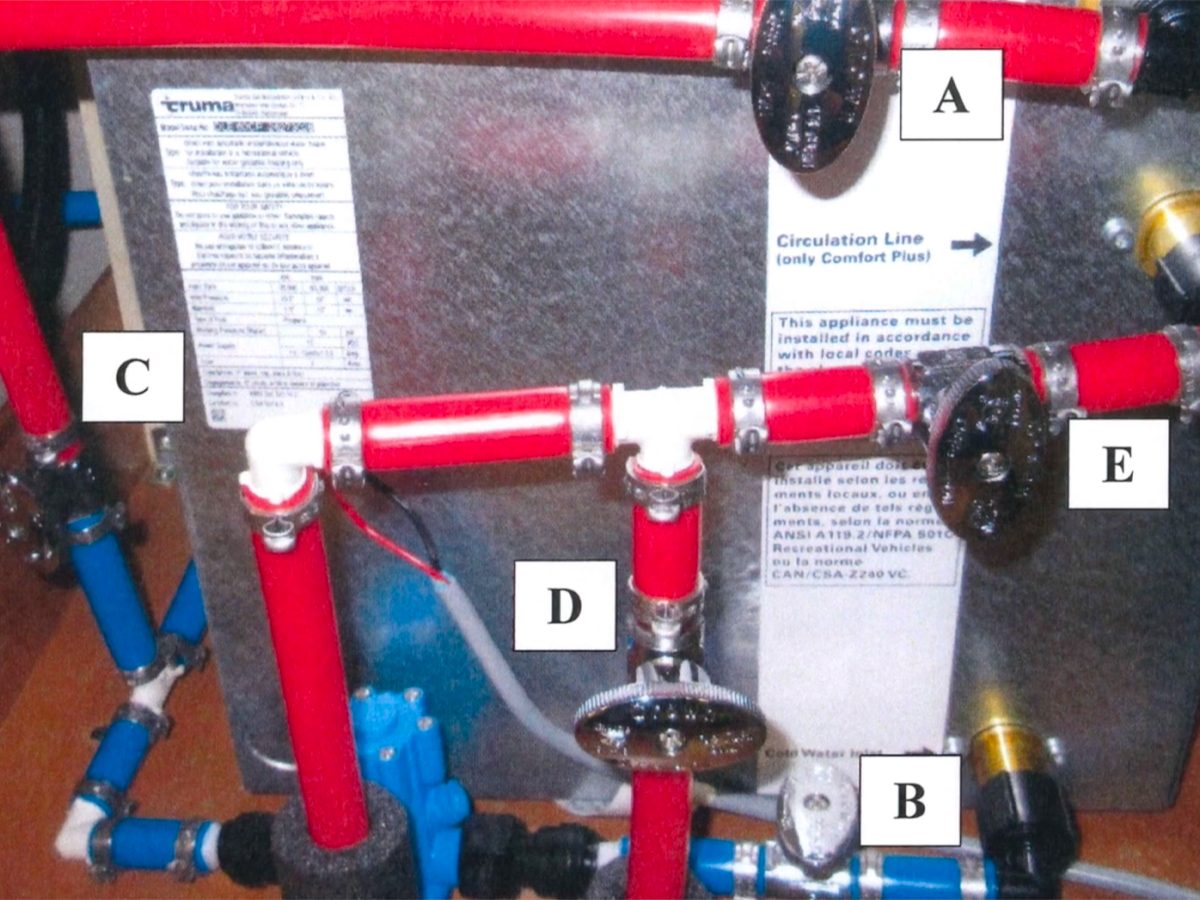
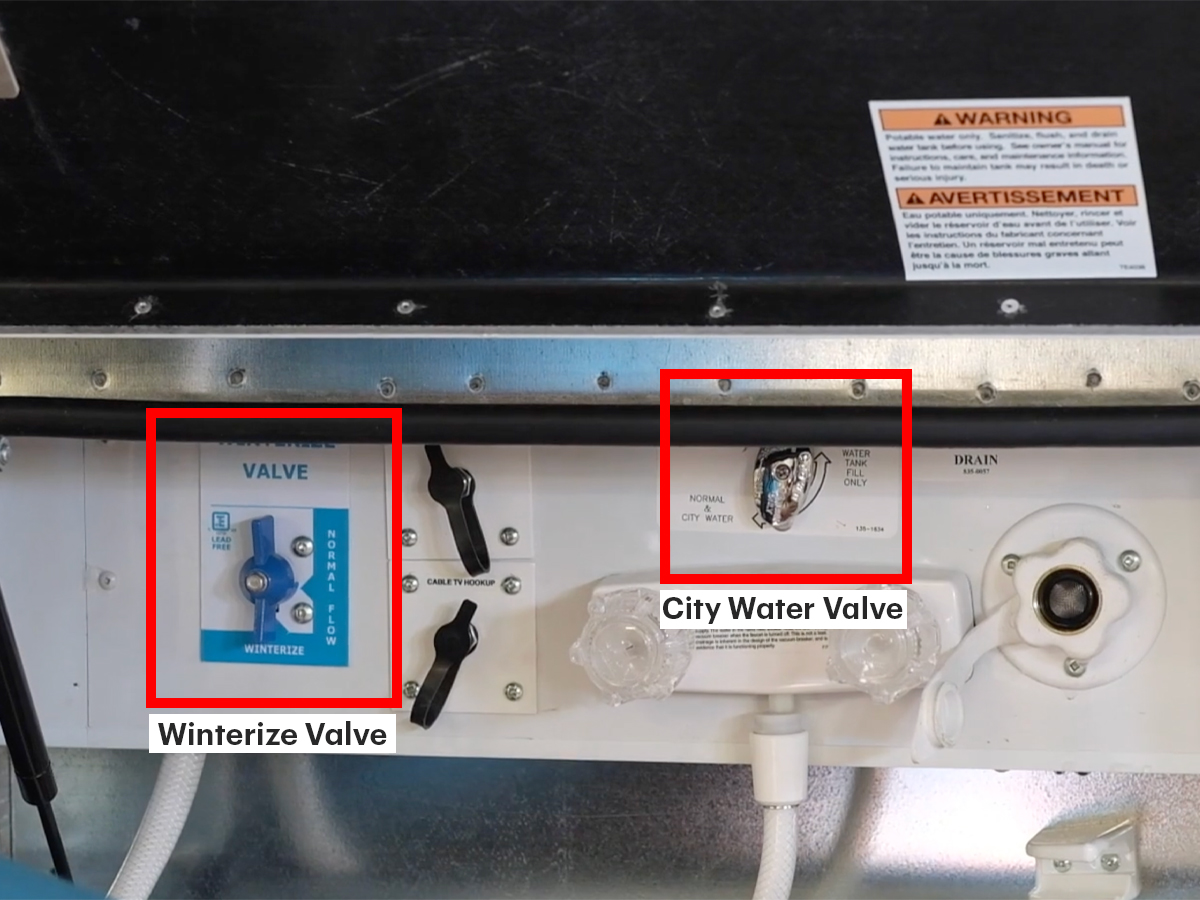
- Switch the water heater to bypass mode. Valves A, B, D, and E should be closed. Valve C should be open. (Valve A: hot water outlet, Valve B: cold water inlet, Valve C: hot/cold winterize valve, Valve D: drain line, Valve E: circulation (hot water) inlet).
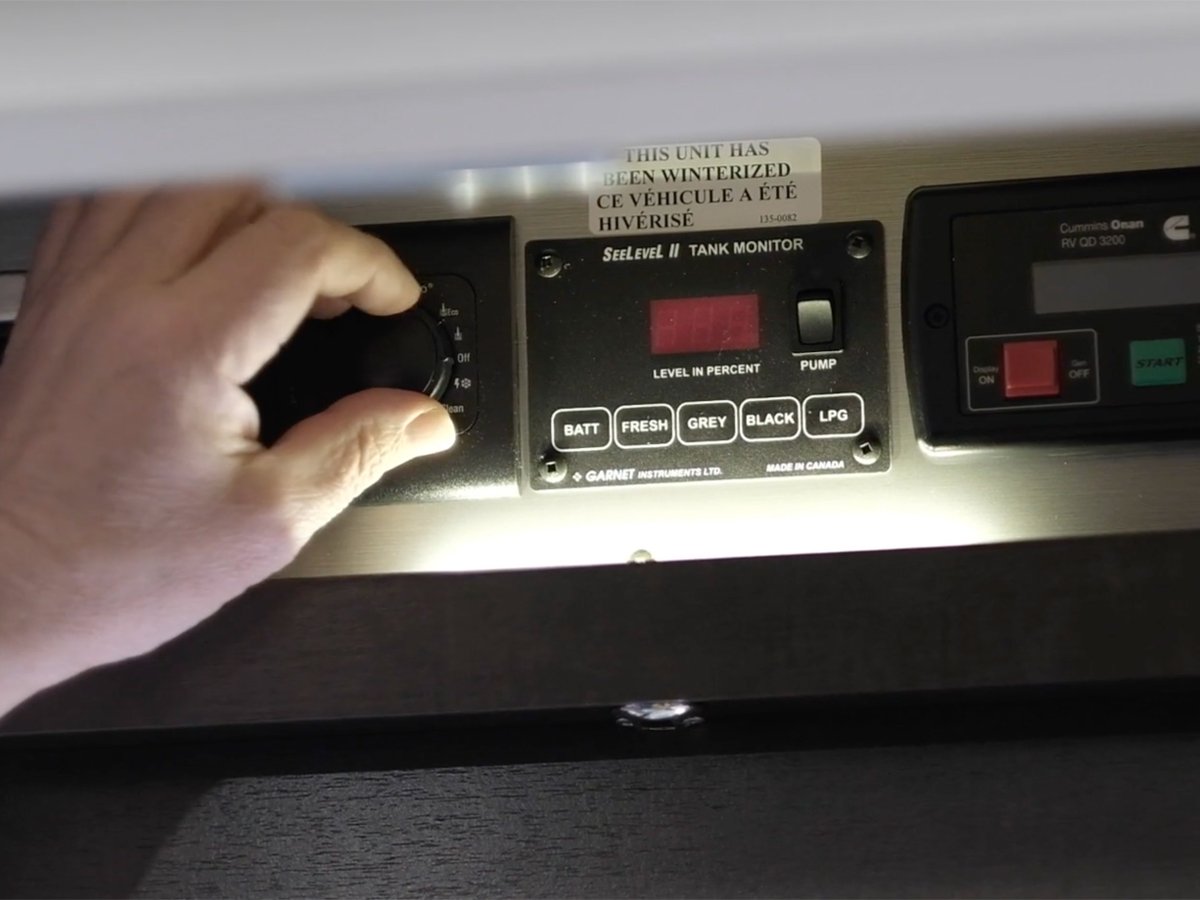
- Open the fresh water tank, which is located either outside and under the unit or inside and under the bed.
- If equipped, remove the charcoal water filter from the filter canister and reinstall the empty canister.
Step 3: Antifreeze
- Set Winterize Valve to “WINTERIZE.” Ensure the city water valve is set to “NORMAL AND CITY WATER.”
- Place the winterize pickup hose into the RV antifreeze jug.
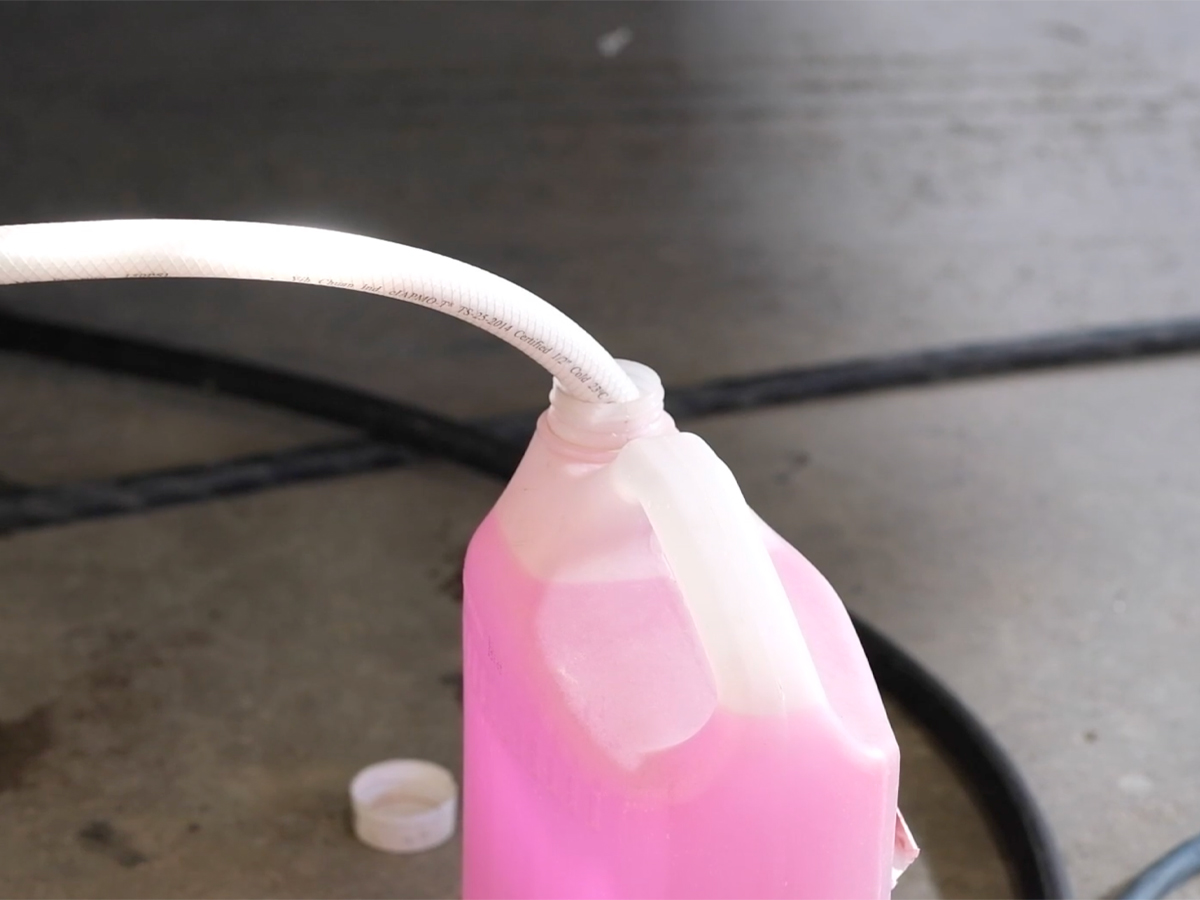
- Turn on the water pump.
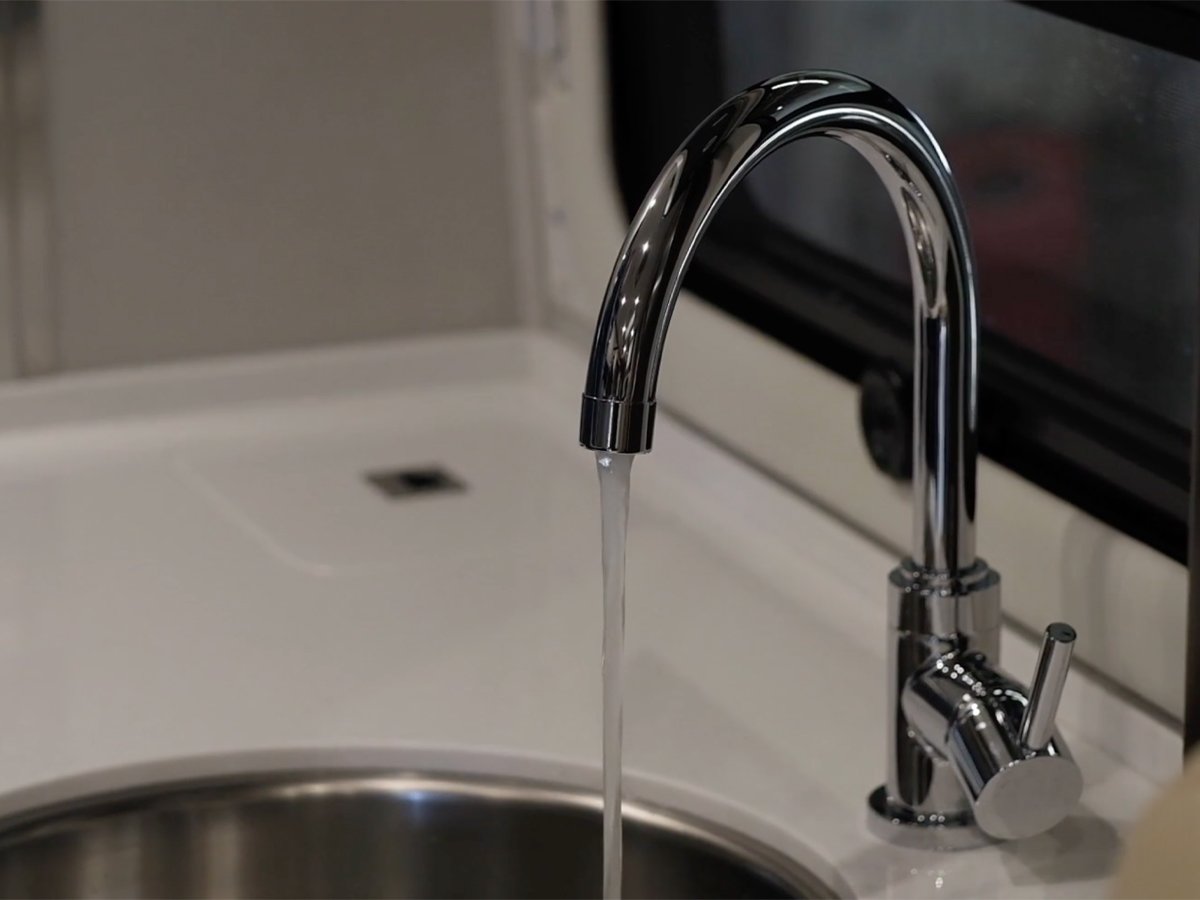
- Run the RV antifreeze through each faucet until only pink liquid comes out, both the hot and the cold. Don’t forget the exterior shower, the toilet, and the toilet sprayer wand.
- Open valve D on the water heater and allow fluid to drain for several seconds.
- Turn off the water pump.
- Release pressure in the system by opening a faucet.
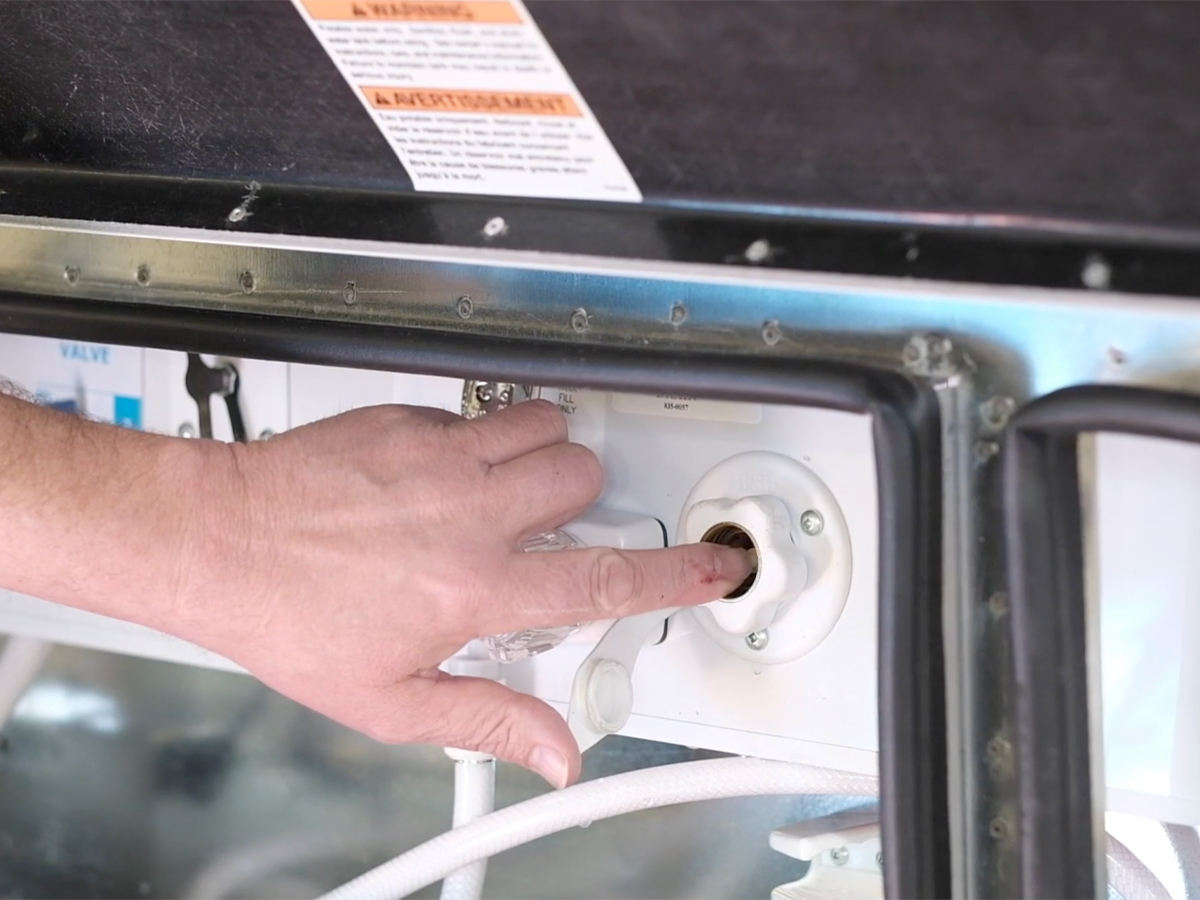
- Remove the screen on the city water value in the service compartment.
- Press the button on the city water check valve to drain out any remaining fluid. Do not do this with any pressure on the system, or the check valve will unseal, and the fill valve will need to be replaced. If no antifreeze fluid comes out, turn on the pump for one second while holding the check valve, and then reinstall the screen.
- Hook up the air blow-out plug to the San-T-Flush and blow out using compressed air for approximately 15 seconds.
- If the coach has a macerator, turn on the macerator to flush the winterized fluid through the pump.
- Drain the remaining fluid in tanks using the macerator (if equipped) or the 3″ dump hose.
- Turn the winterize valve back to “NORMAL FLOW.”
- Remove the water pump filter and drain any remaining fluid. Not into any drain in the coach. Reinstall the filter.
- Remove the water filter canister (if equipped) and drain any remaining fluid. Not into any drain in the coach. Reinstall the canister
Winterizing your Leisure Travel Van is key to ownership. It’s always important that you keep your coach in tip-top shape and ready for all seasons, including the colder seasons. If you are ever in need of professional help, contact the Service Department, and they will help guide you along the winterizing process of your LTV.
Feature photo by: Annet Moerman
Comments